


Yamaha TX81Z display kit installation
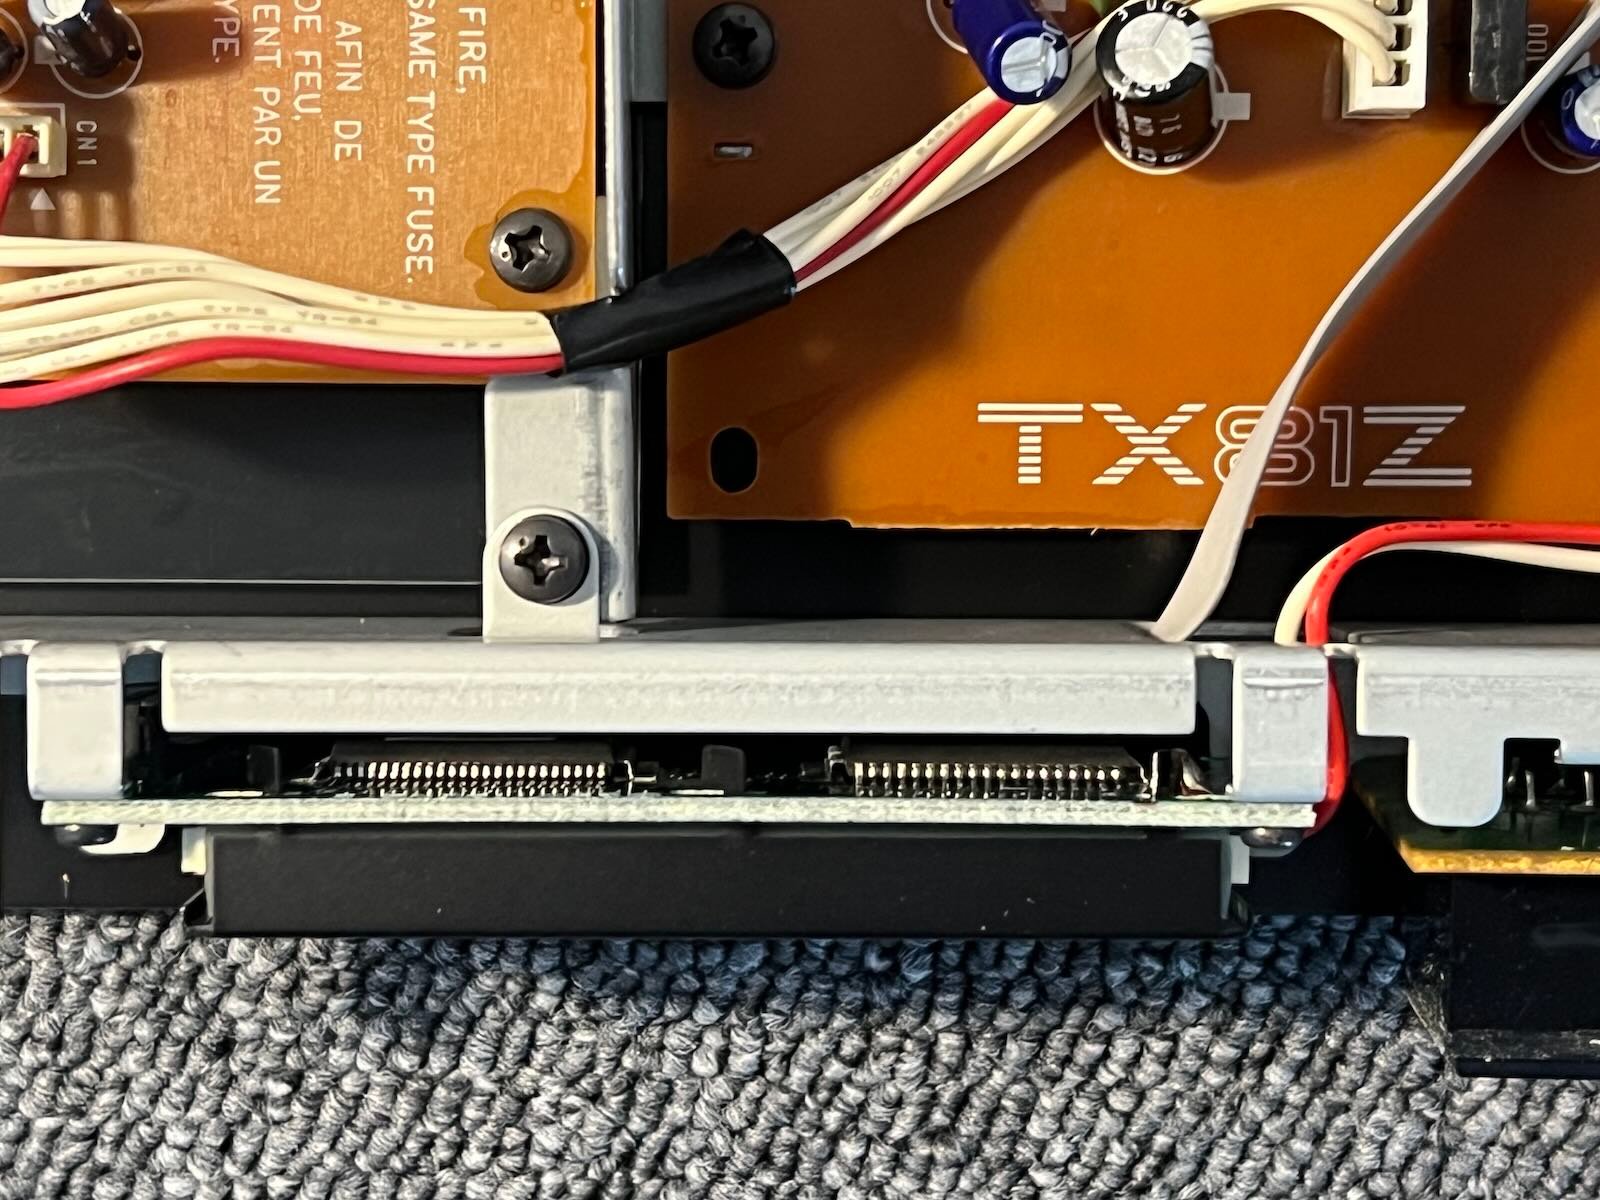
1) Dissassembly. There are screws to remove on top, bottom, behind and on each side.
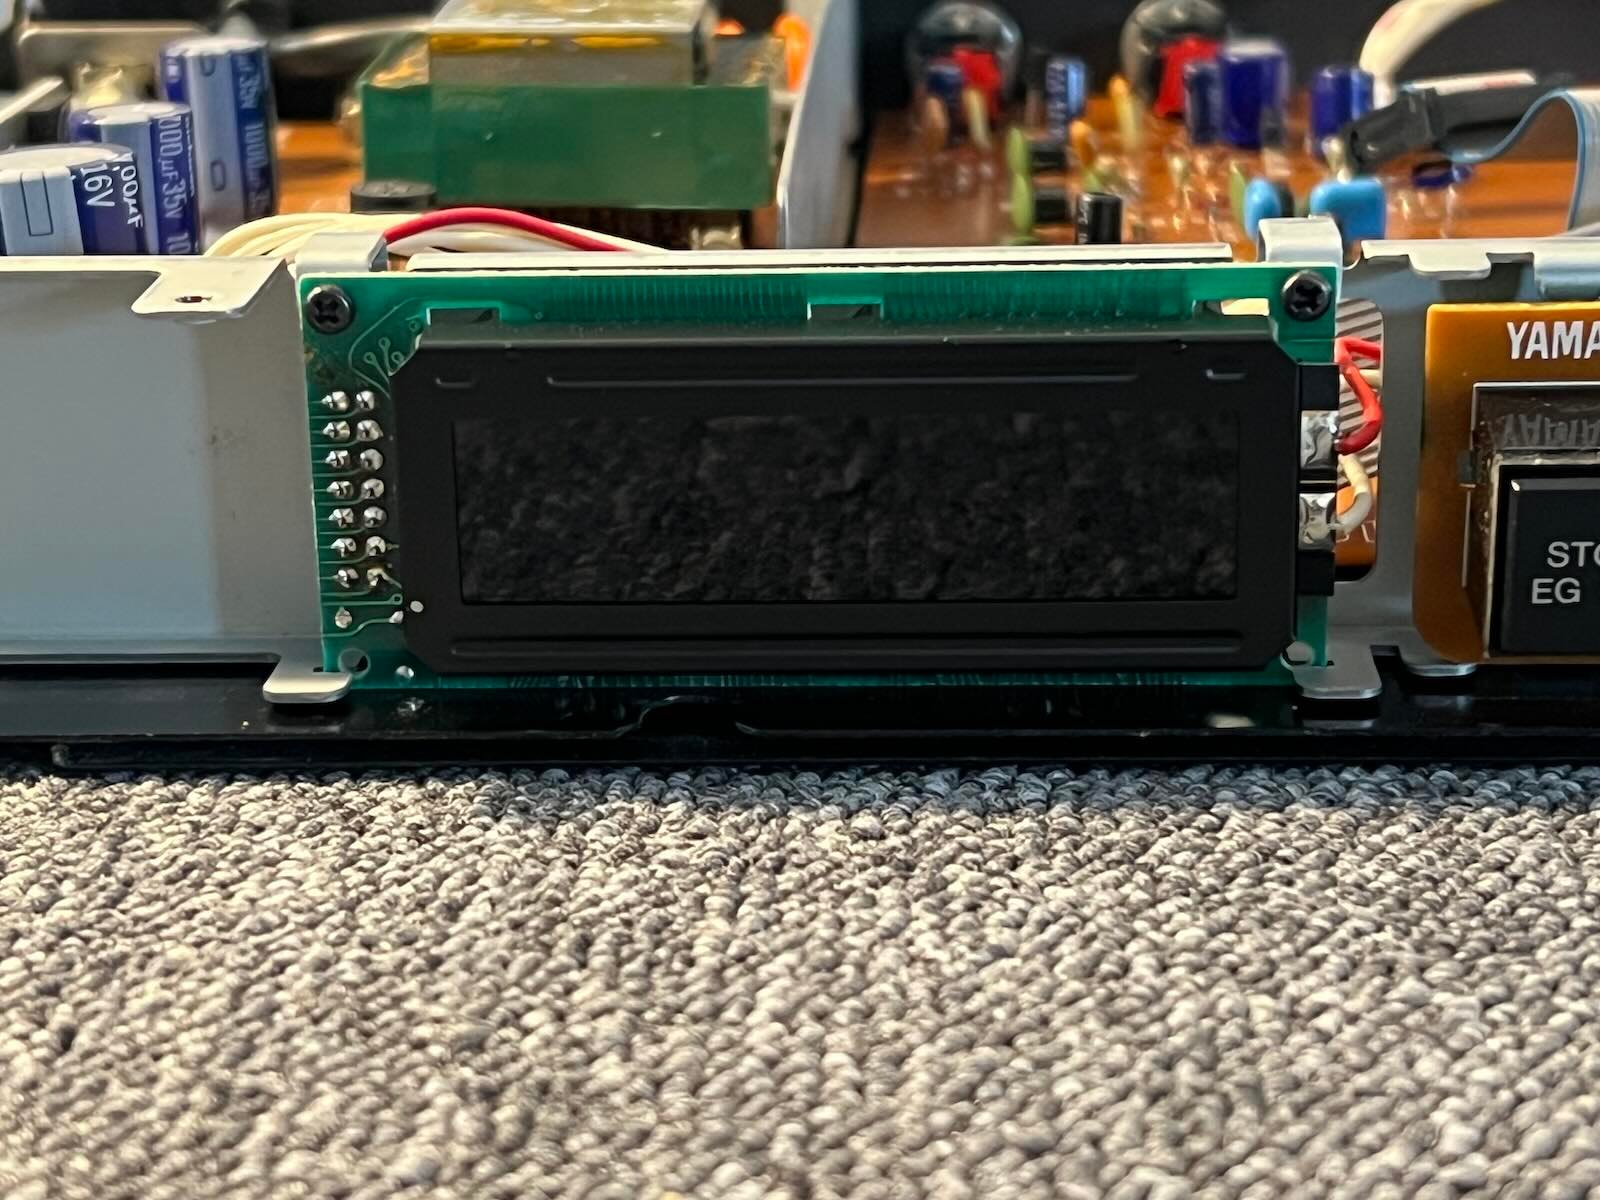
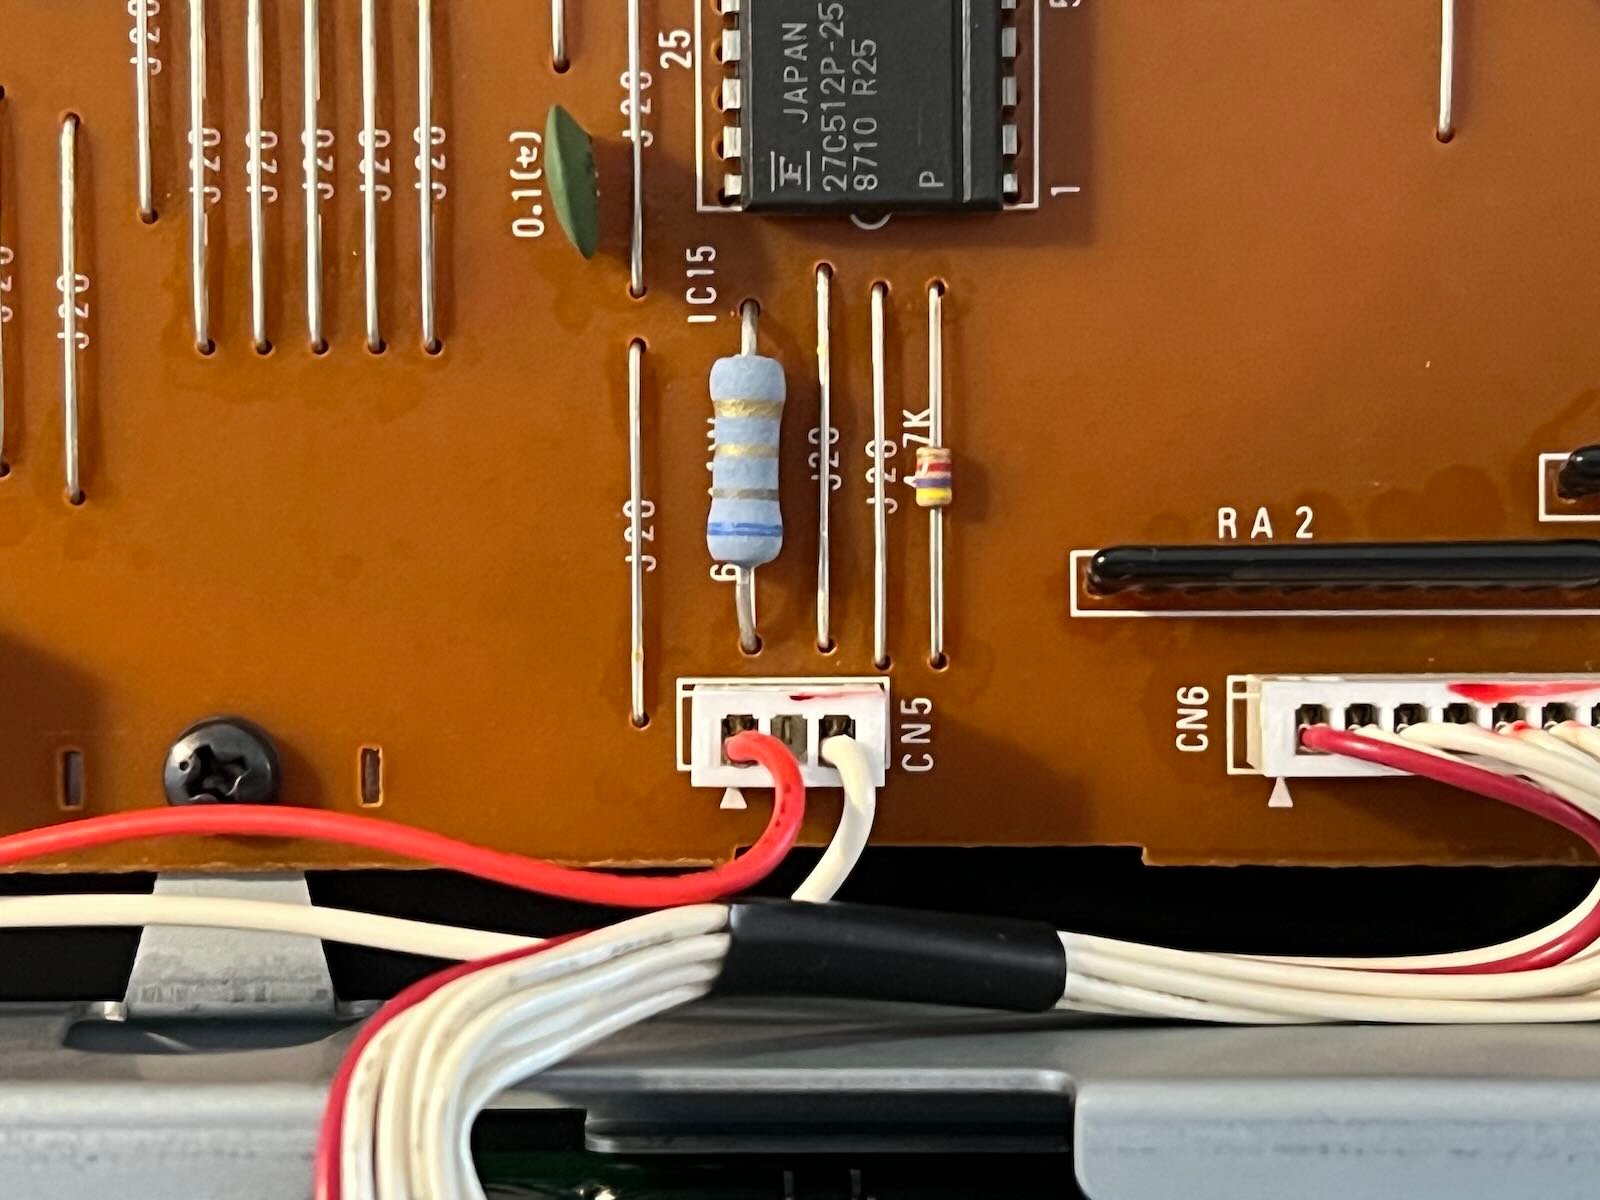
2) Remove the original screen (Keep the 2 screws). Unplug both cable. (The socket with red and white cable won’t be used by the kit), juste leave it unplugged.
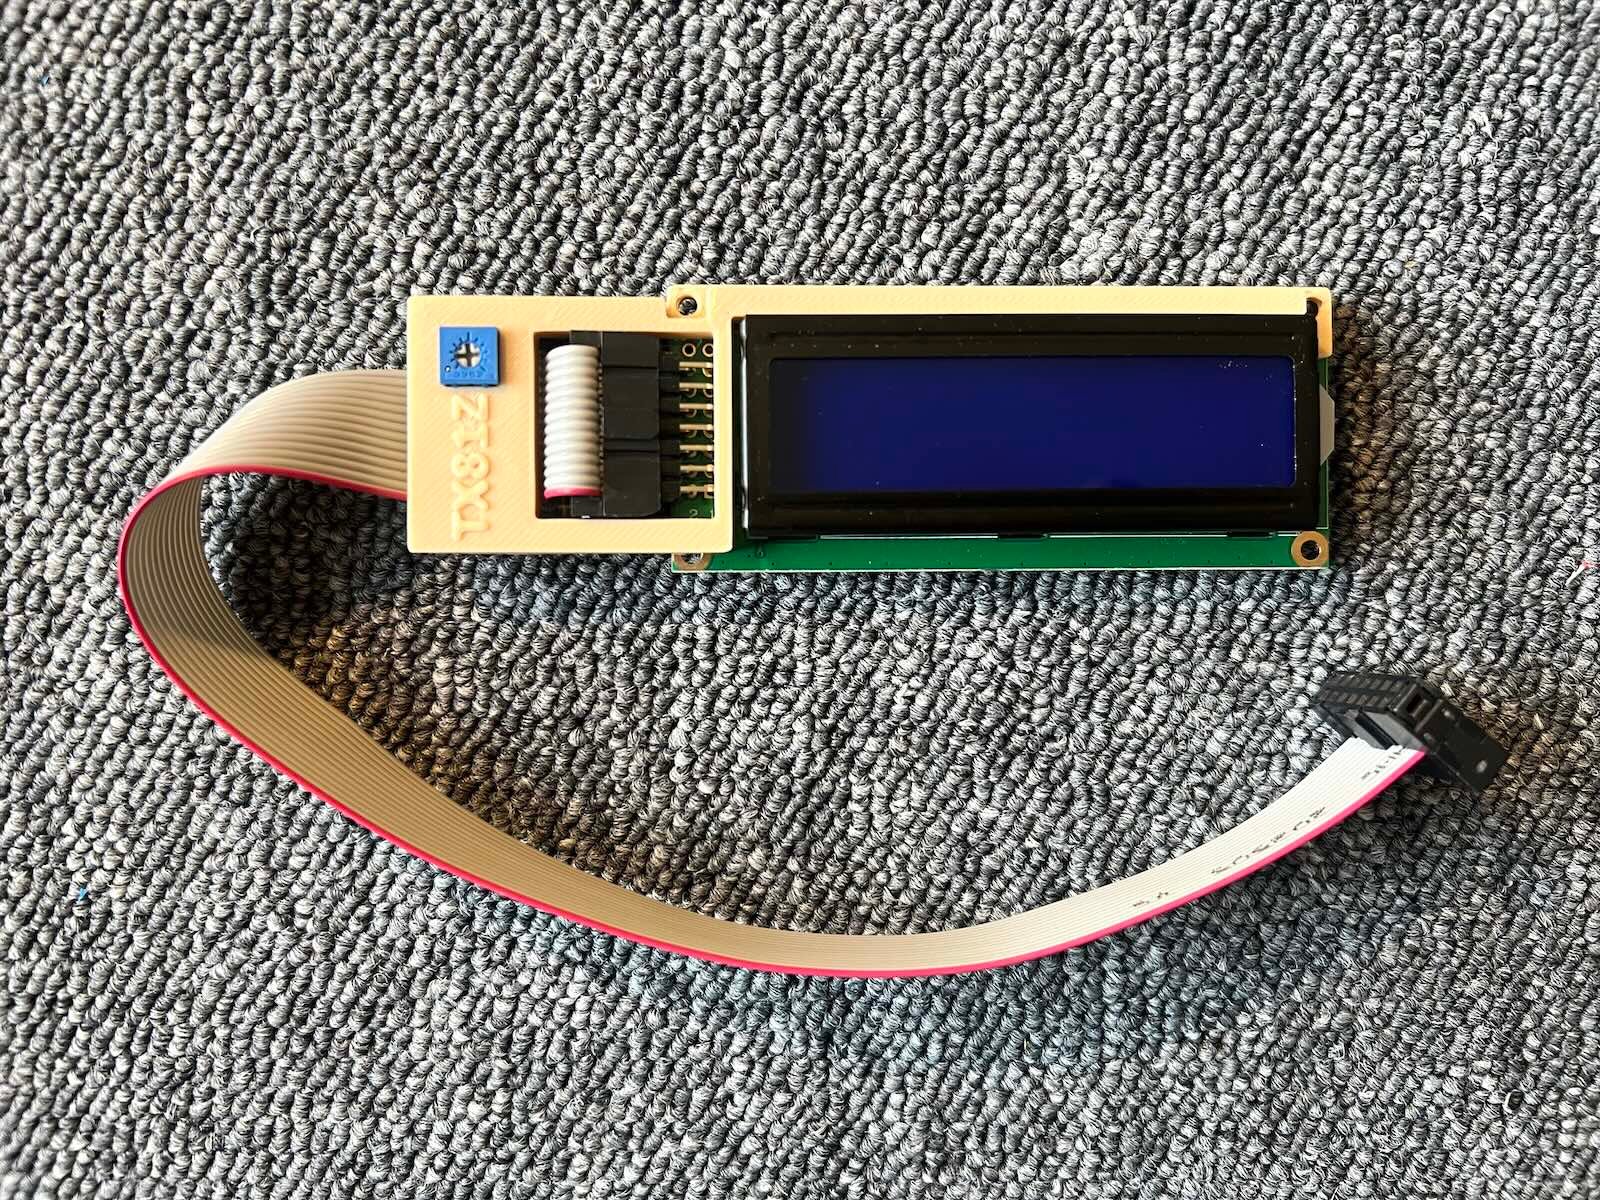
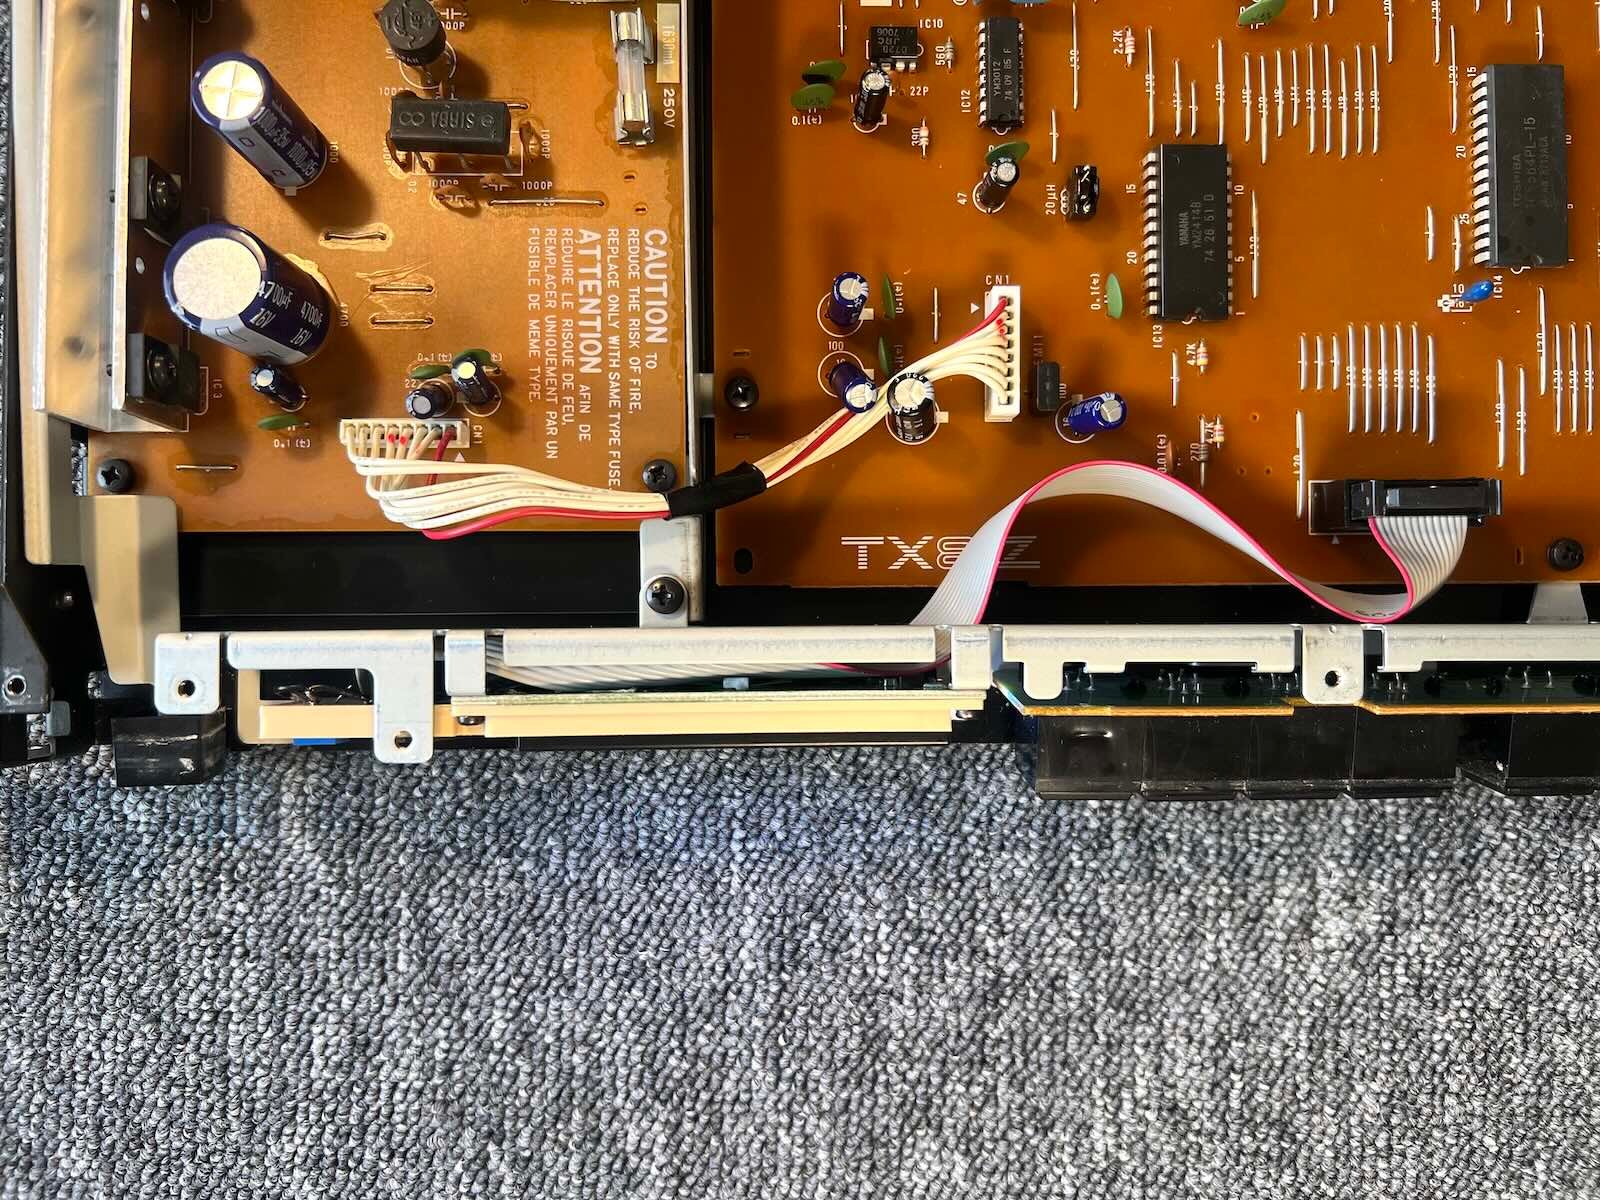
3) Pass the cable. Place the new screen in place of the old one, reuse the 2 screws.
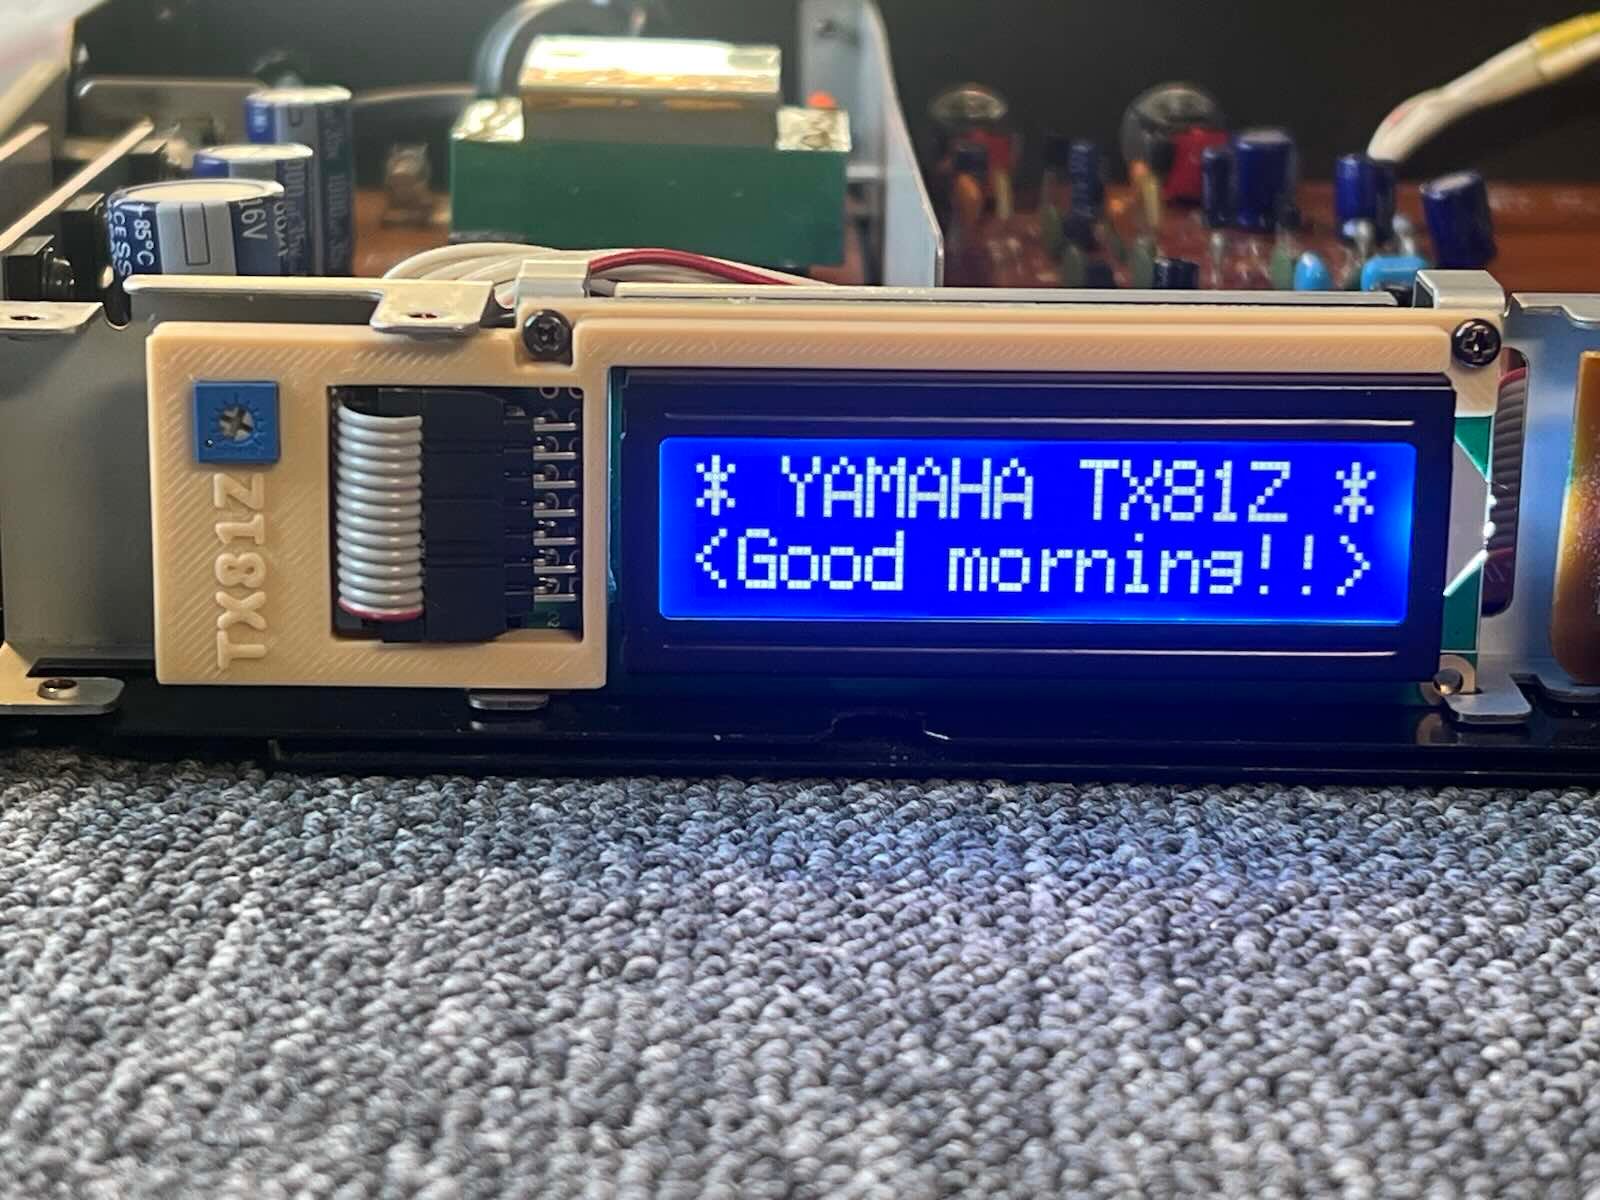
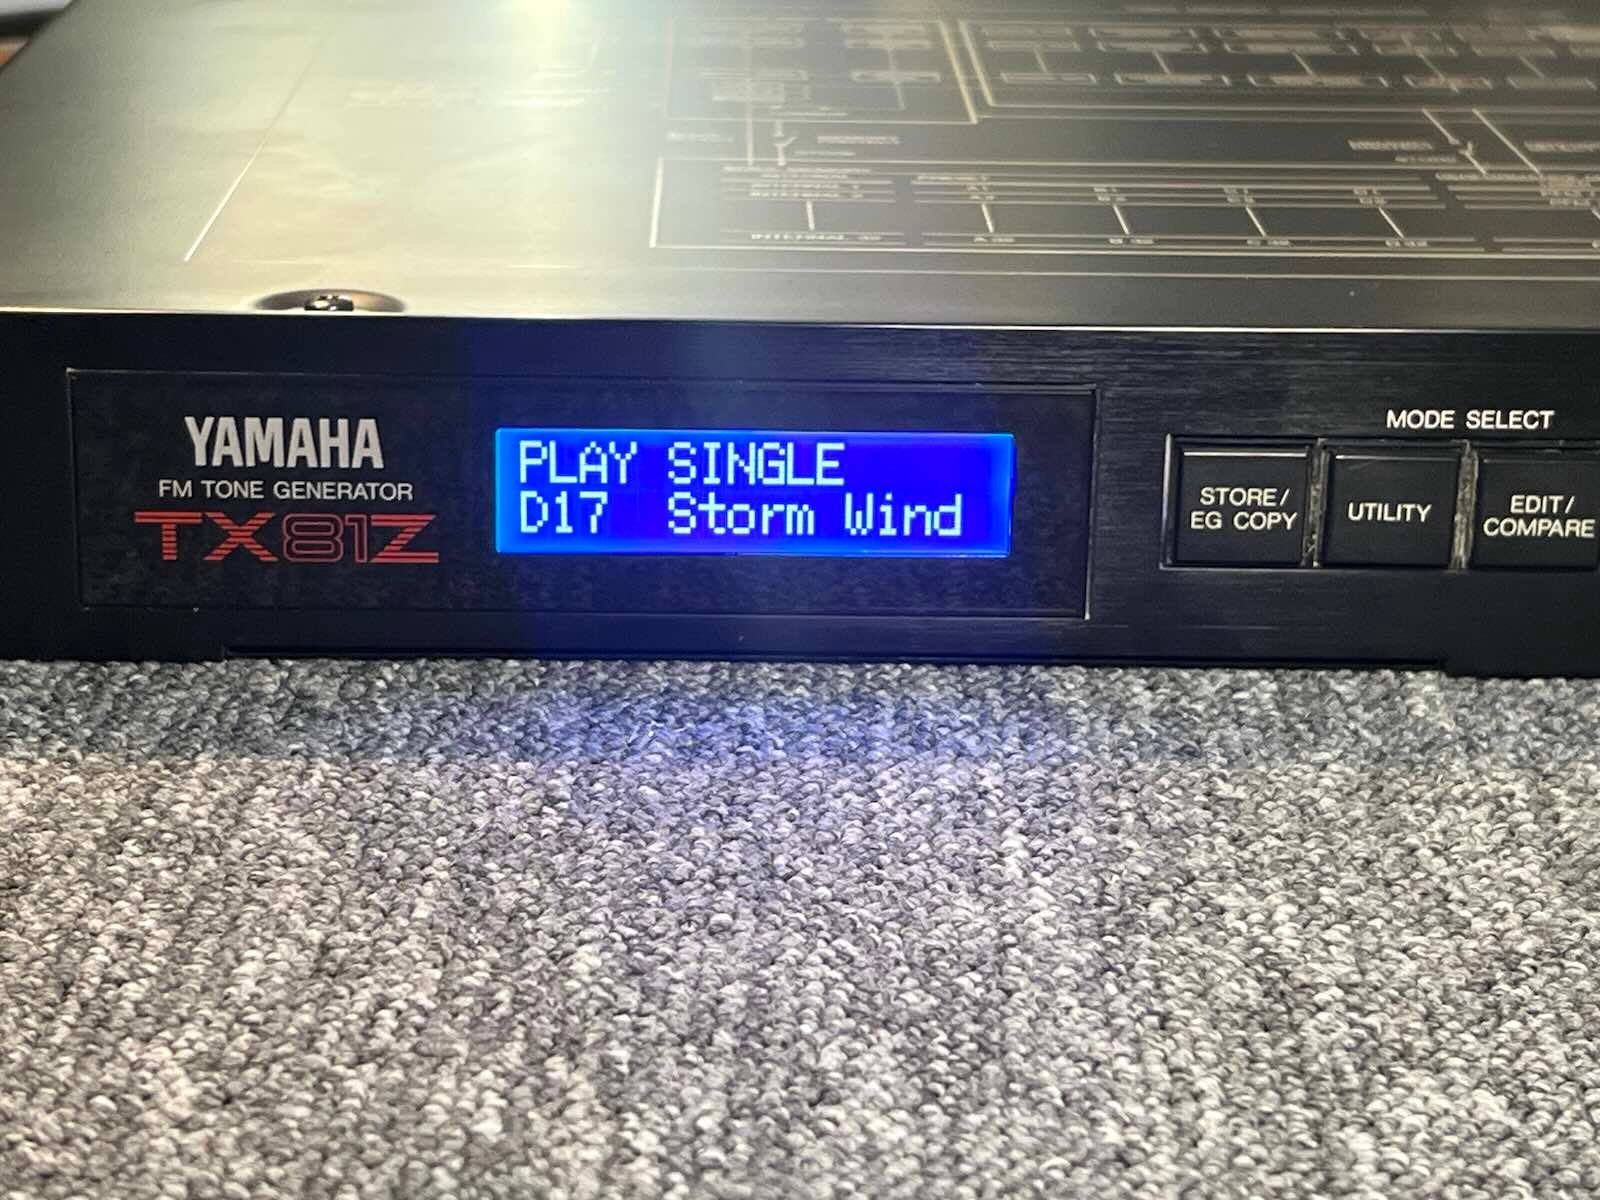
4) Connect the connector to the motherboard. If necessary, adjust the screen contrast. (trimpot on the 3D printed socket).
5) Go back up