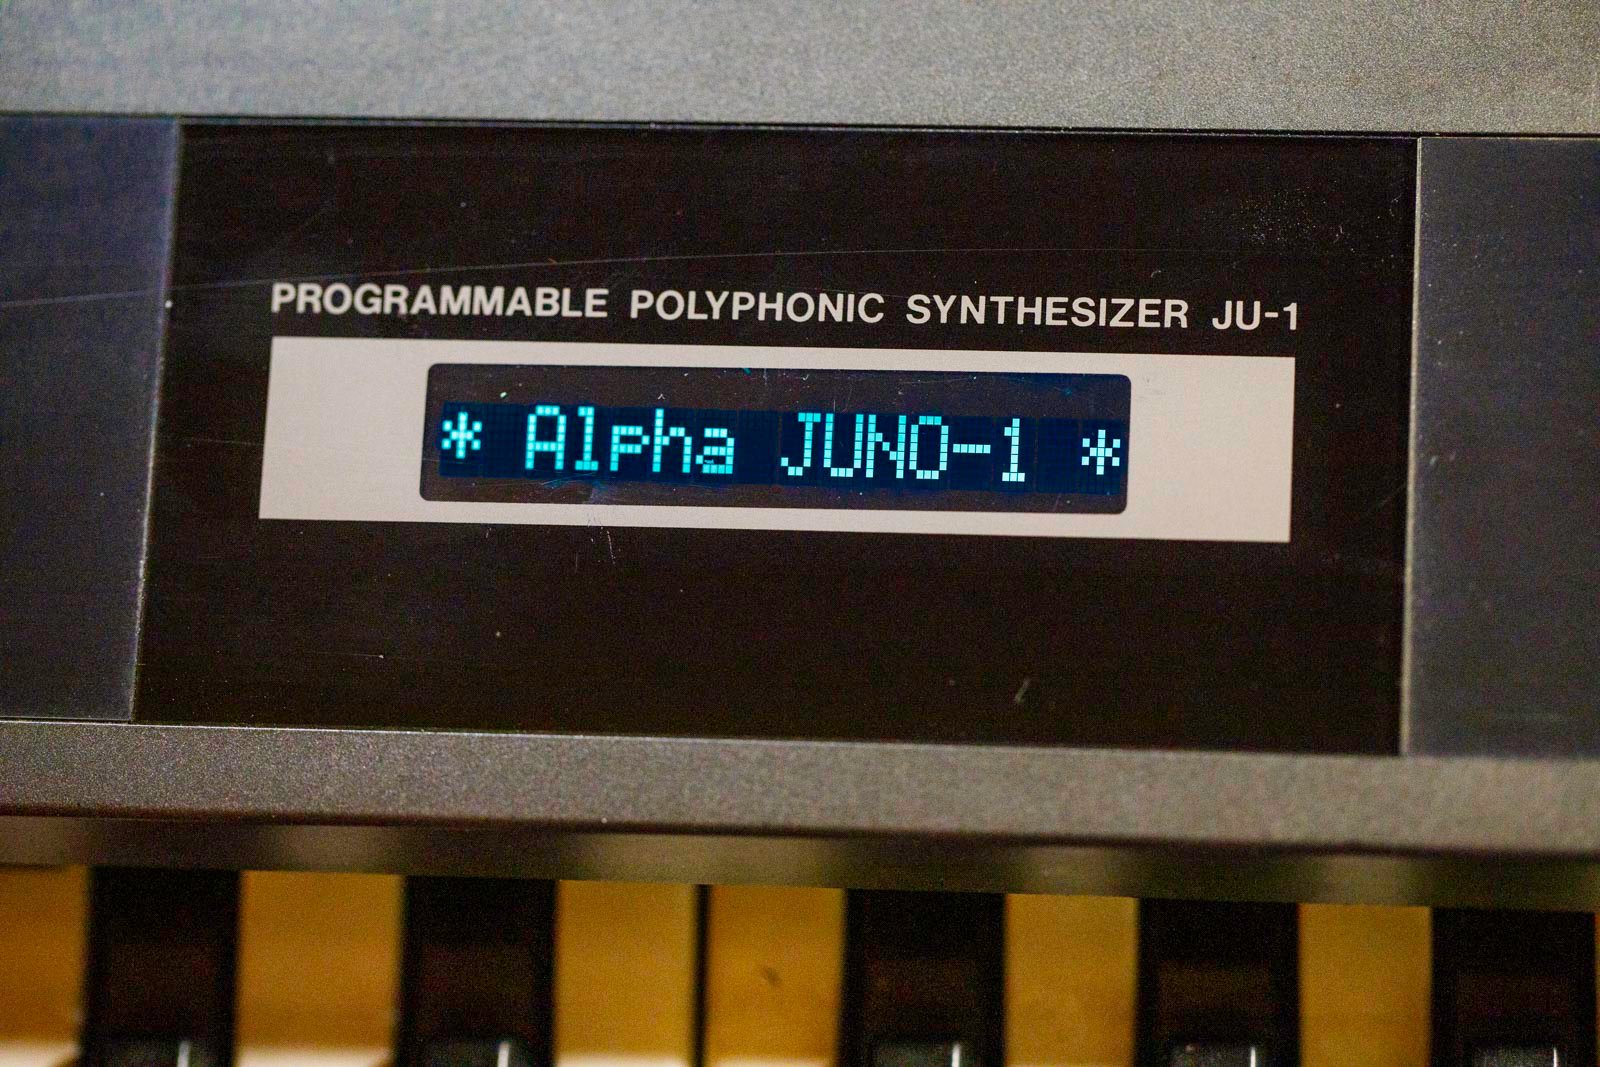


Roland alpha juno 1 display kit installation
1) Remove the bottom. There are screws to remove on bottom, and from back side.
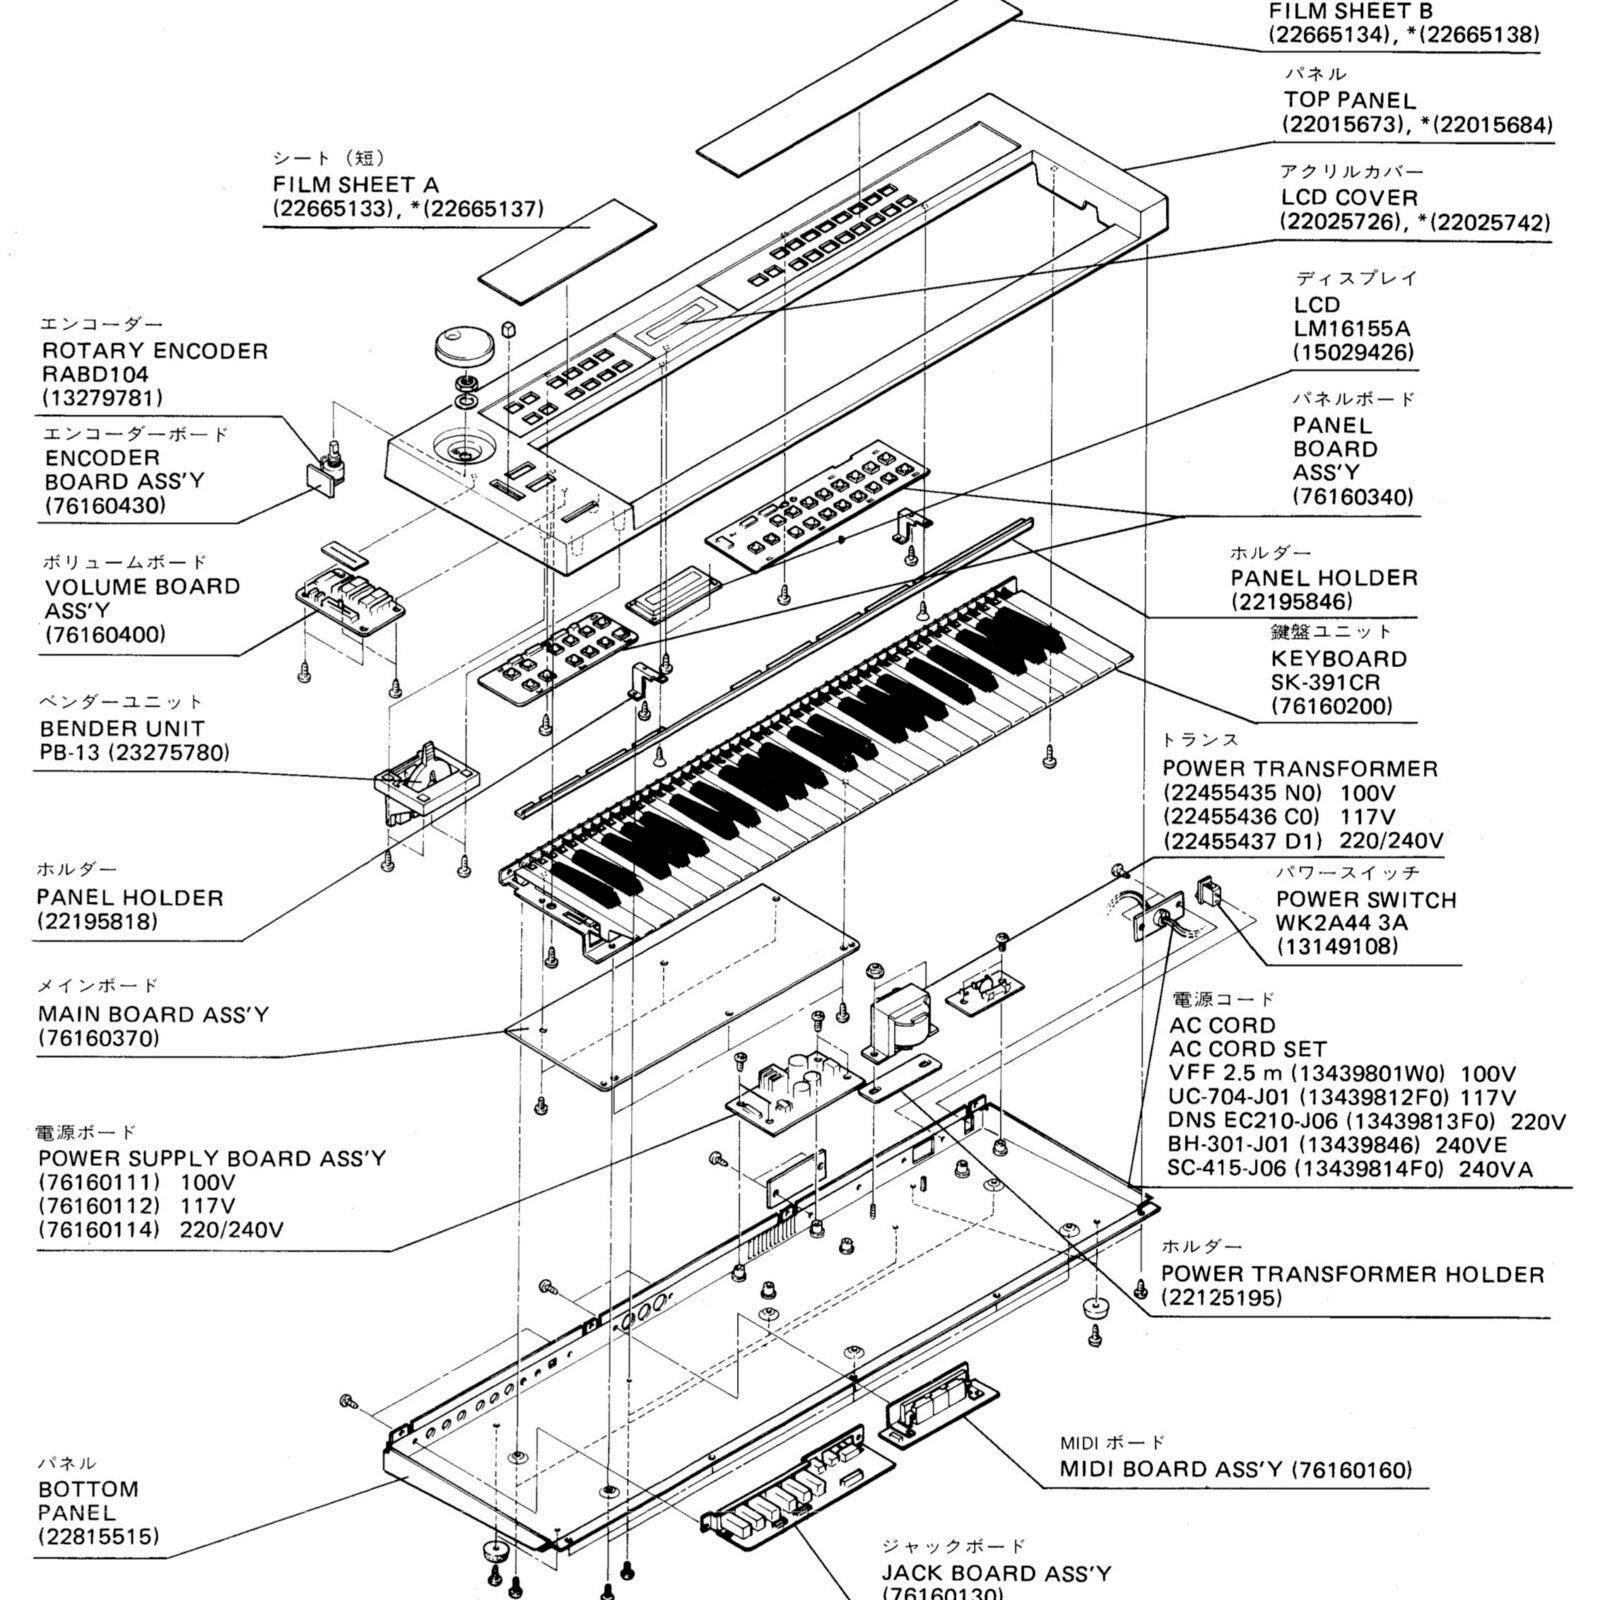
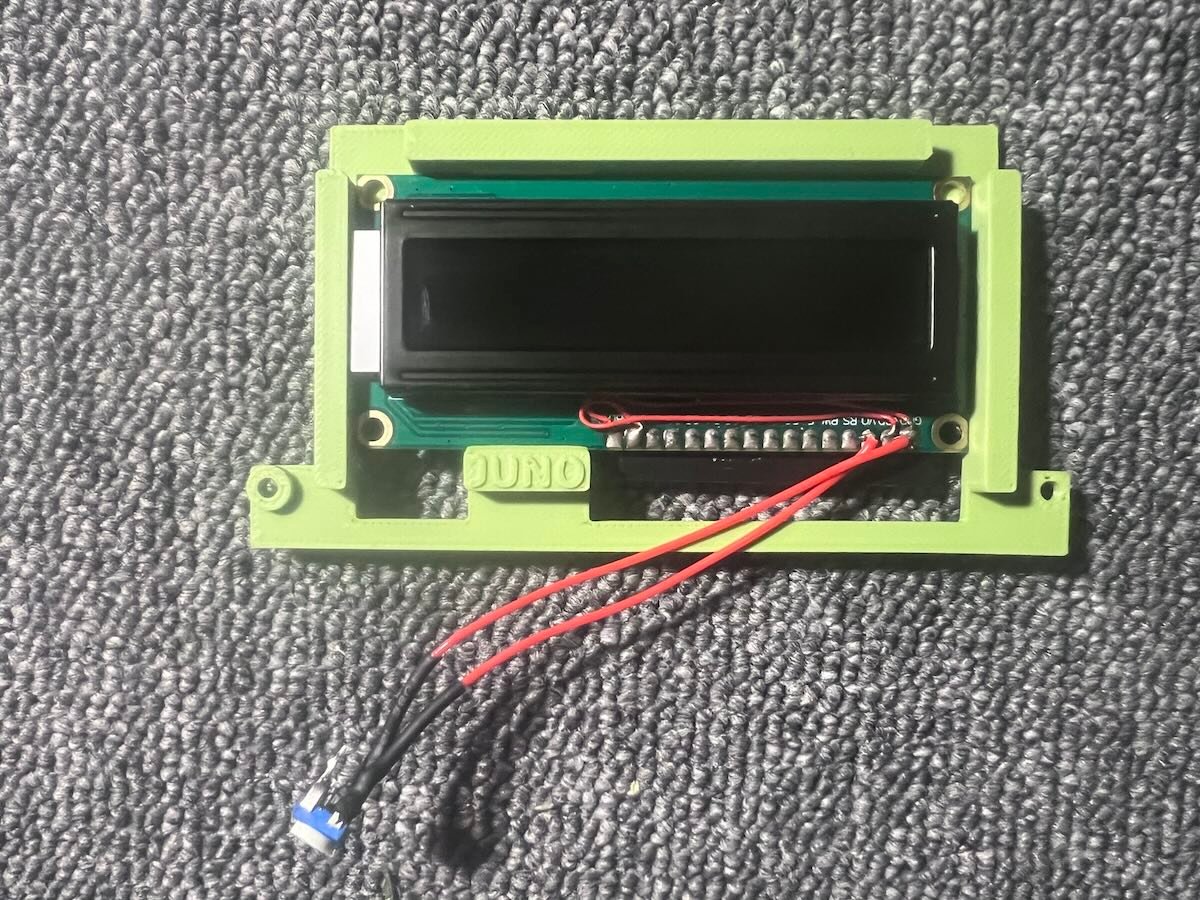
2) Remove the flat cable and the original display. (2 screws, keep it). The power cable is no longer needed.

3) Place the new screen and then its bracket. Plug the flat cable. Reuse the two screws.
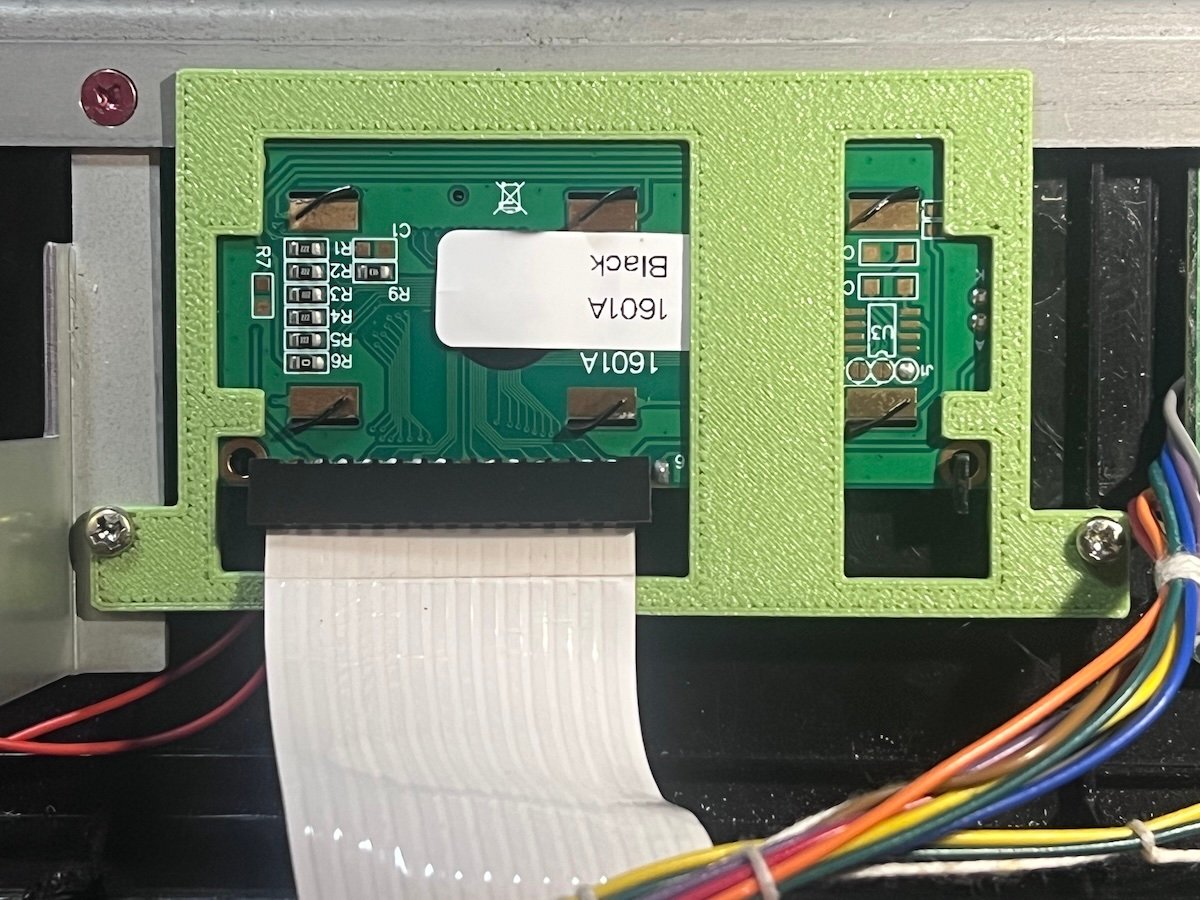
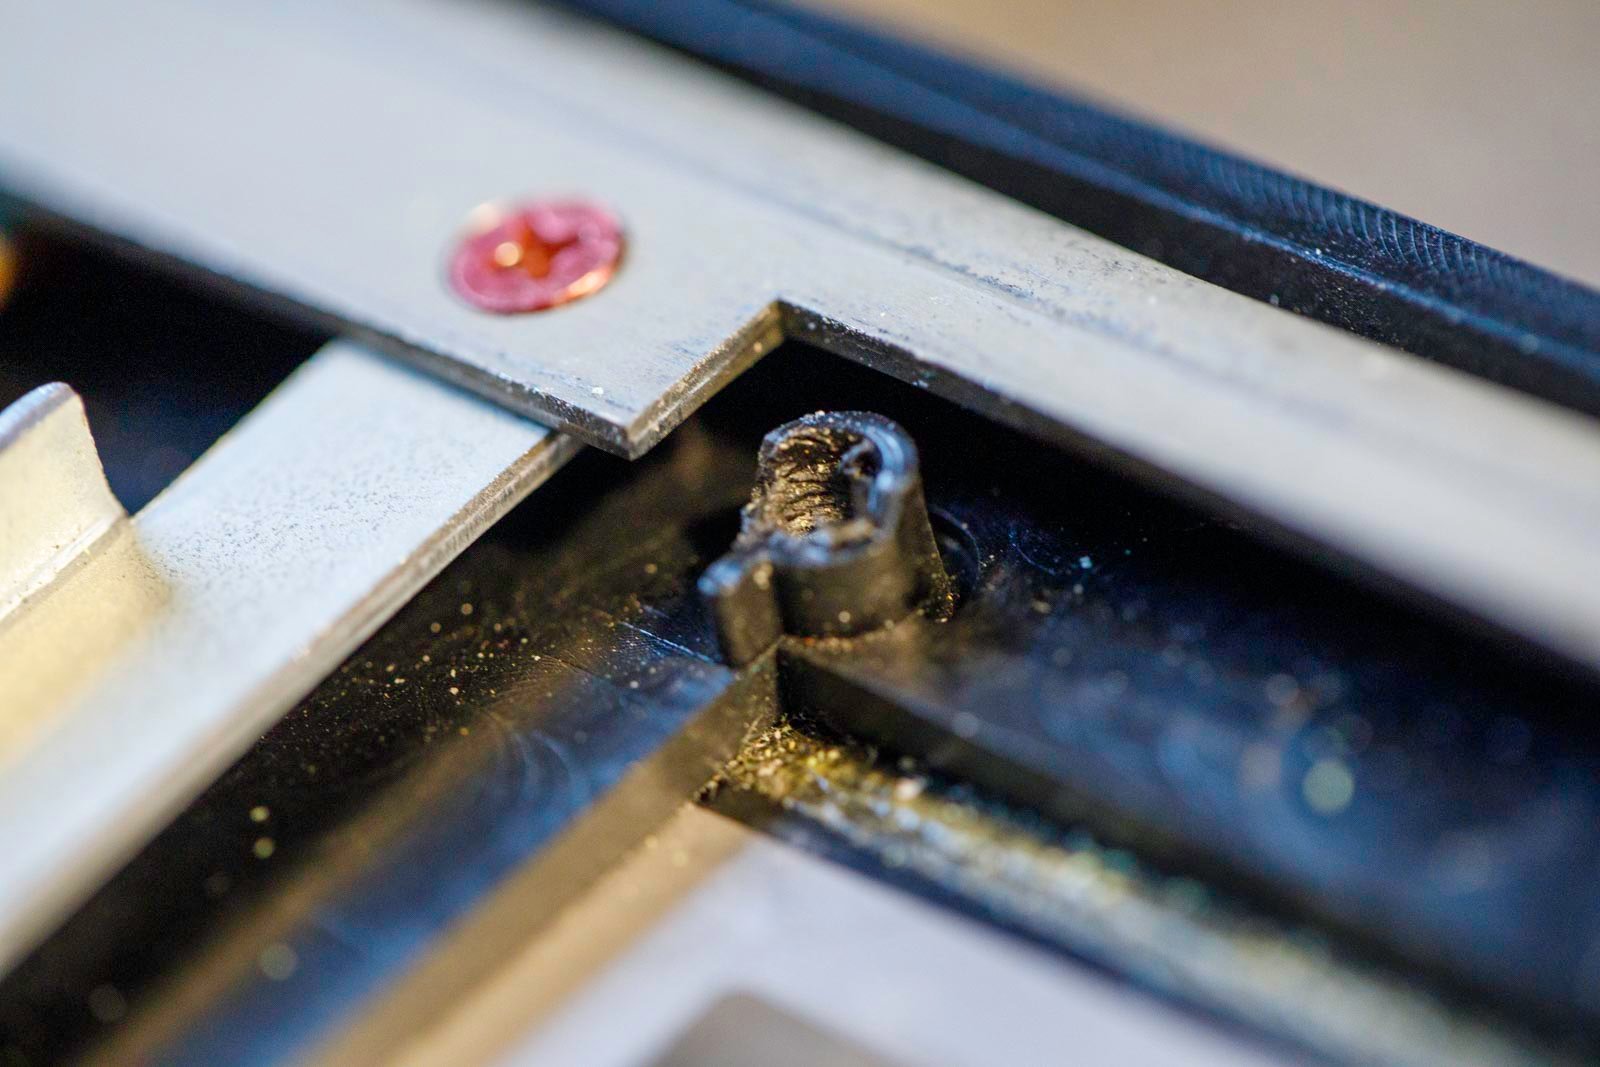
4) If necessary, lightly file the support.
5) If necessary, adjust the contrast screw.
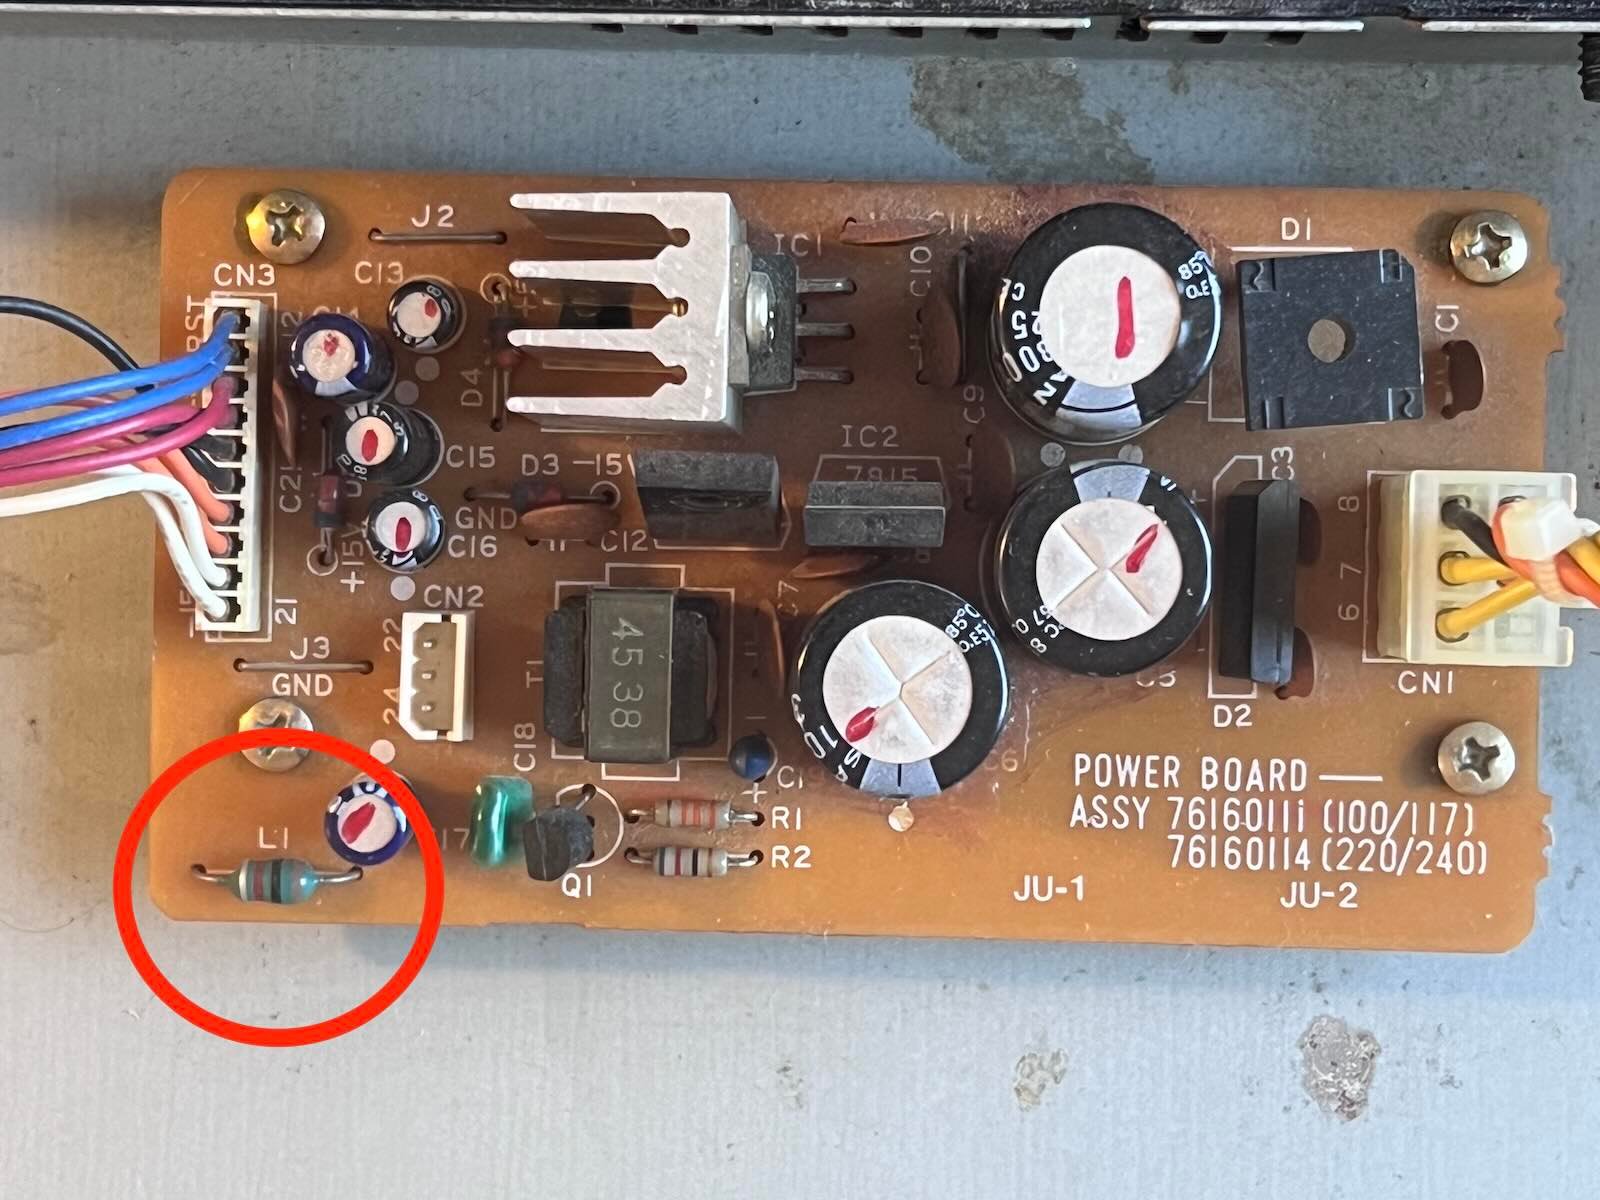
6) If a whistling sound persists, you can disconnect the inverter that powered the original backlighting and is no longer used just by cutting resistor L1 as shown on the PSU board. (Thanks to www.llamamusic.com for the tip.)
7) Going back up the Juno