


Roland JV-1080 display kit installation
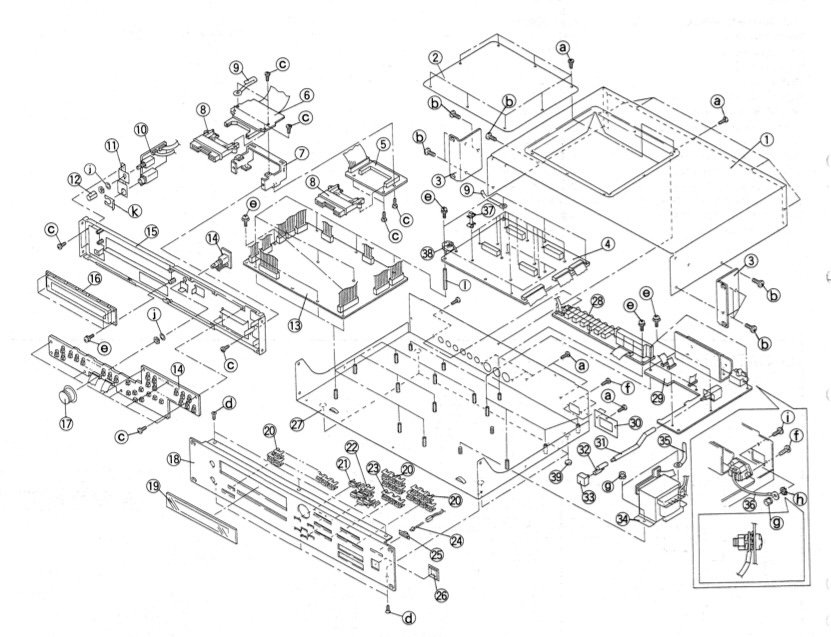
1) Unplug the device. Dissassembly. Nothing complicated. There are screws to remove on bottom, behind and on sides. You can get help on the great iFixit website at : https://fr.ifixit.com/Tutoriel/Roland+JV-1080+Battery+Replacement/146715
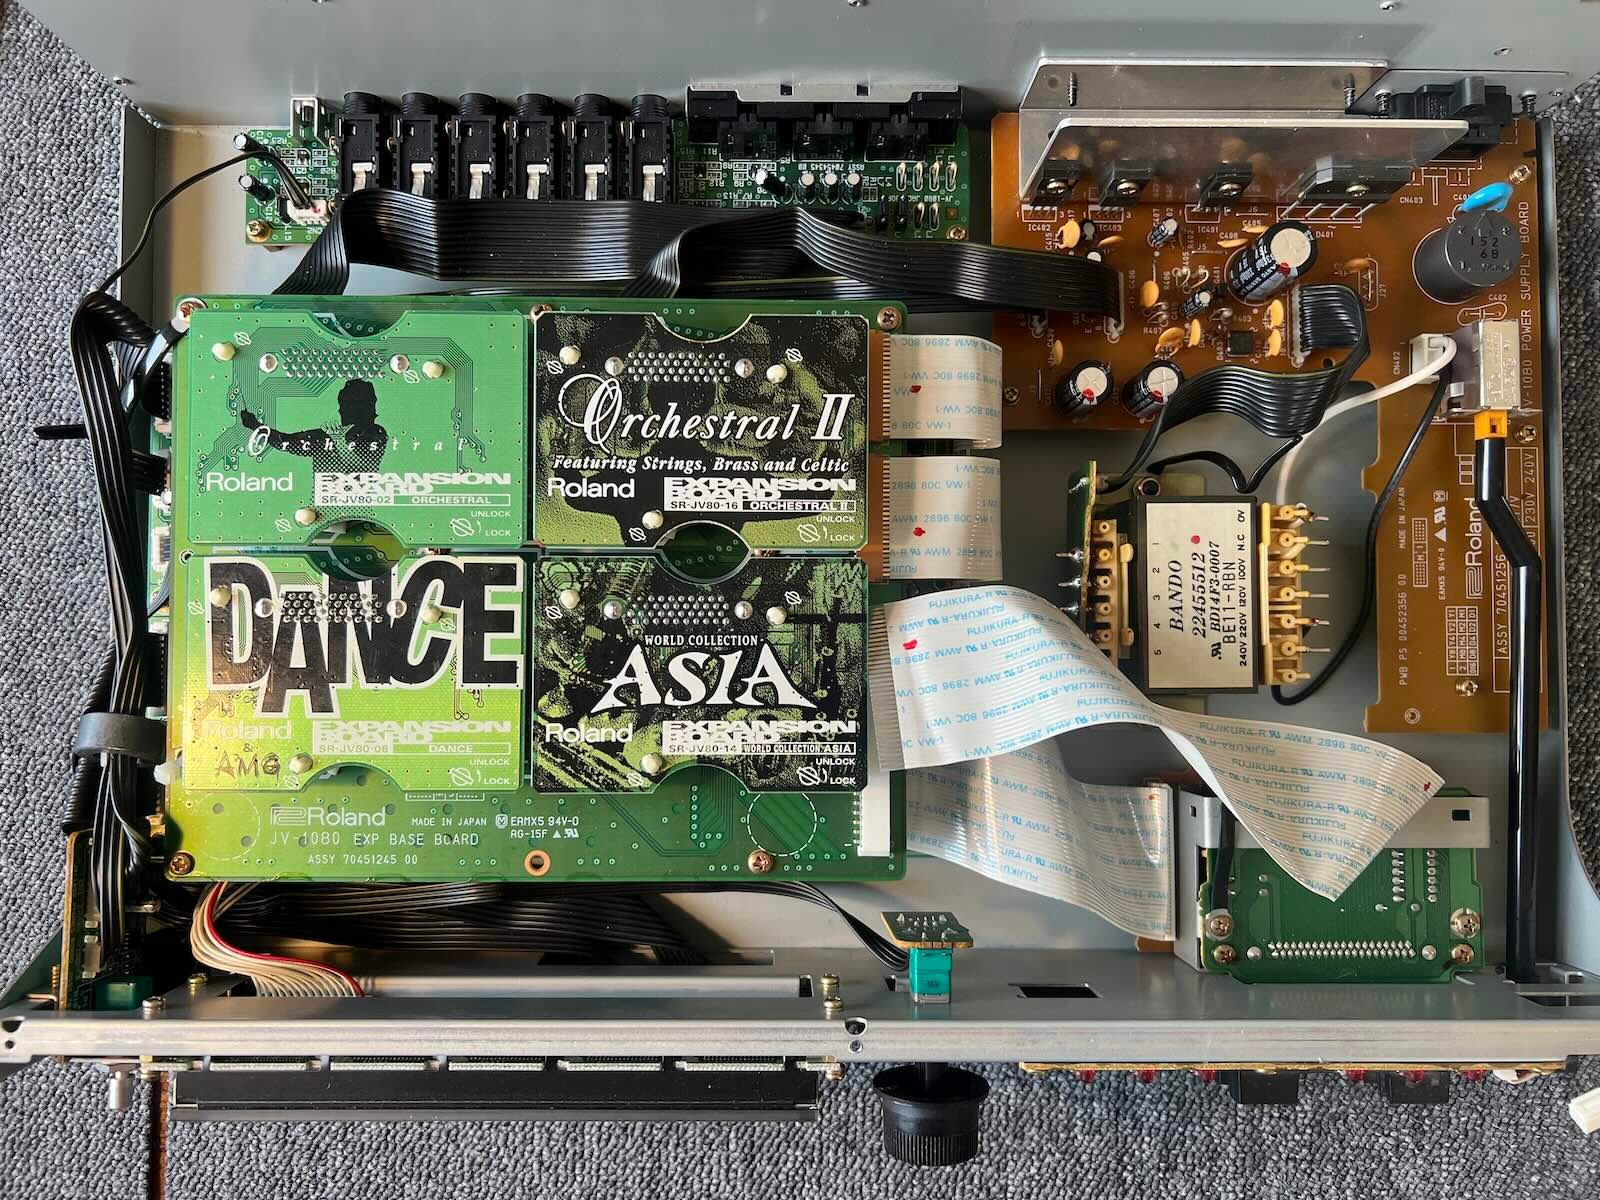
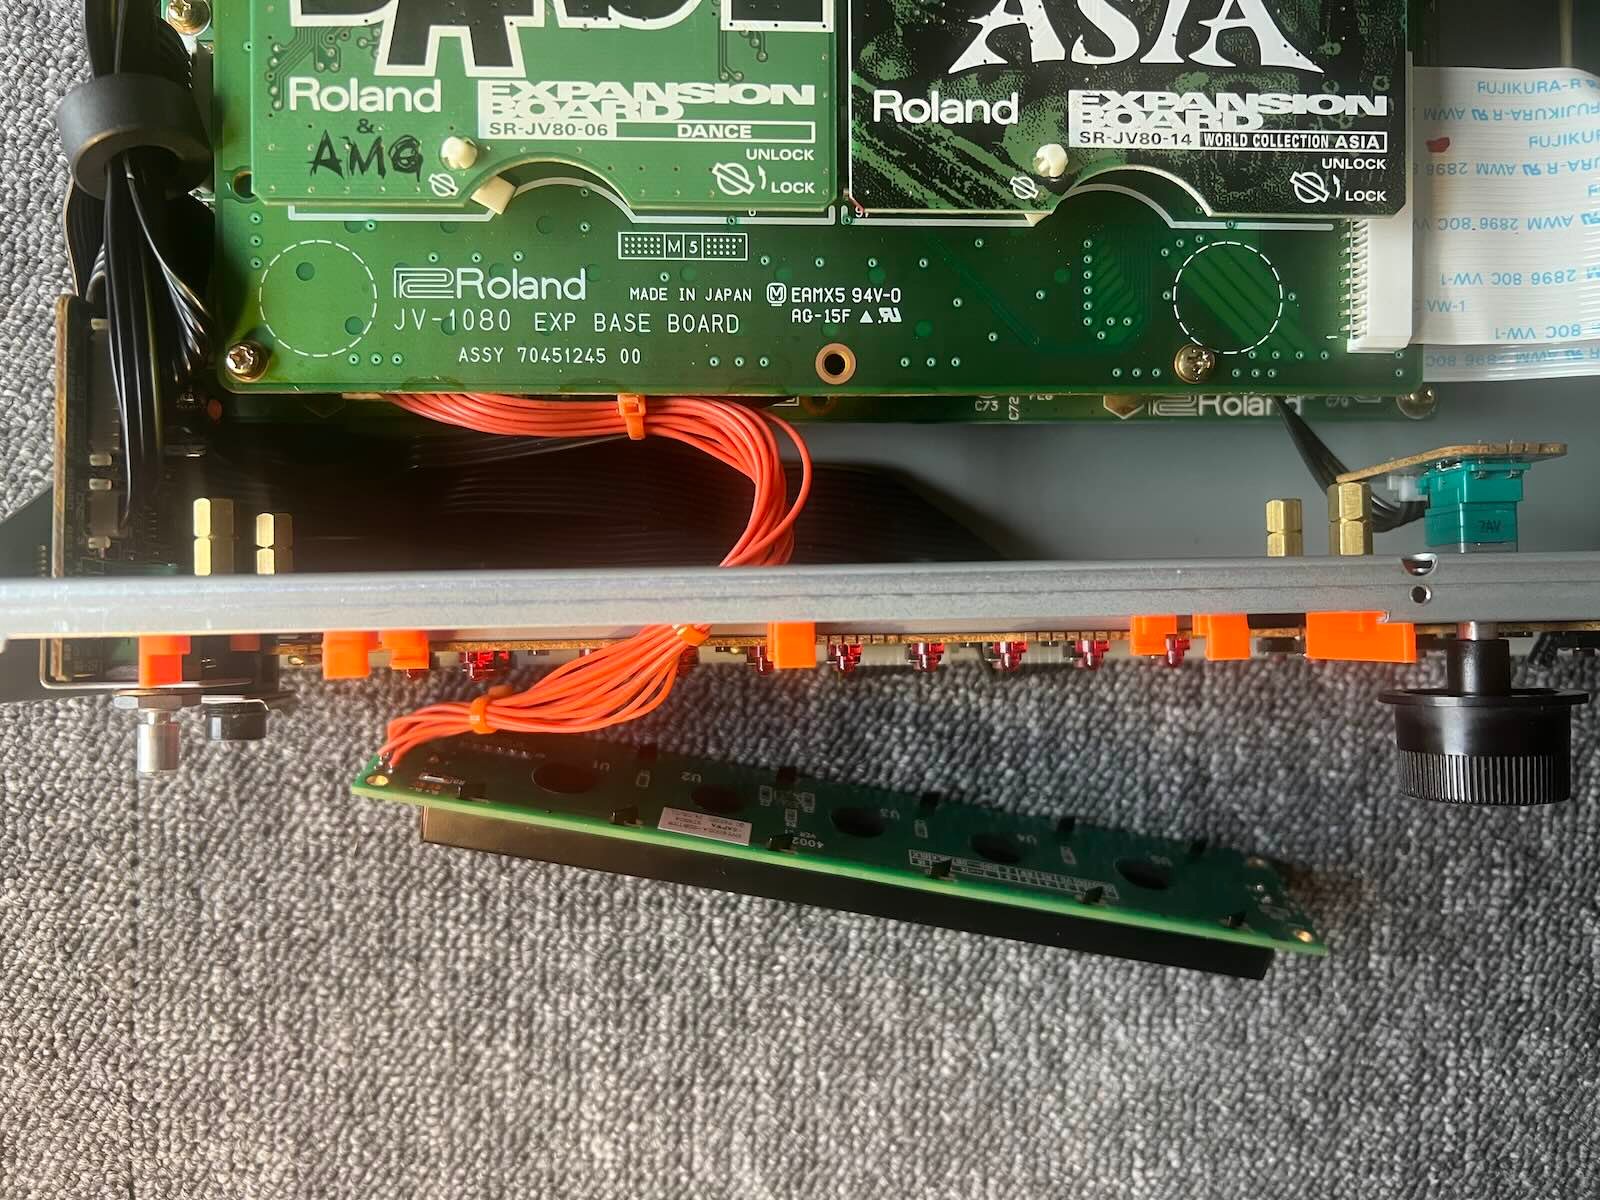
2) If you have expansion cards, remove those that are covering the PCB mounting screws. Remove the PCB from the expansion cards to access the display connector on the motherboard underneath (several screws need to be removed).
3) remove the front panel (screws on top and and bottom).
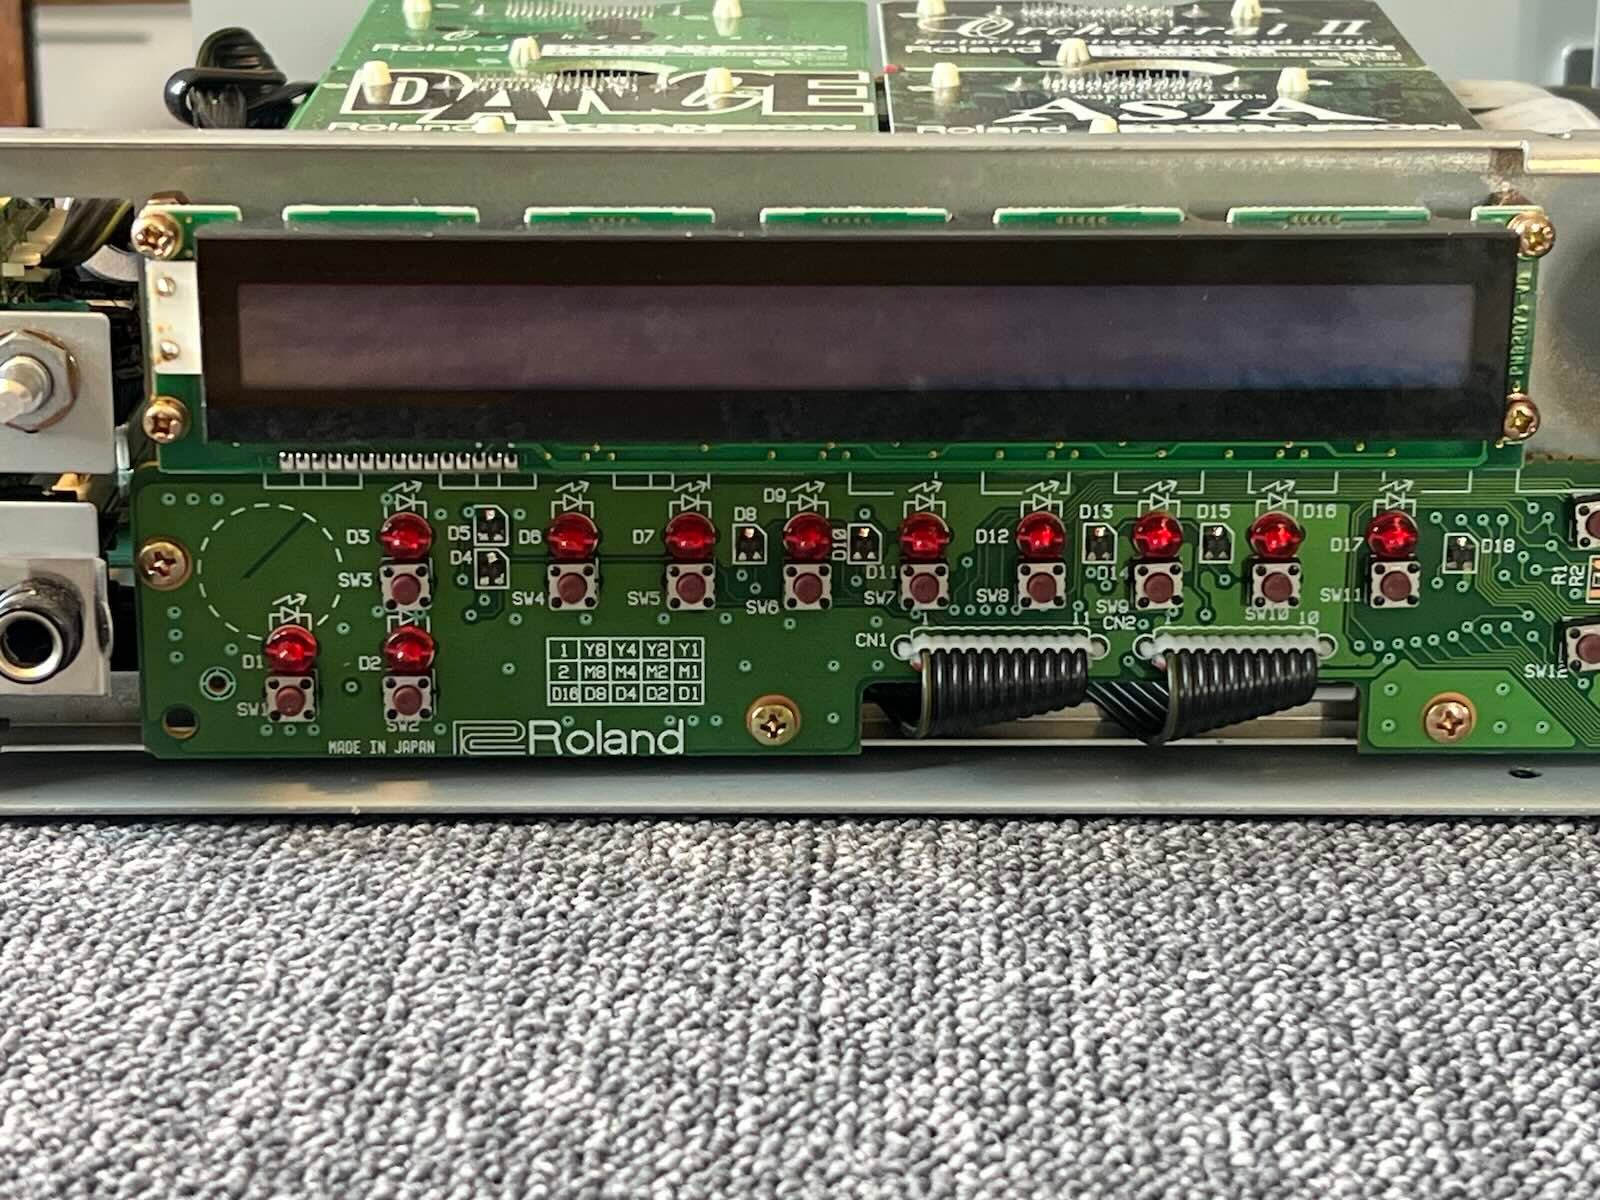
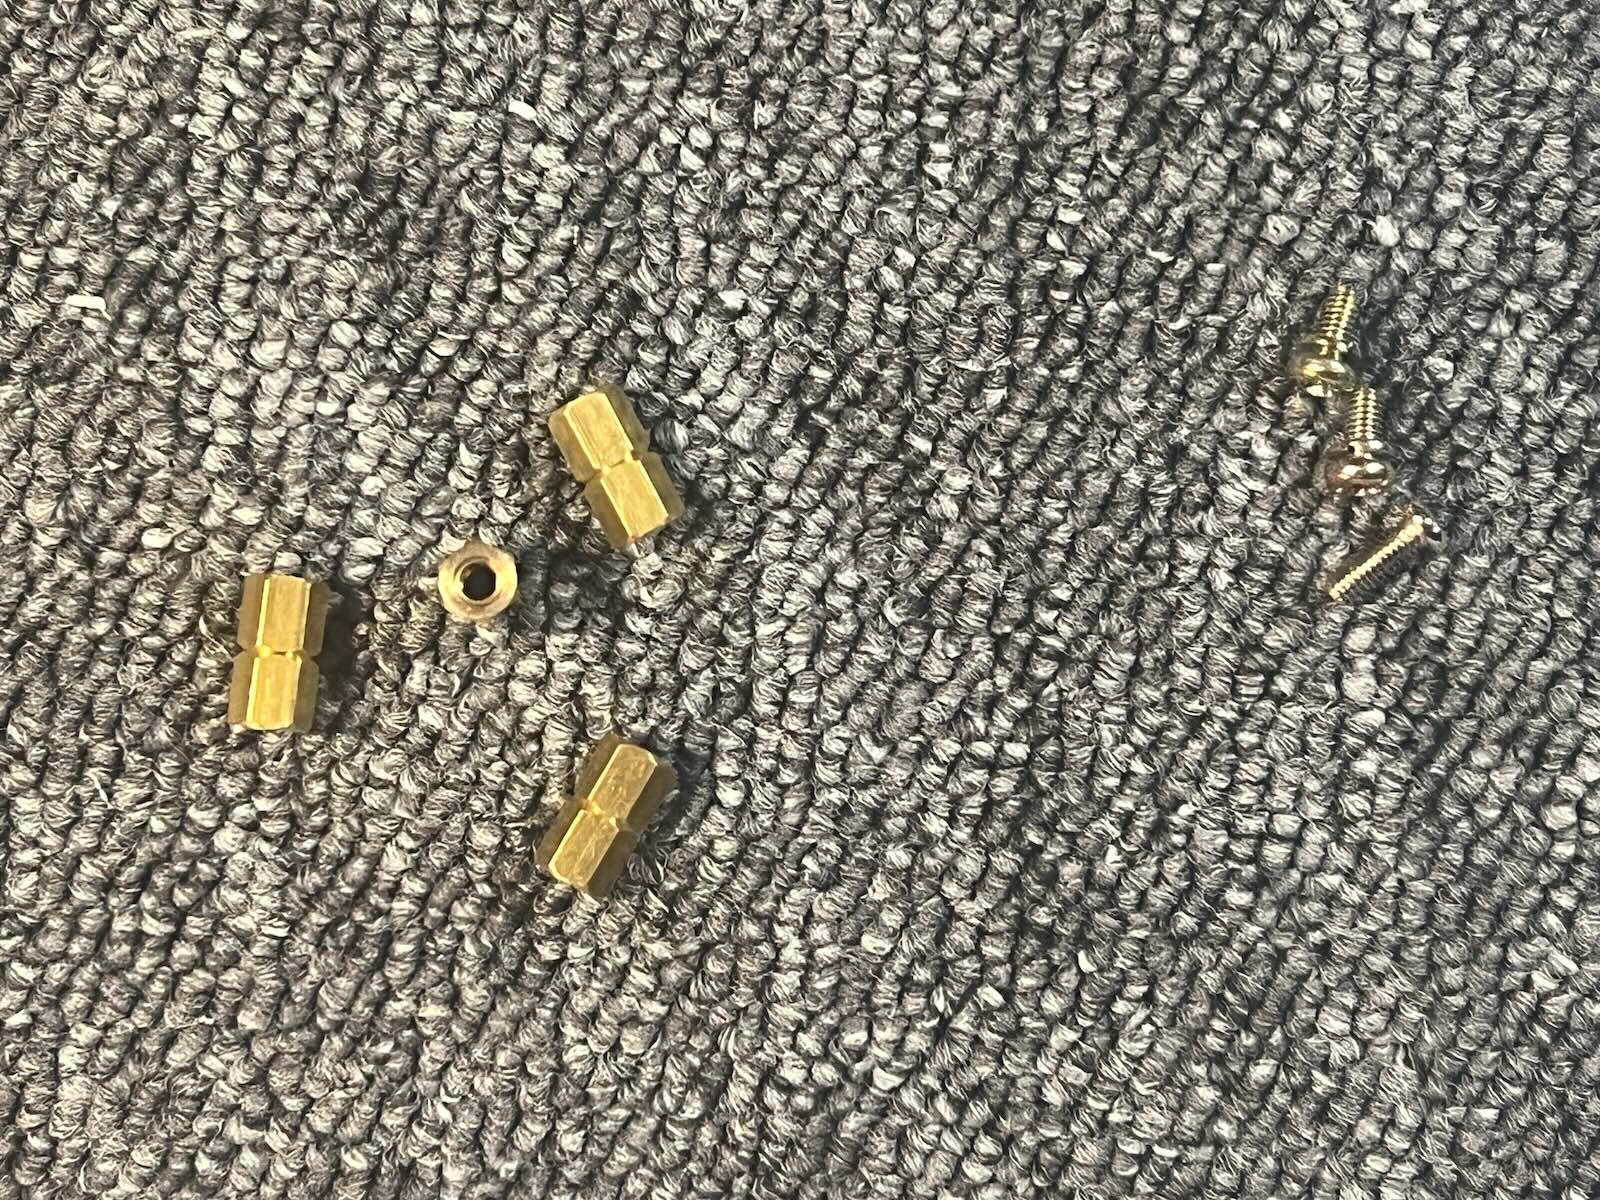
4) Remove the original screen. Unscrew the 4 PCB holders, they will be reused.
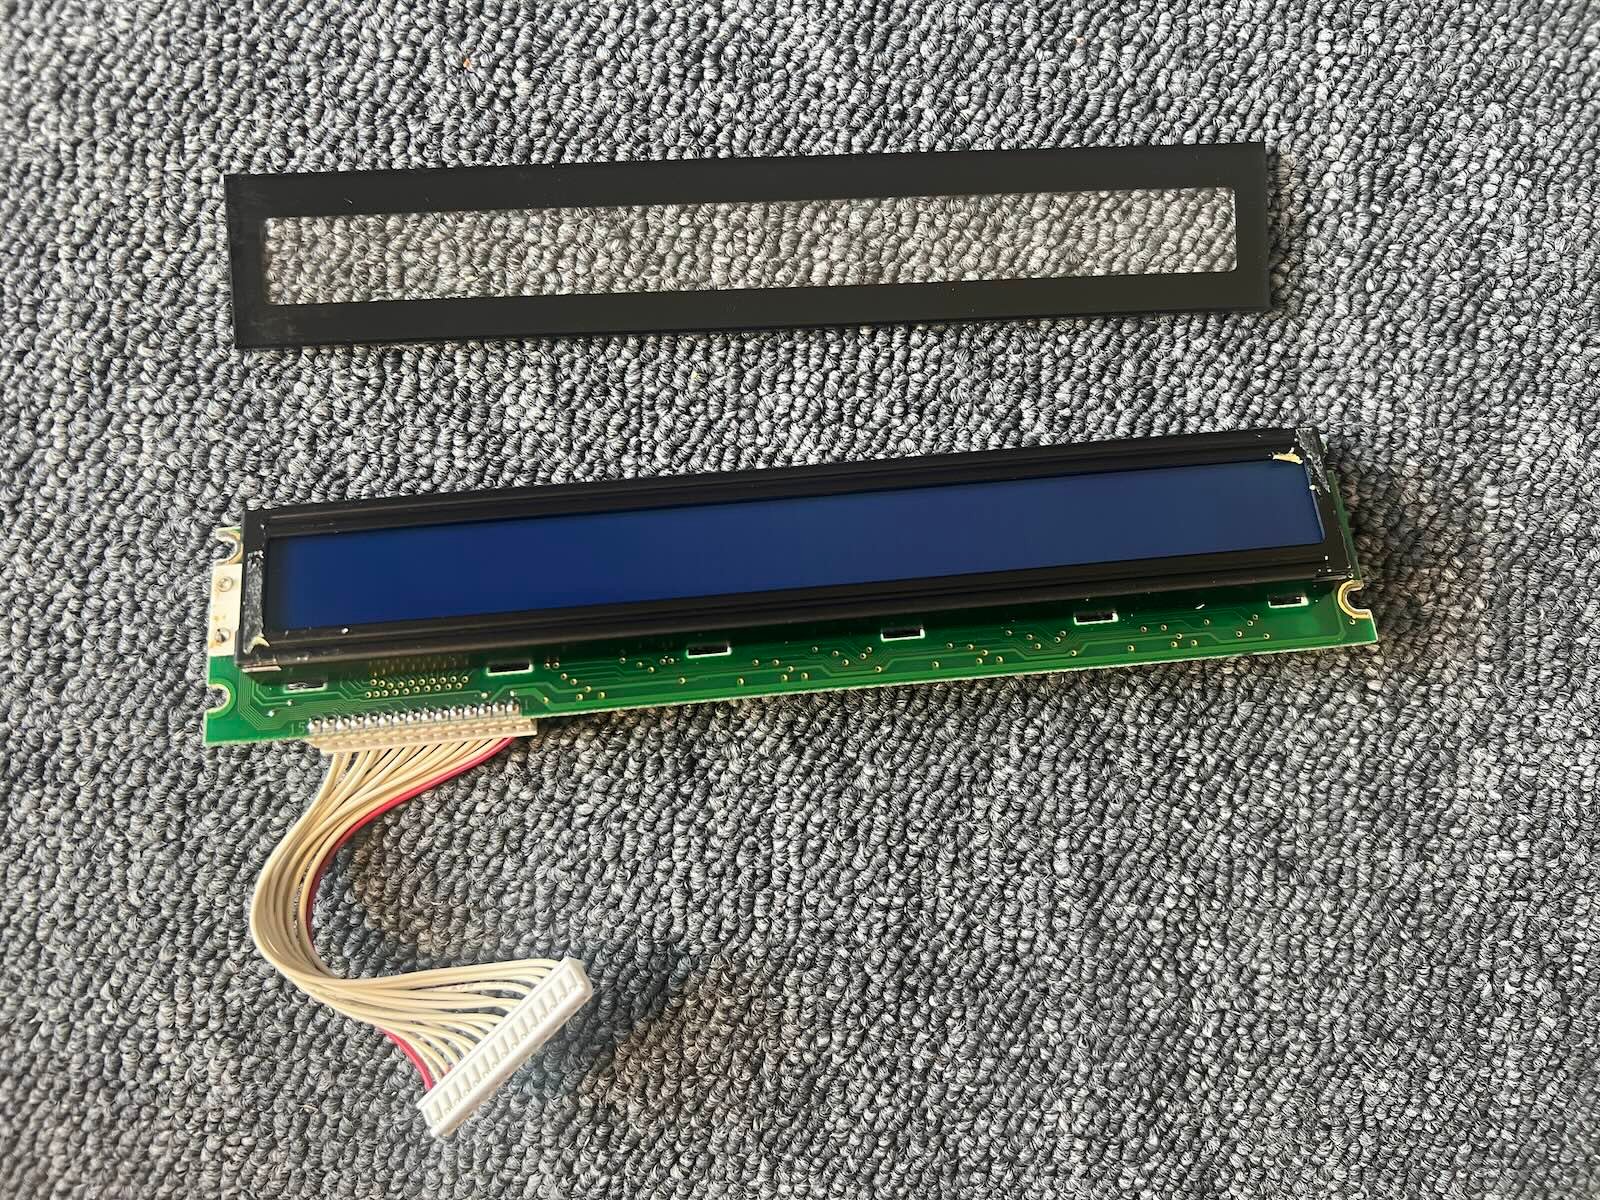
5) Carefully peel the glass off the original screen. Take your time, the adhesive is quite strong. The glass will be reused.
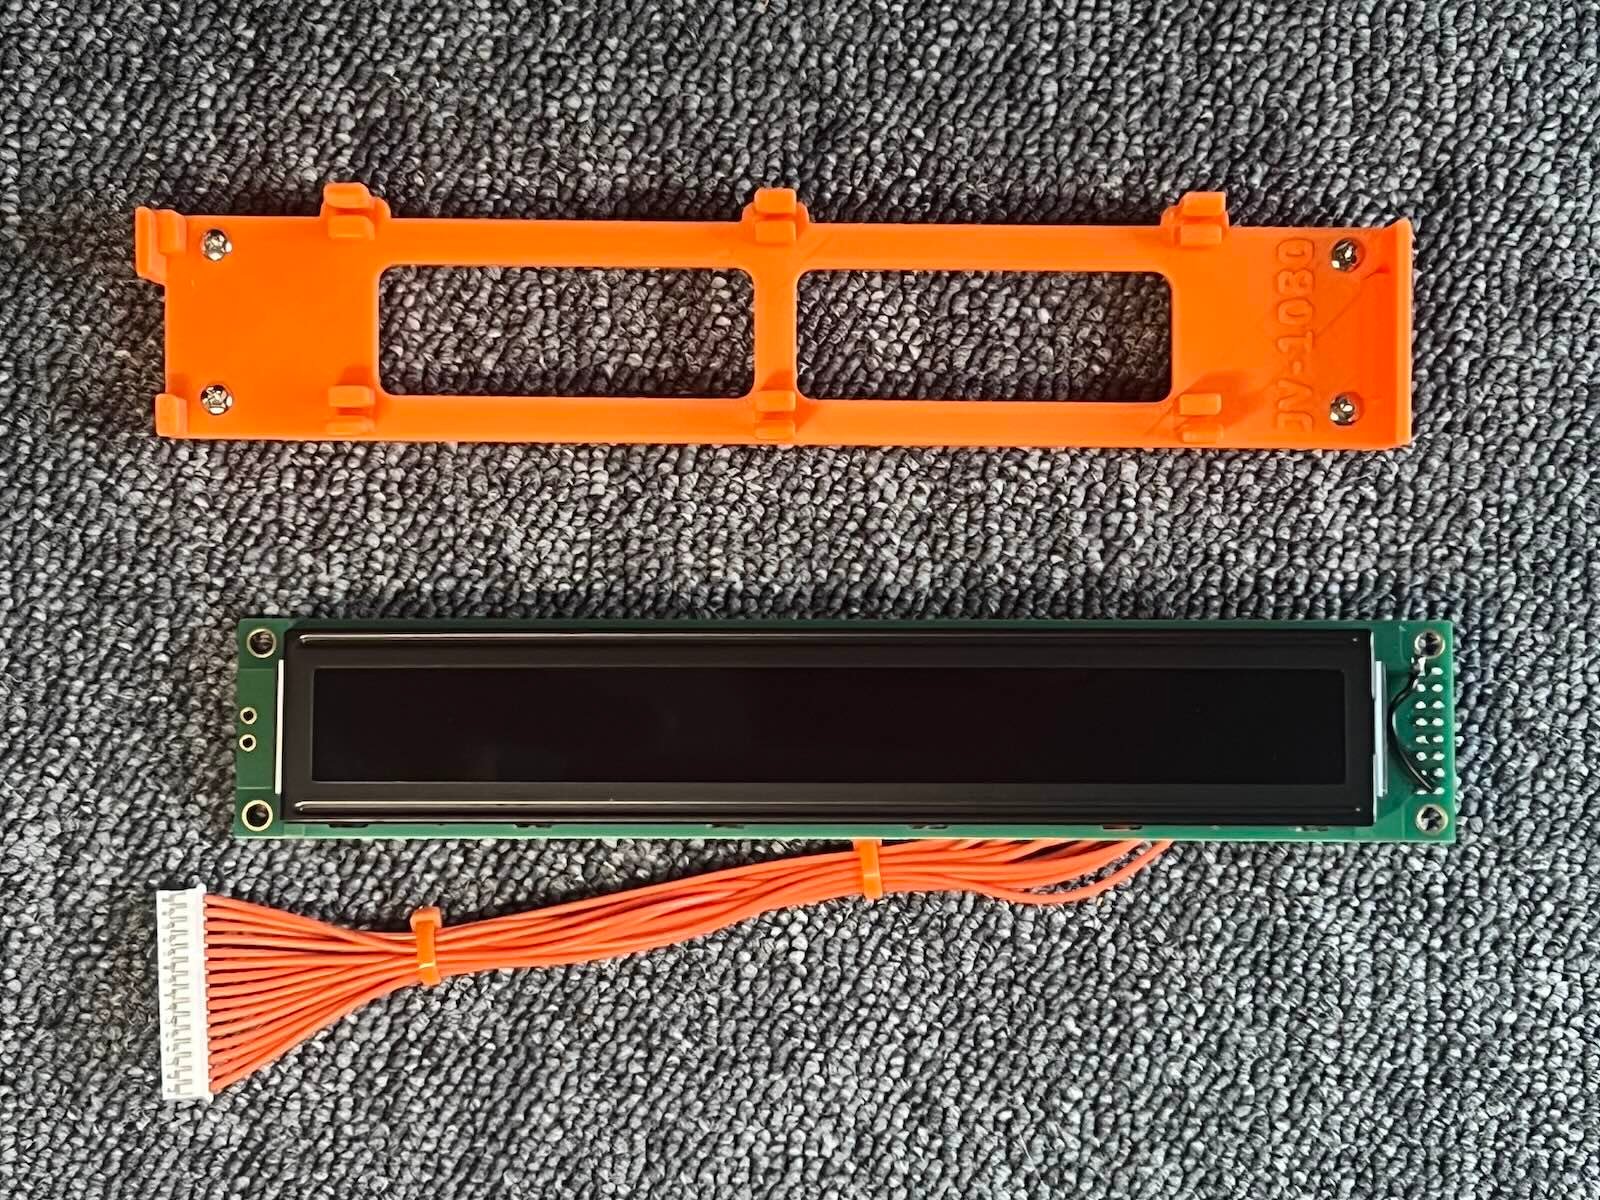
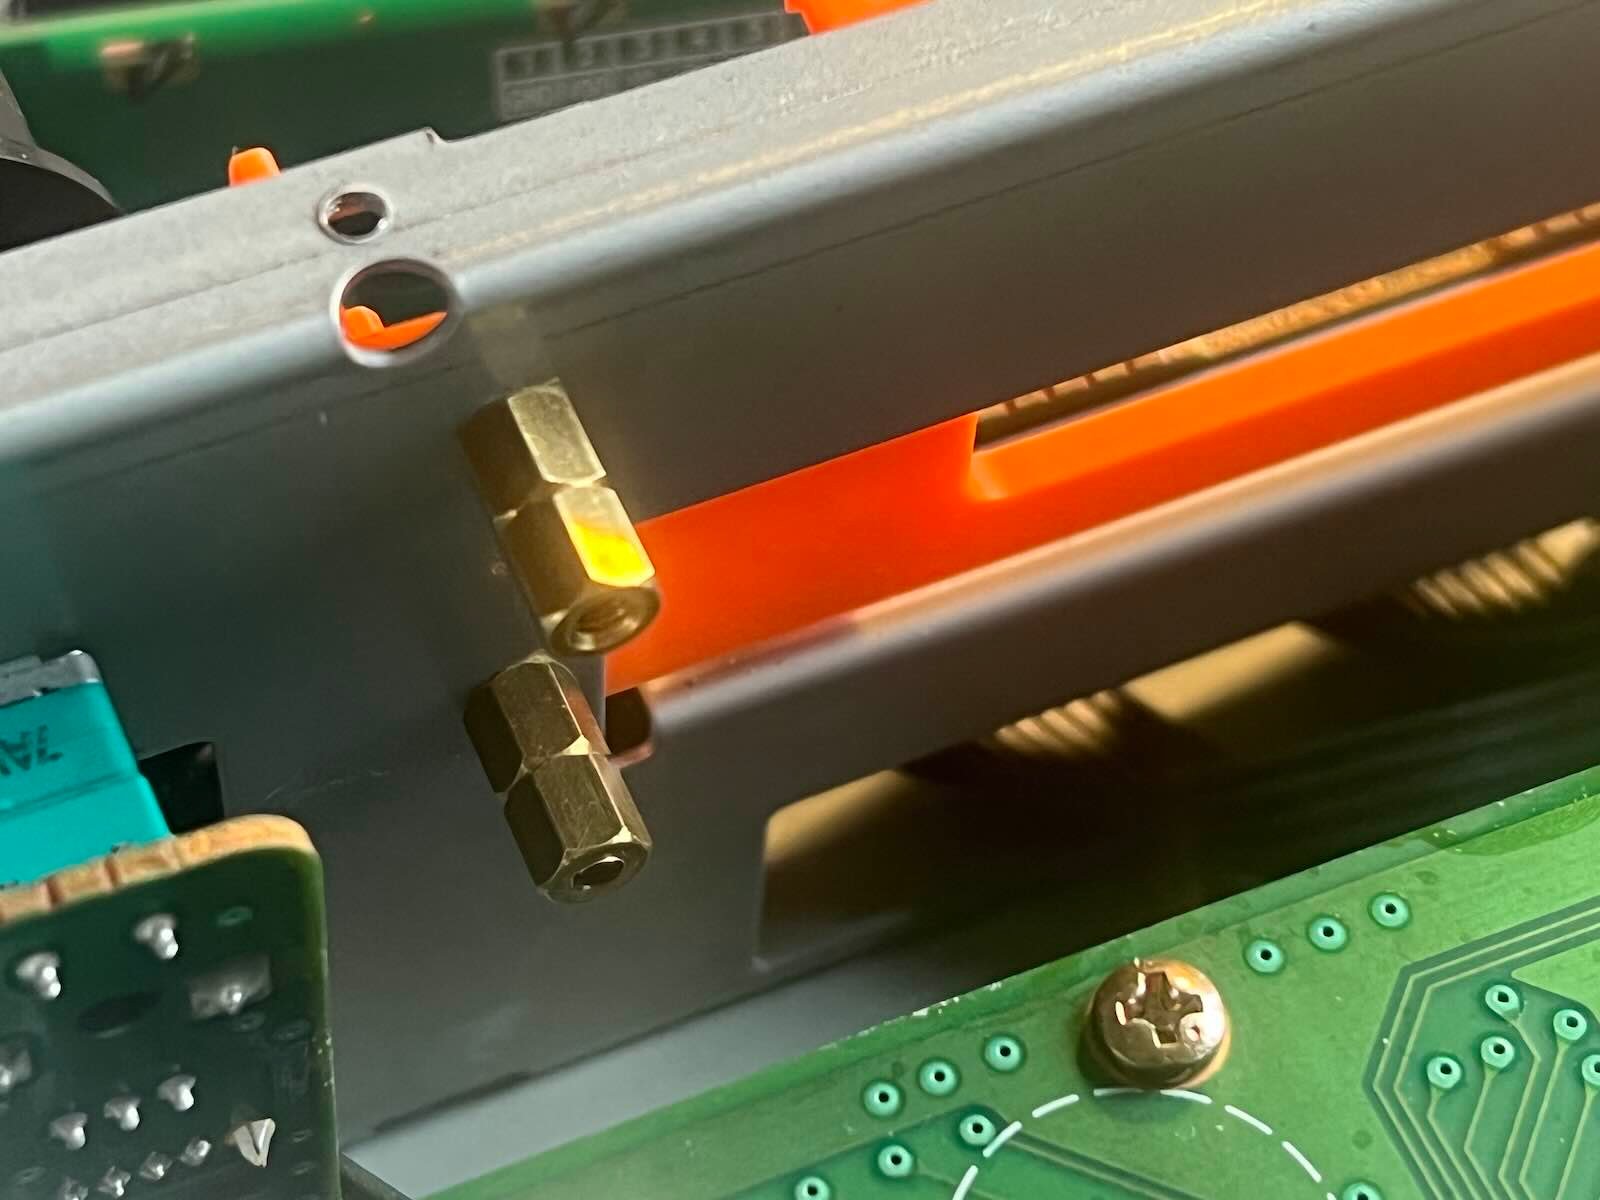
6) Position the 3D printed bracket. The four screws must fit into the mounting holes.
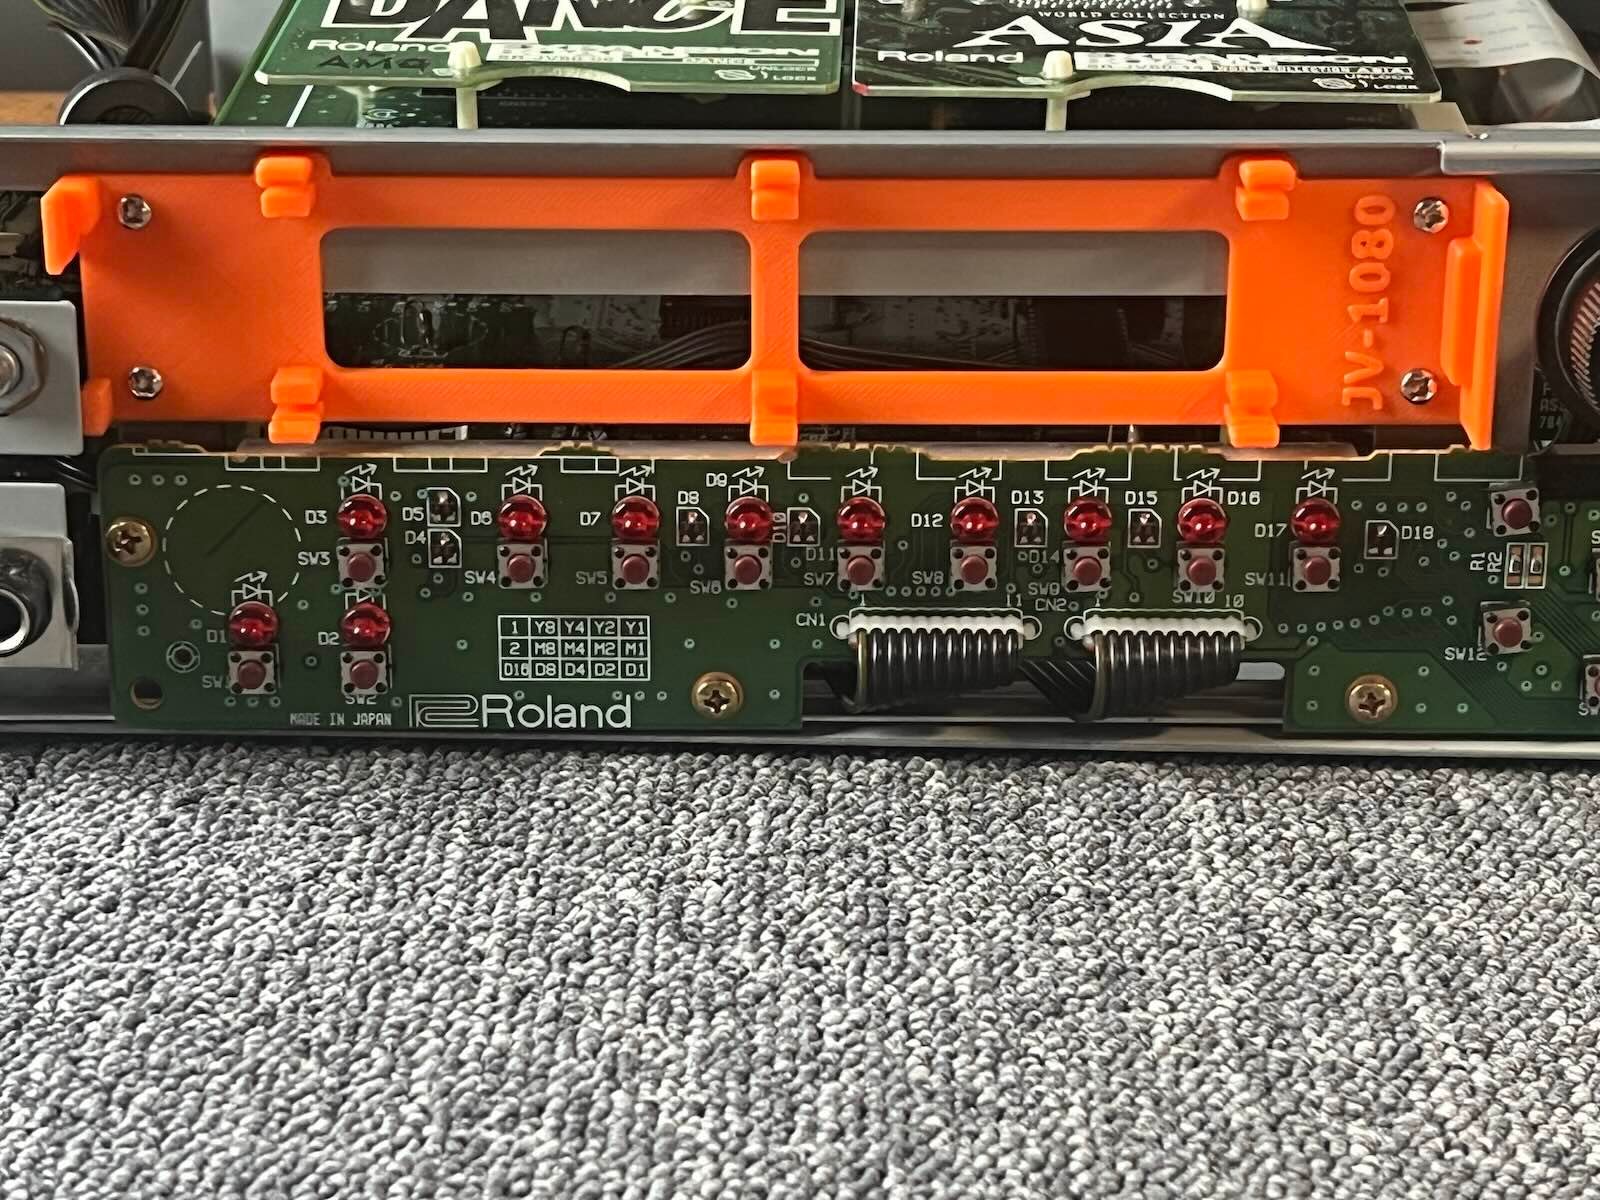
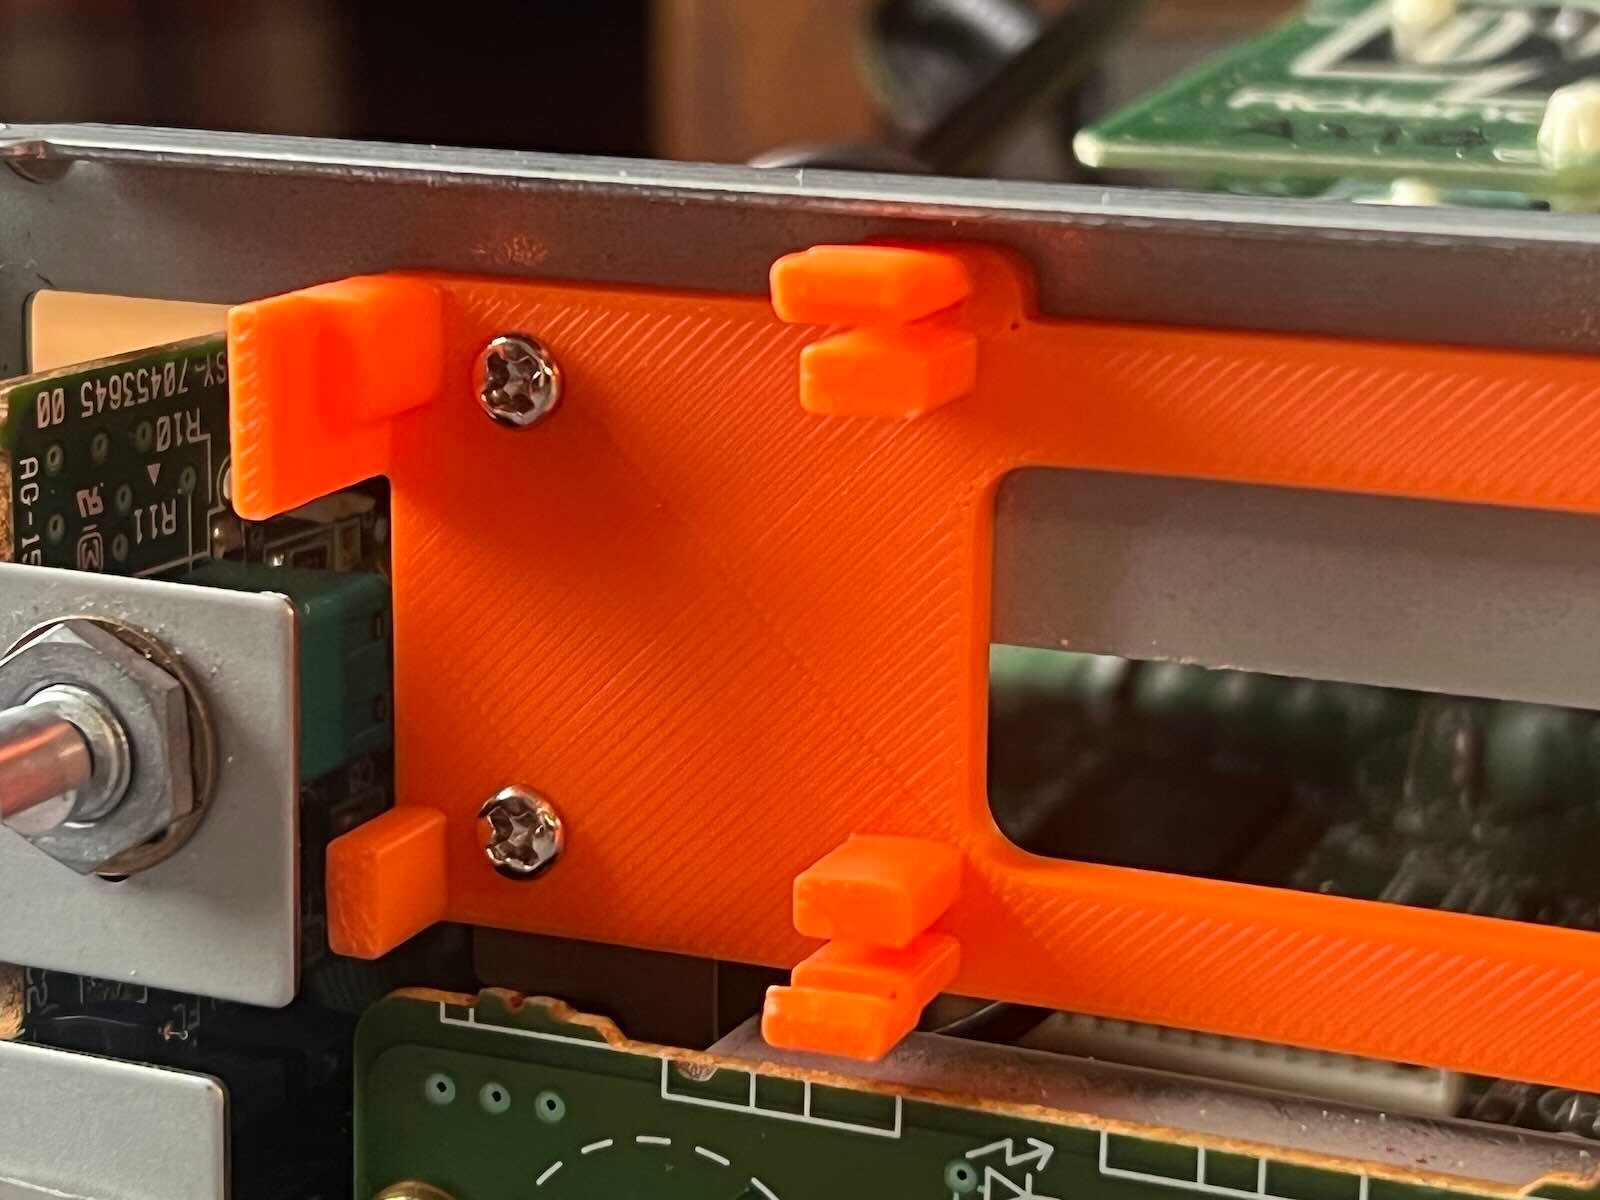
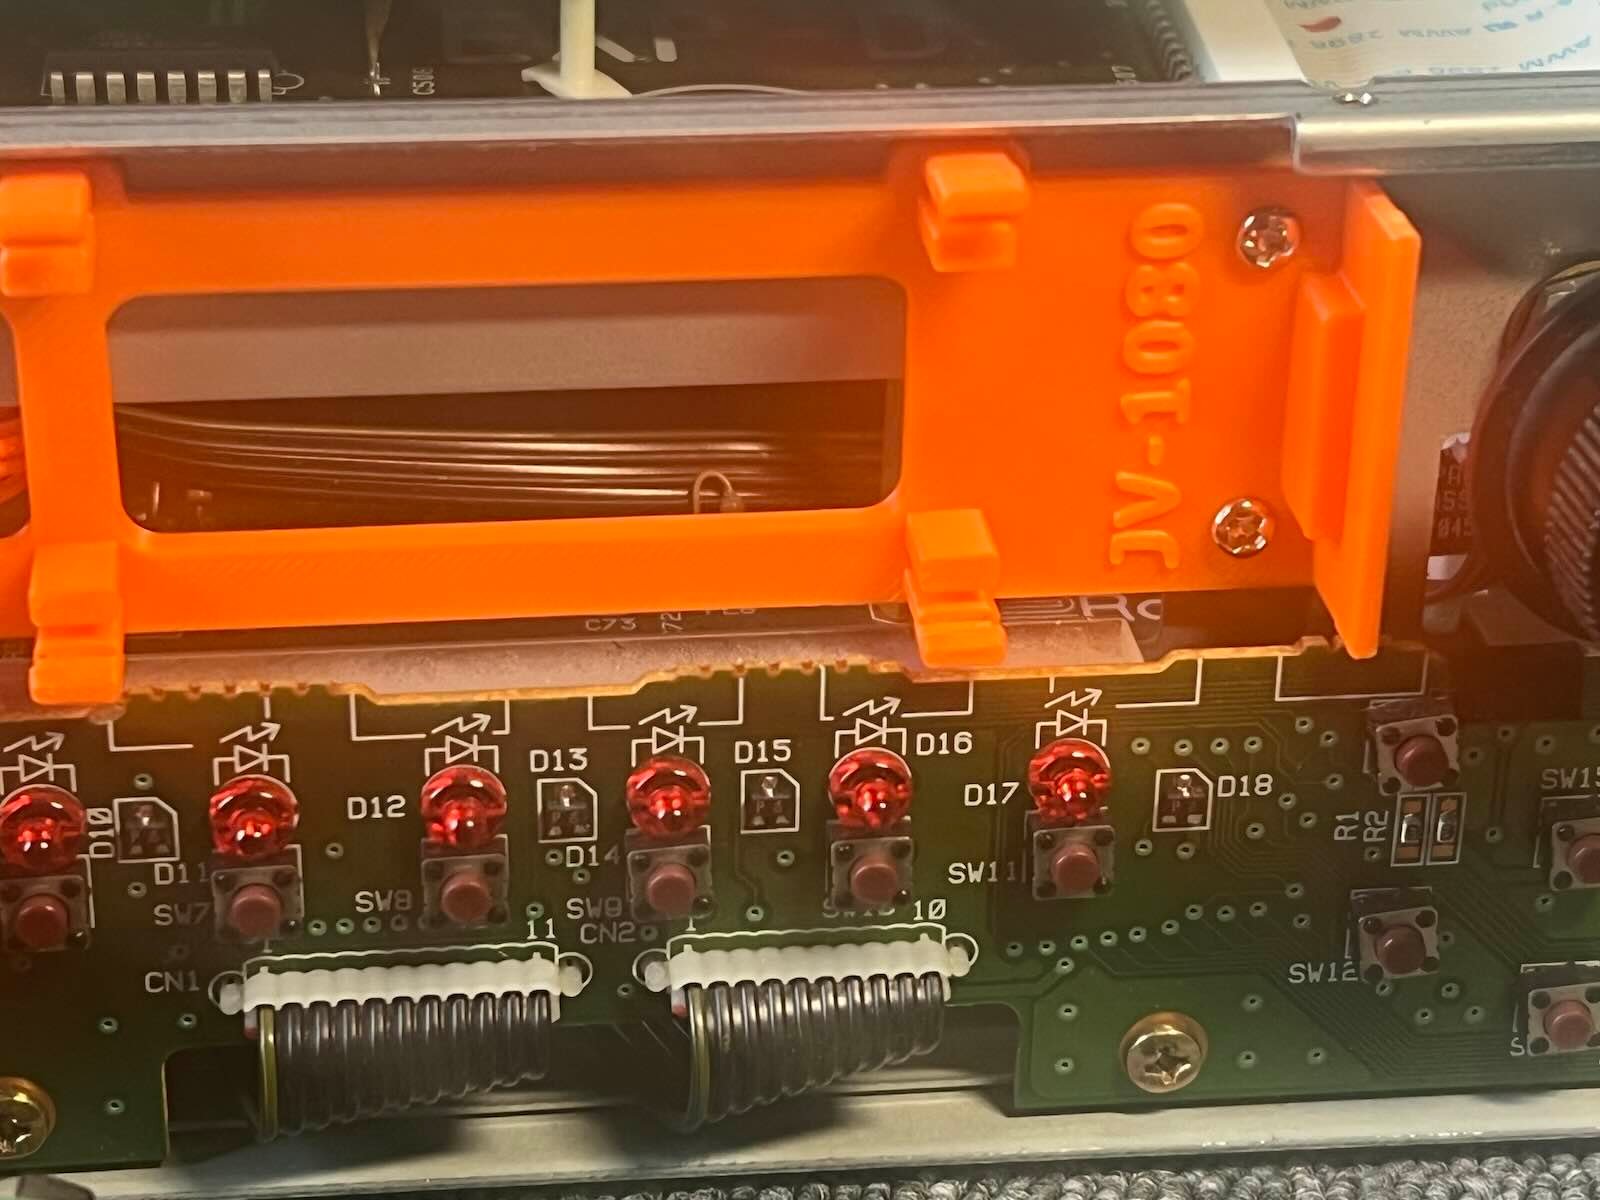
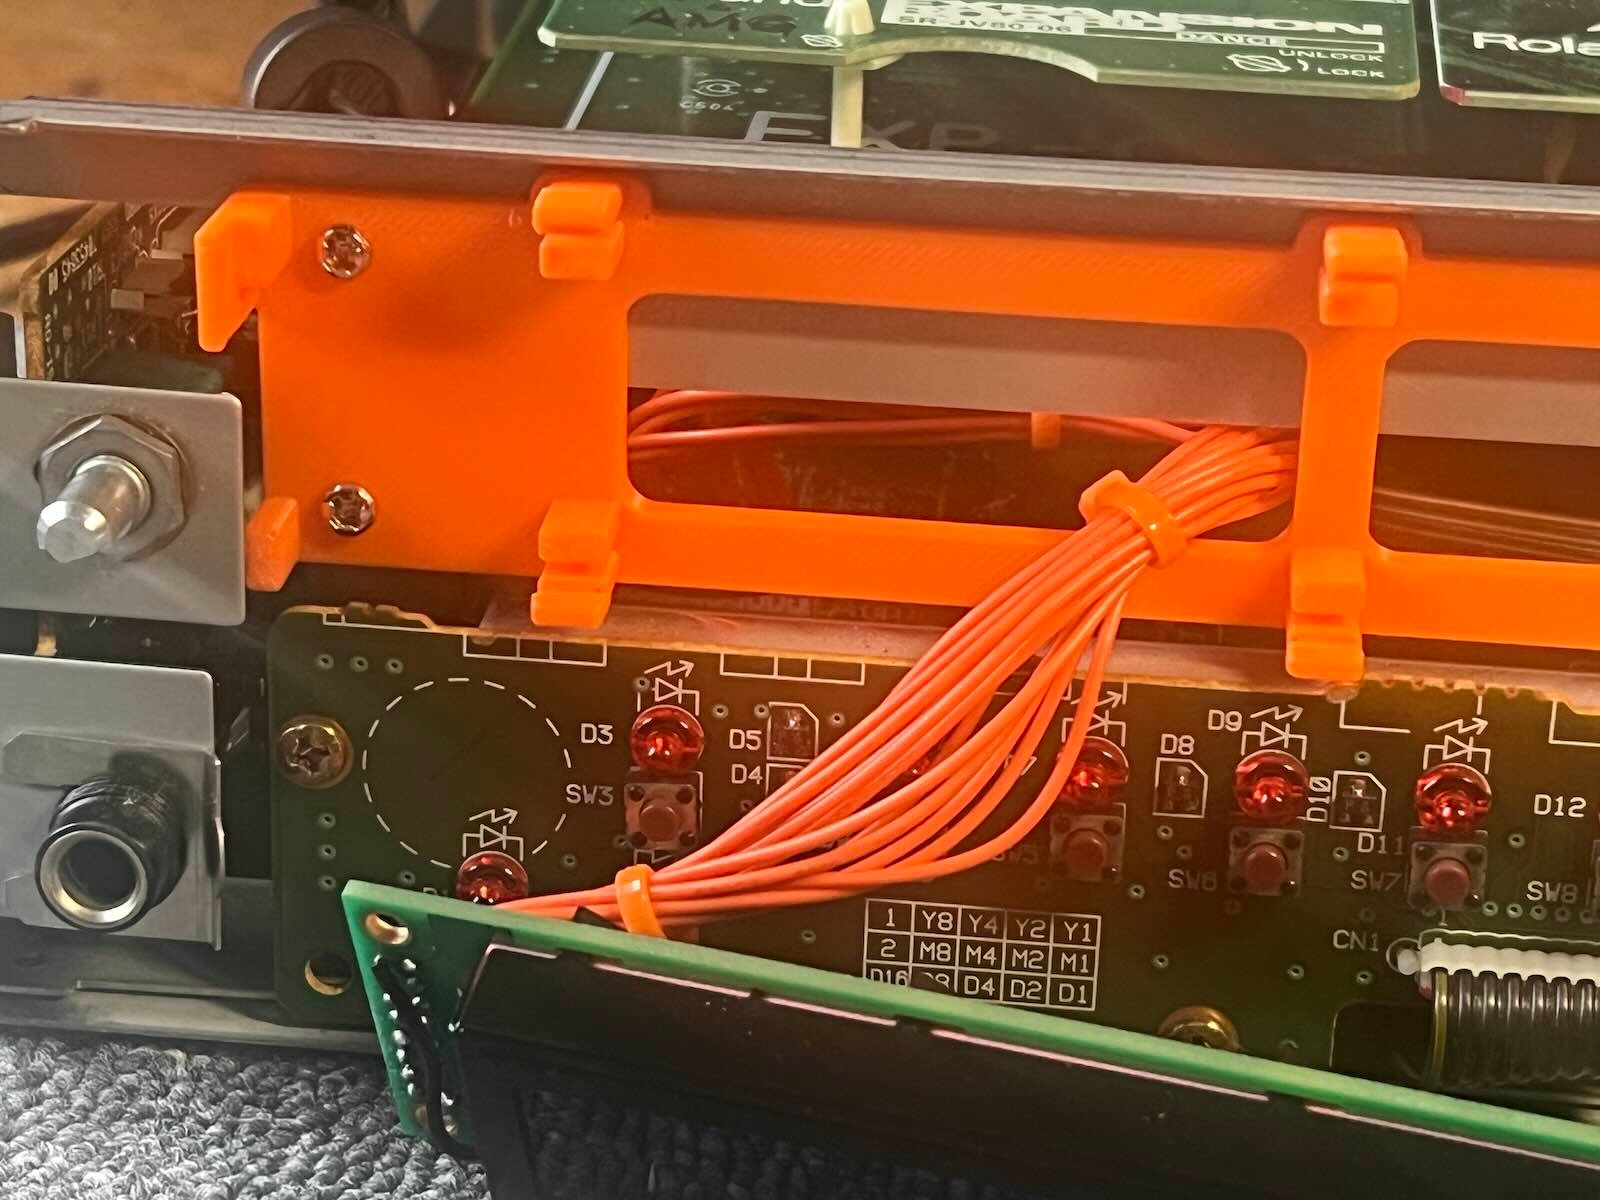
7) Secure the 3D printed bracket from the inside using the 4 PCB holders
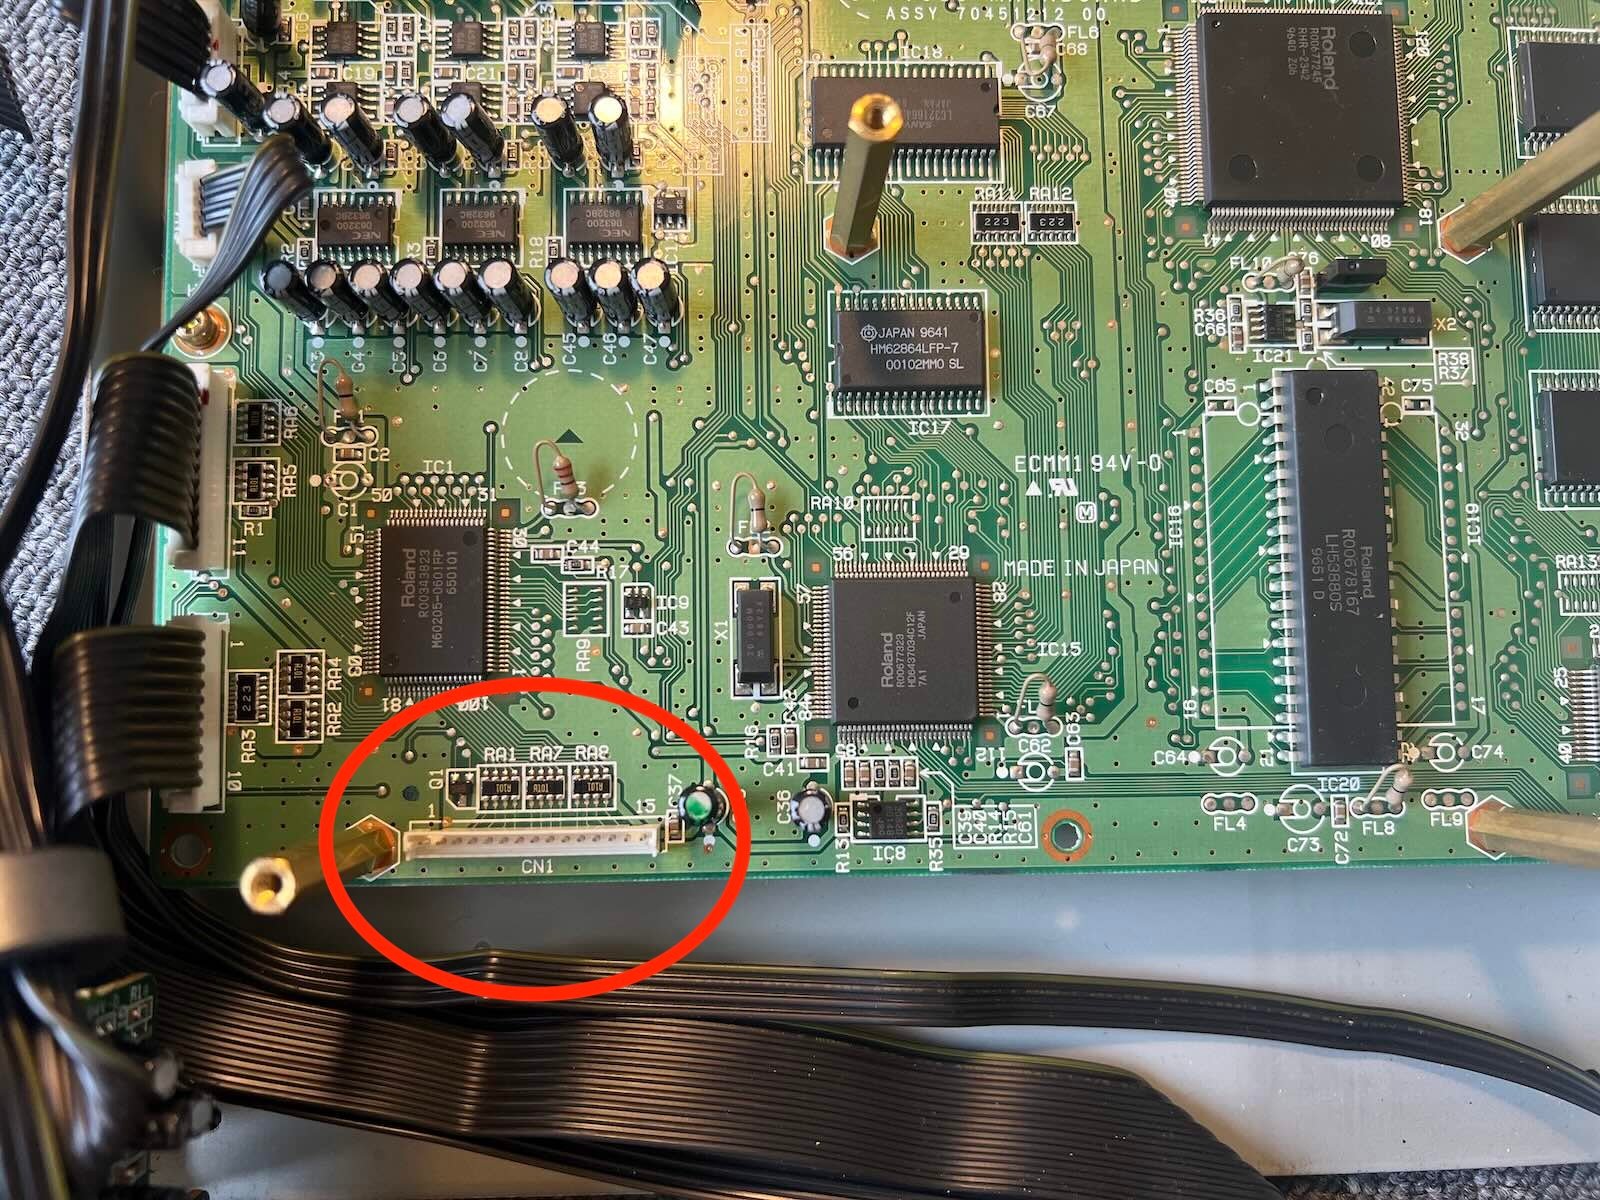
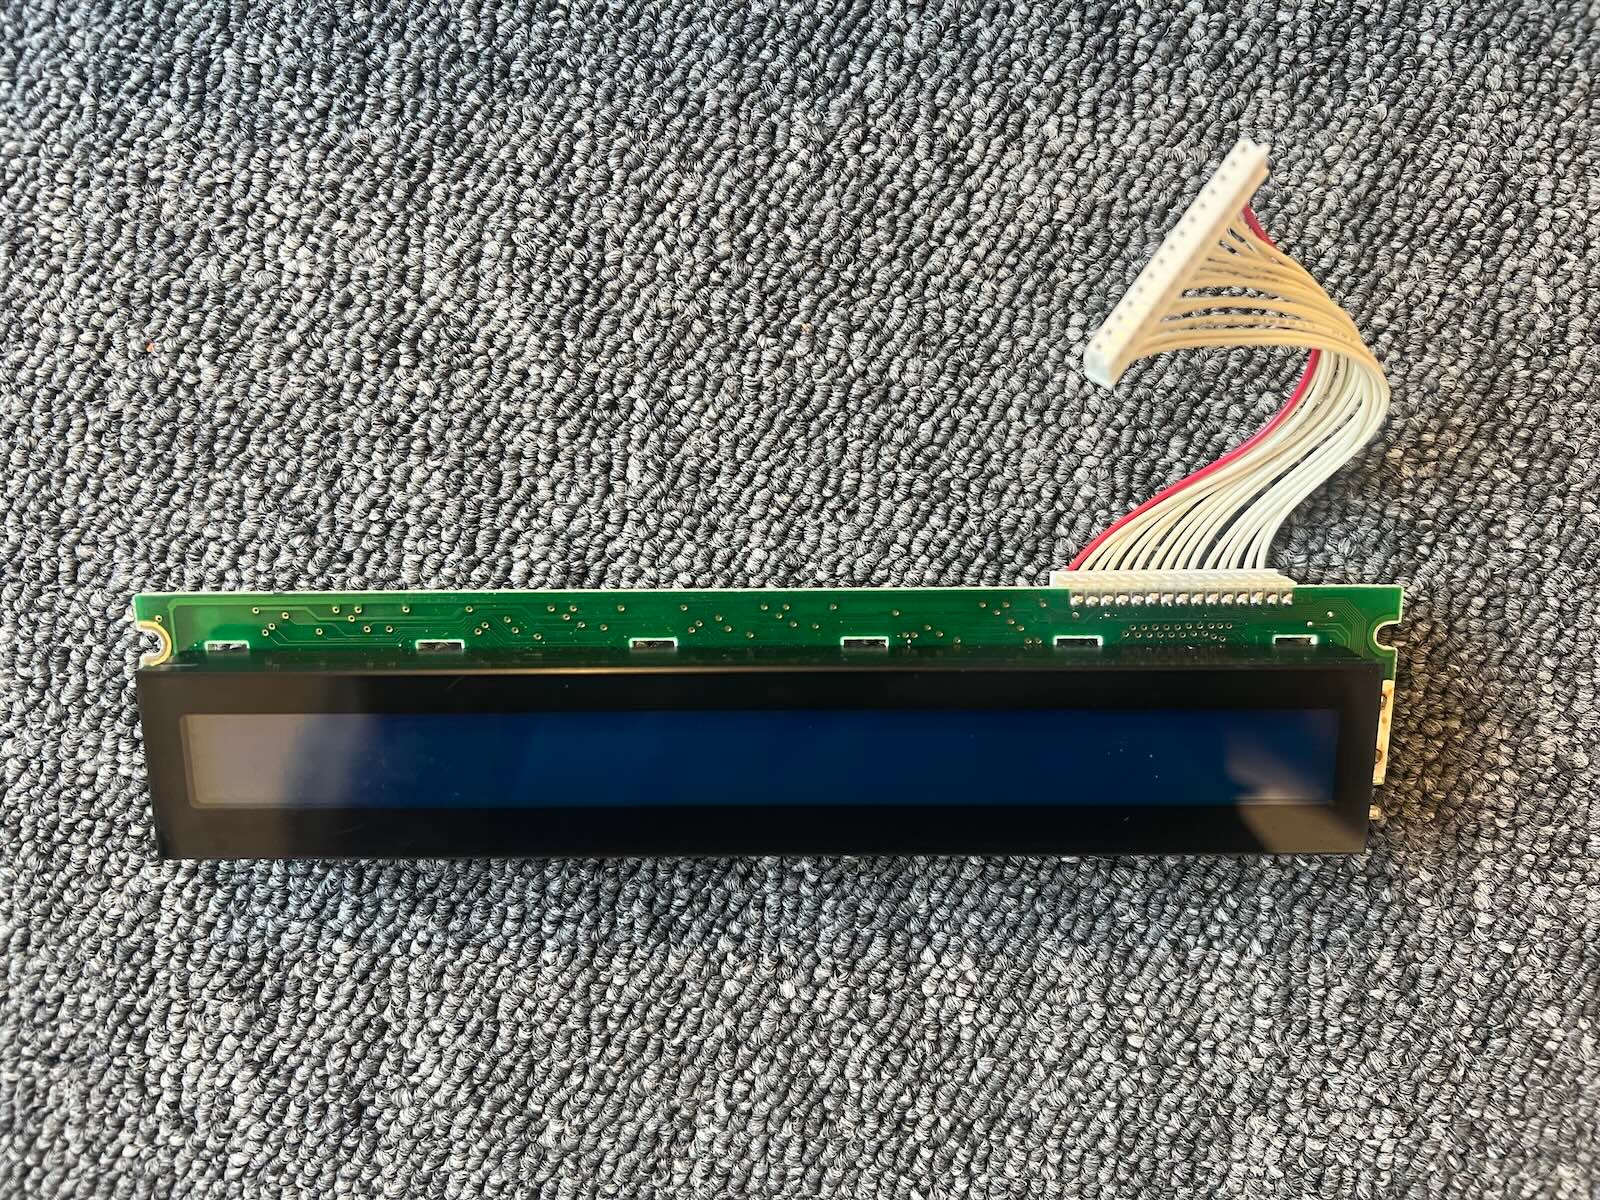
8) Pass the connector and the cable through, then plug the connector of the new screen into the motherboard.
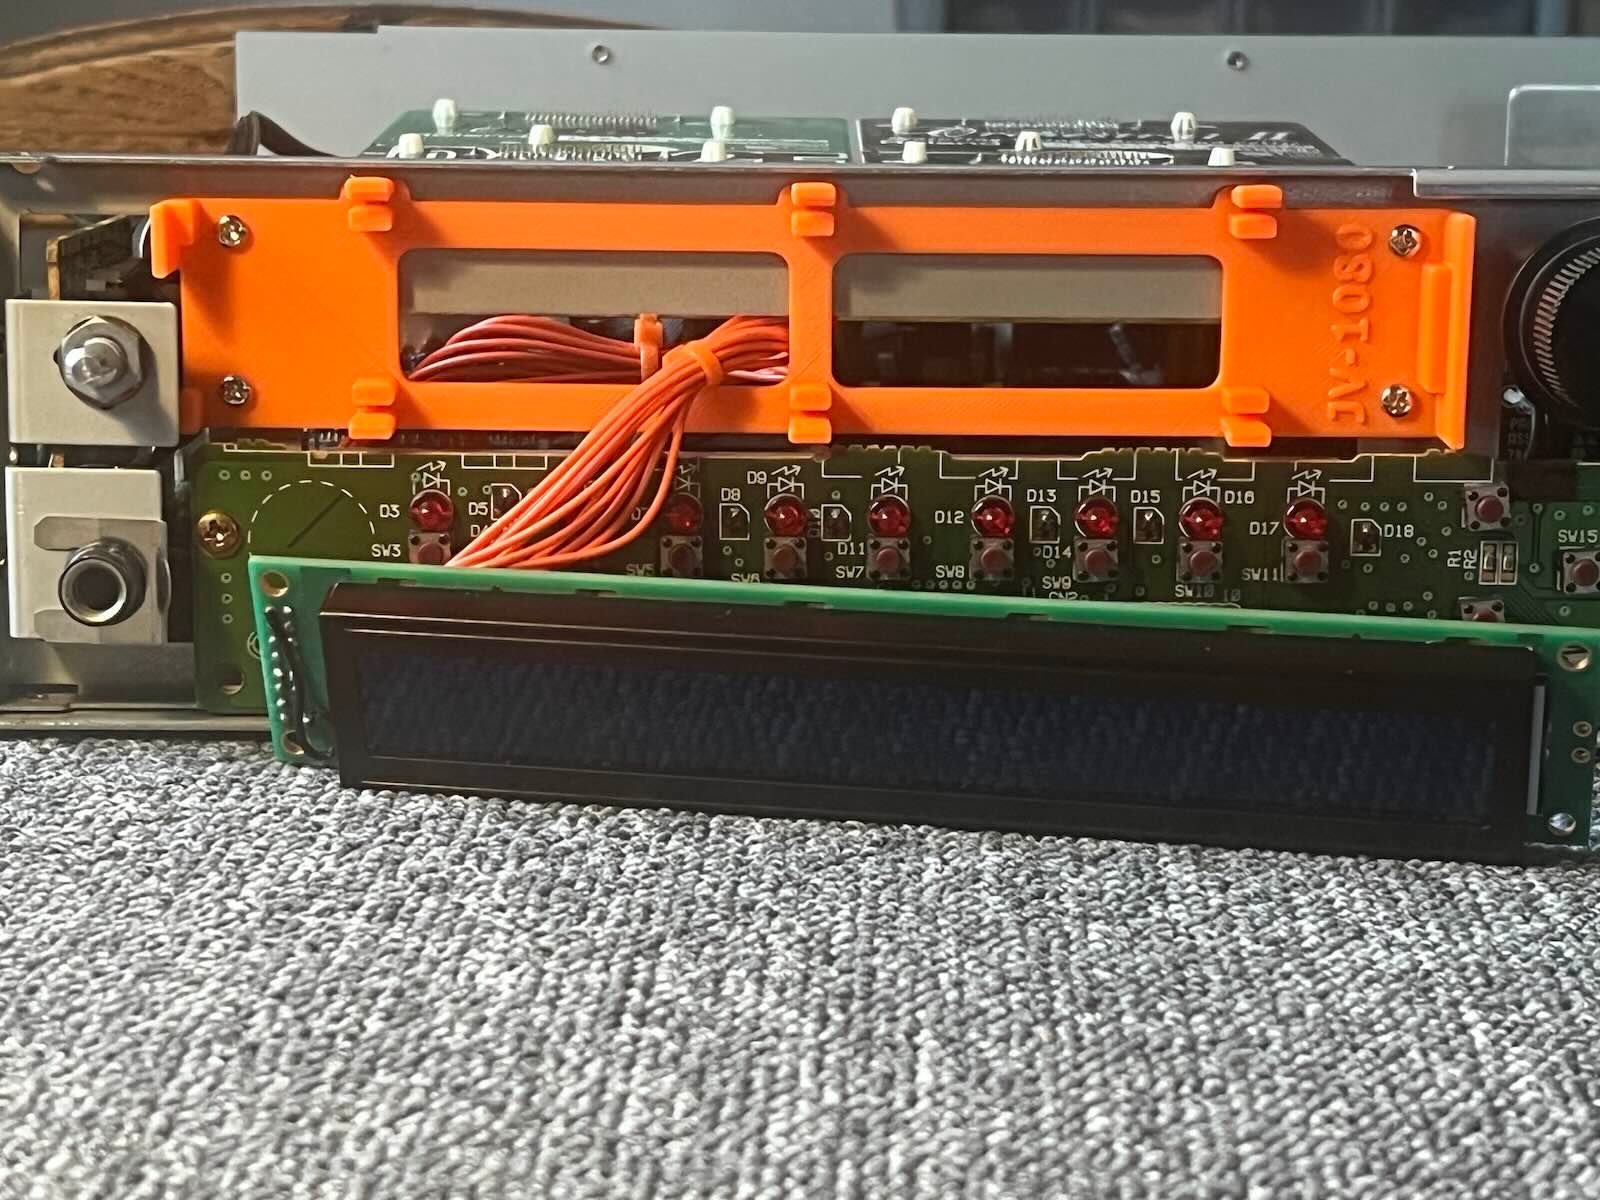
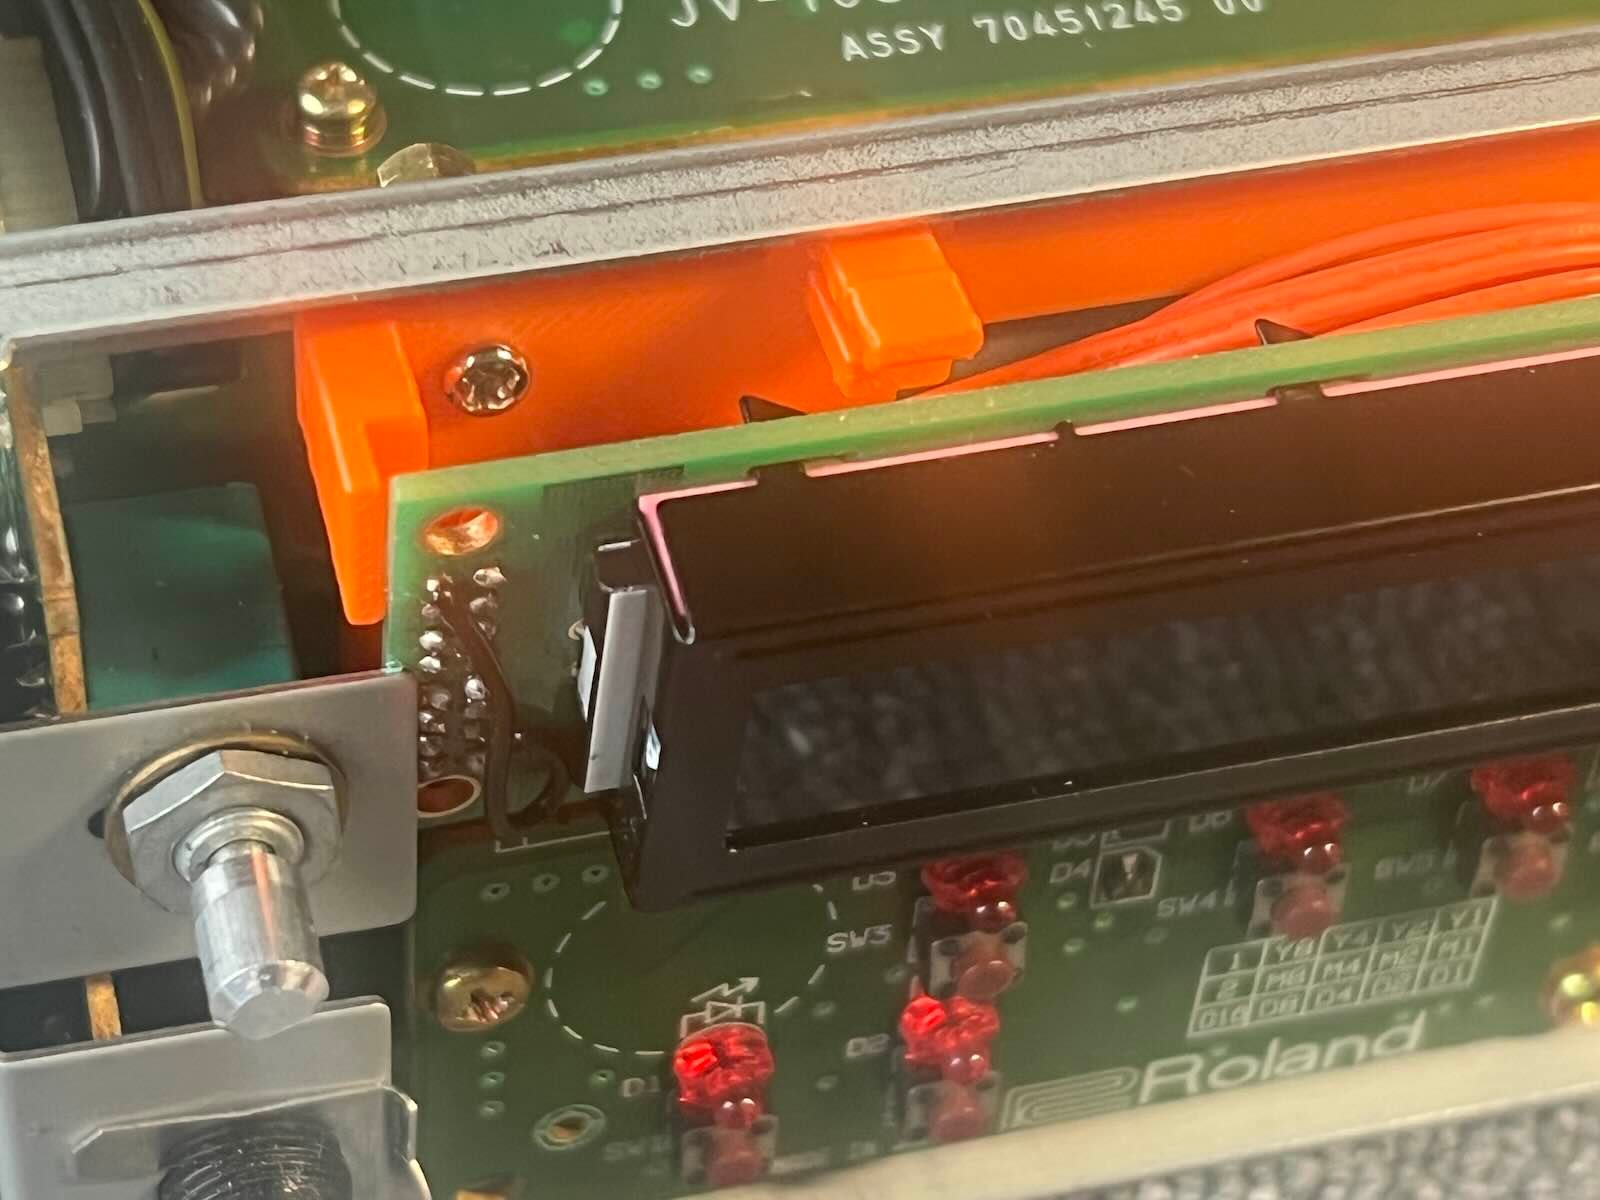
9) Place the new screen on its stand, first inserting it from the bottom.
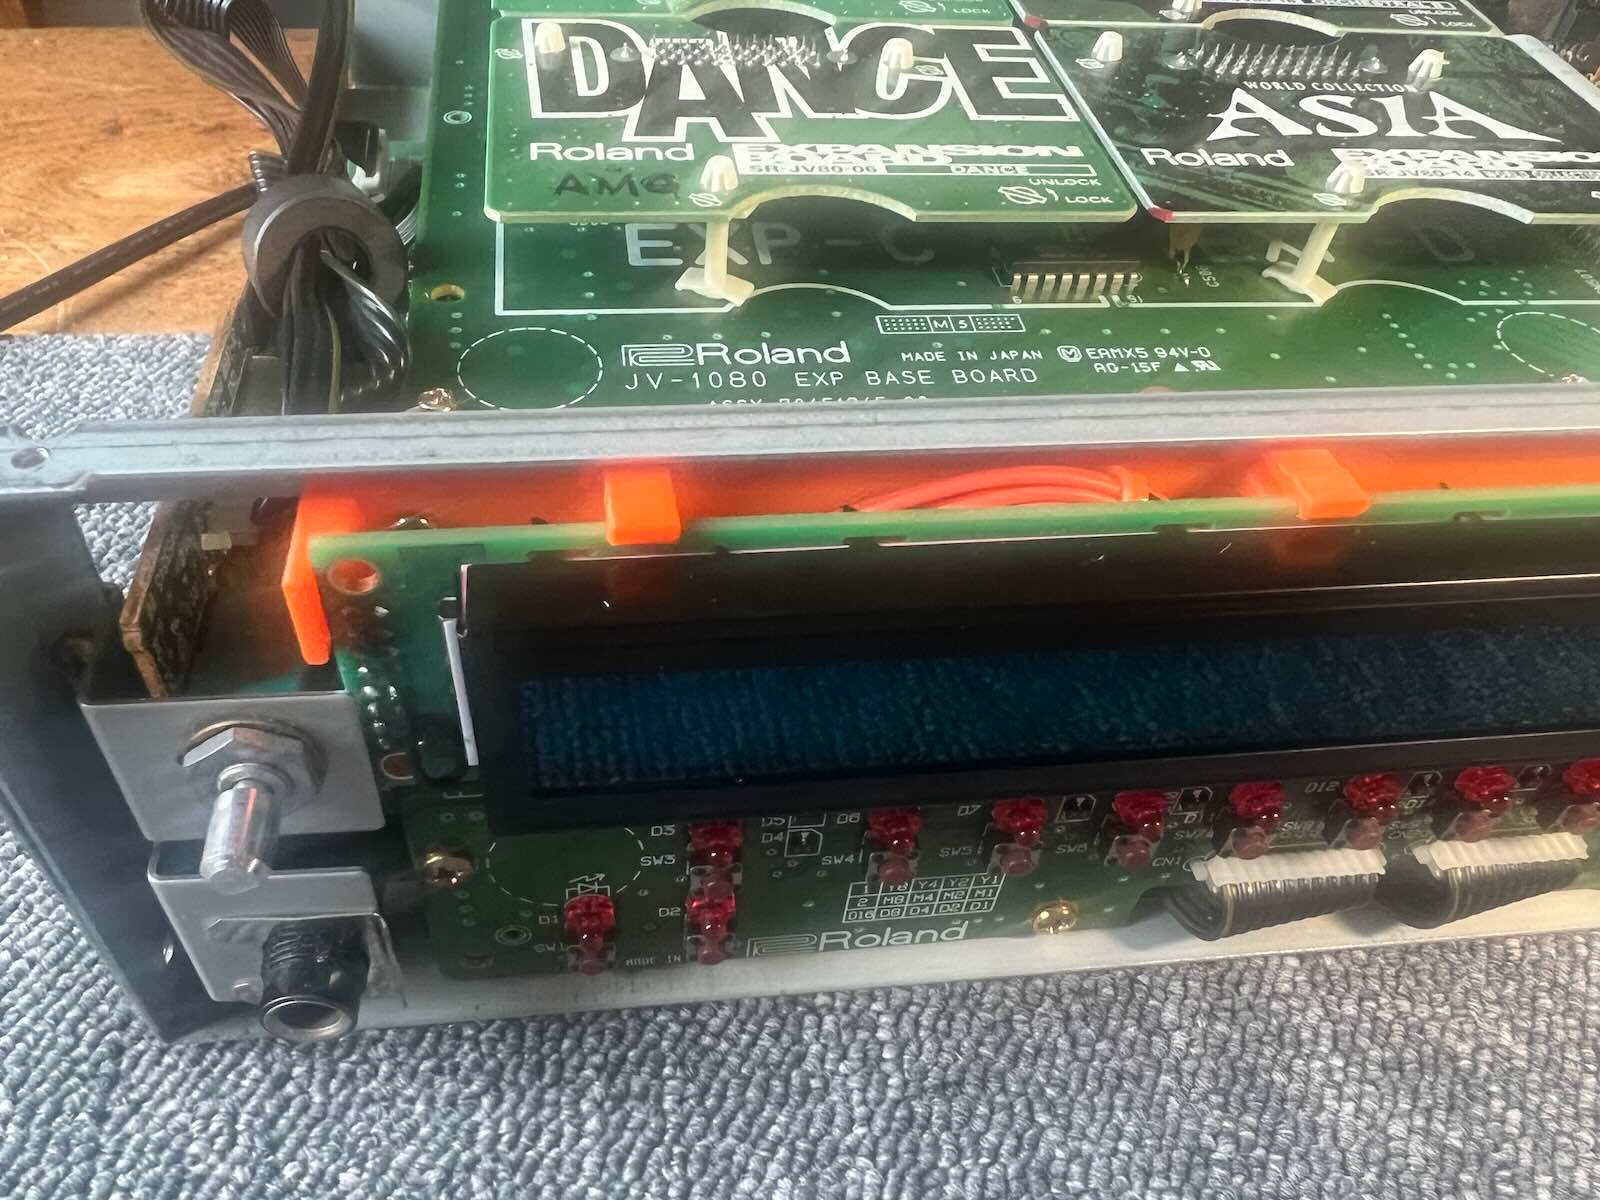
10) go back up.
11) Replace the original glass from the outside. Secure with a little glue.
12) If necessary, adjust the contrast: SYSTEM -> SETUP -> LCD Contrast (1-10)