


Roland U-220 display kit installation
1) Remove the top cover. There are screws to remove on top, underneath, on the sides, and behind.
2) Remove the front black panel (screws on top and underneath)
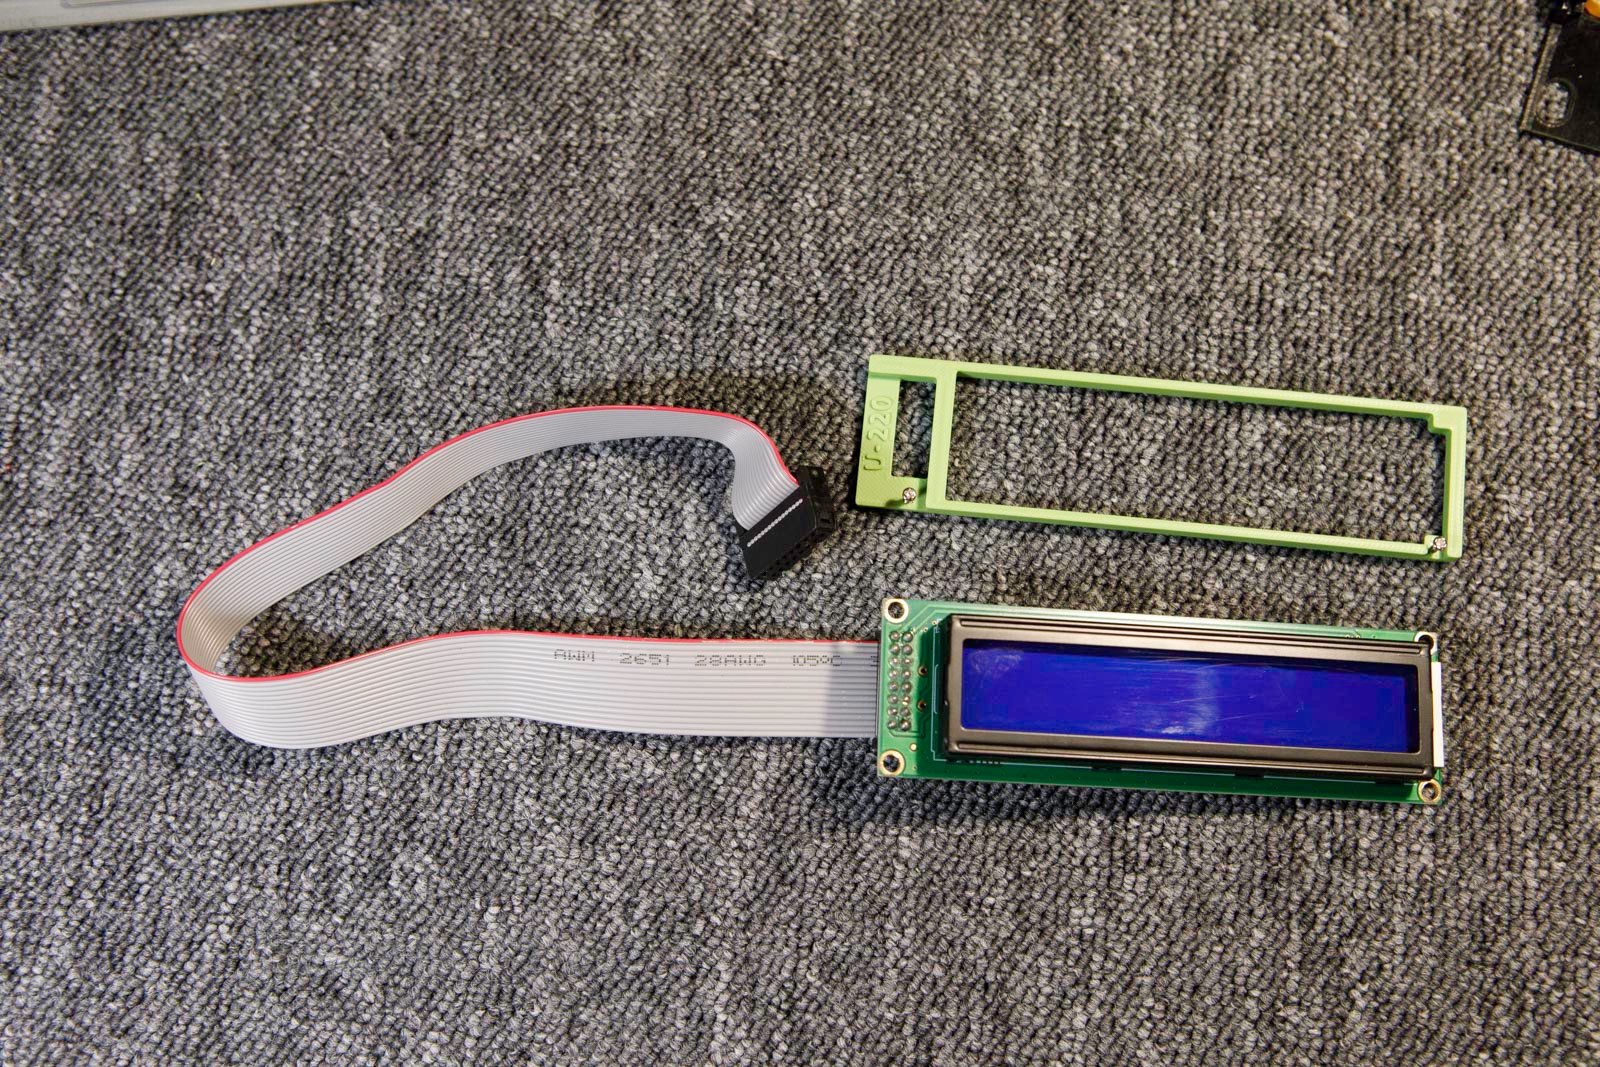
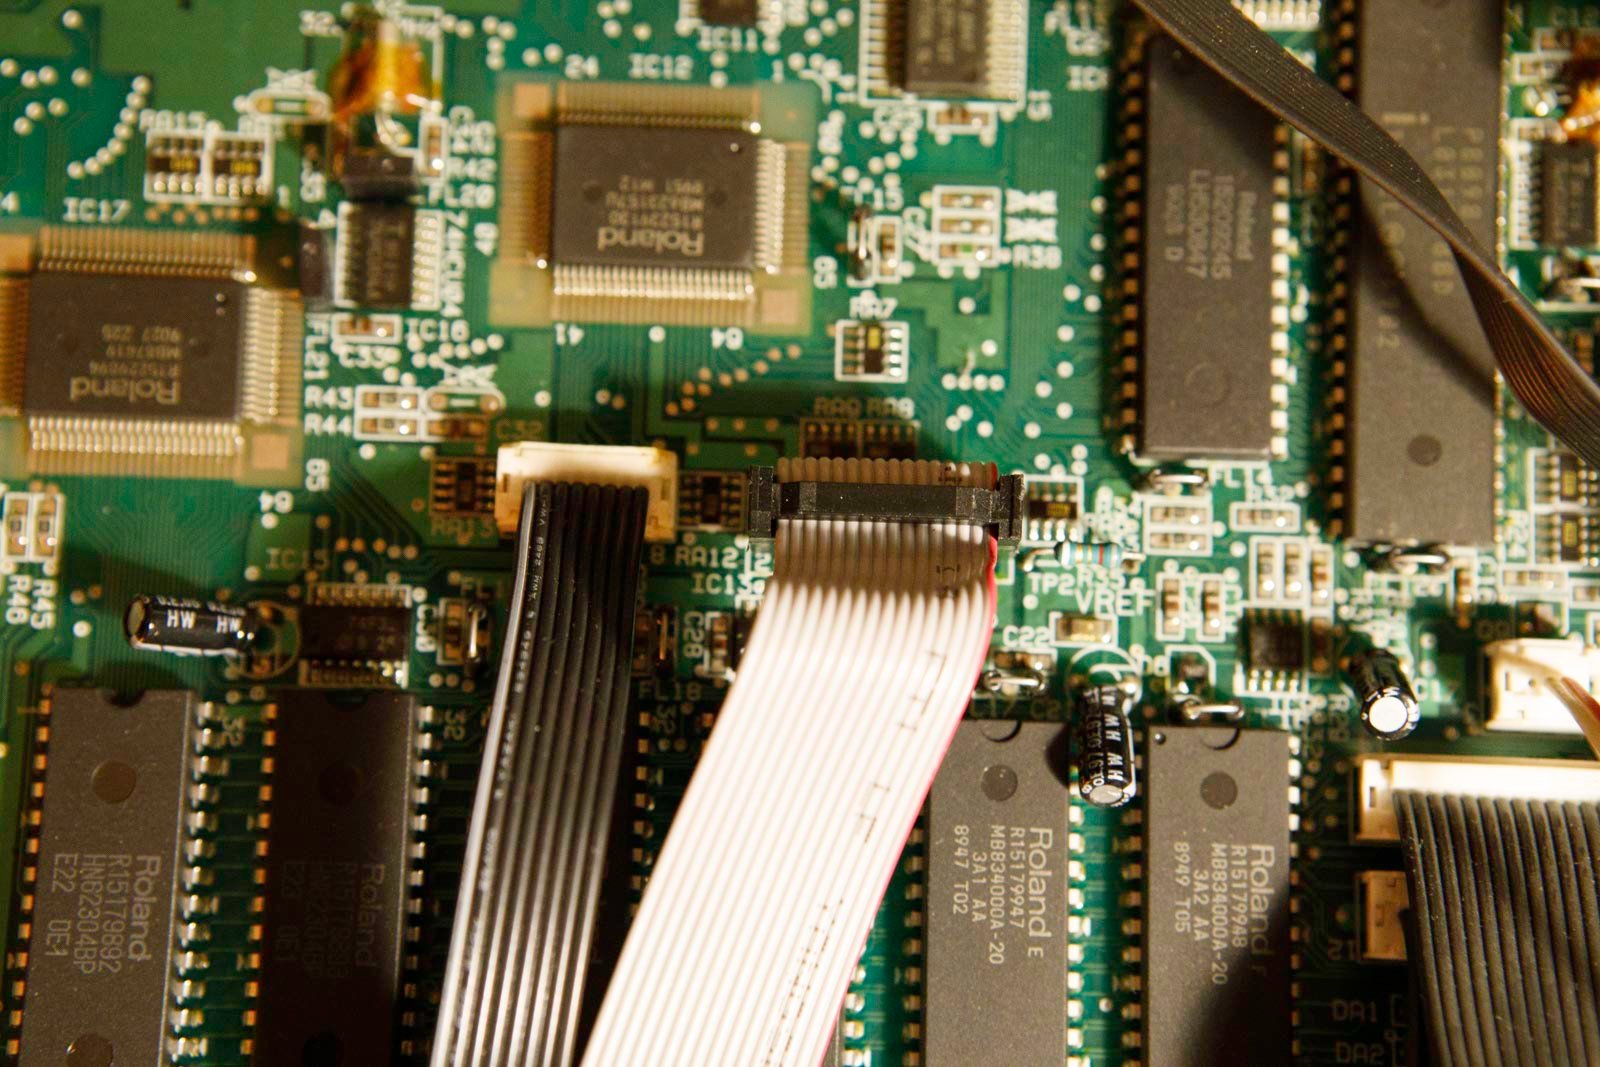
3) Remove the original display. Pass the flat cable of the new display.
4) Detach the glass from the original display and attach it to the inside of the window with an adhesive tape.
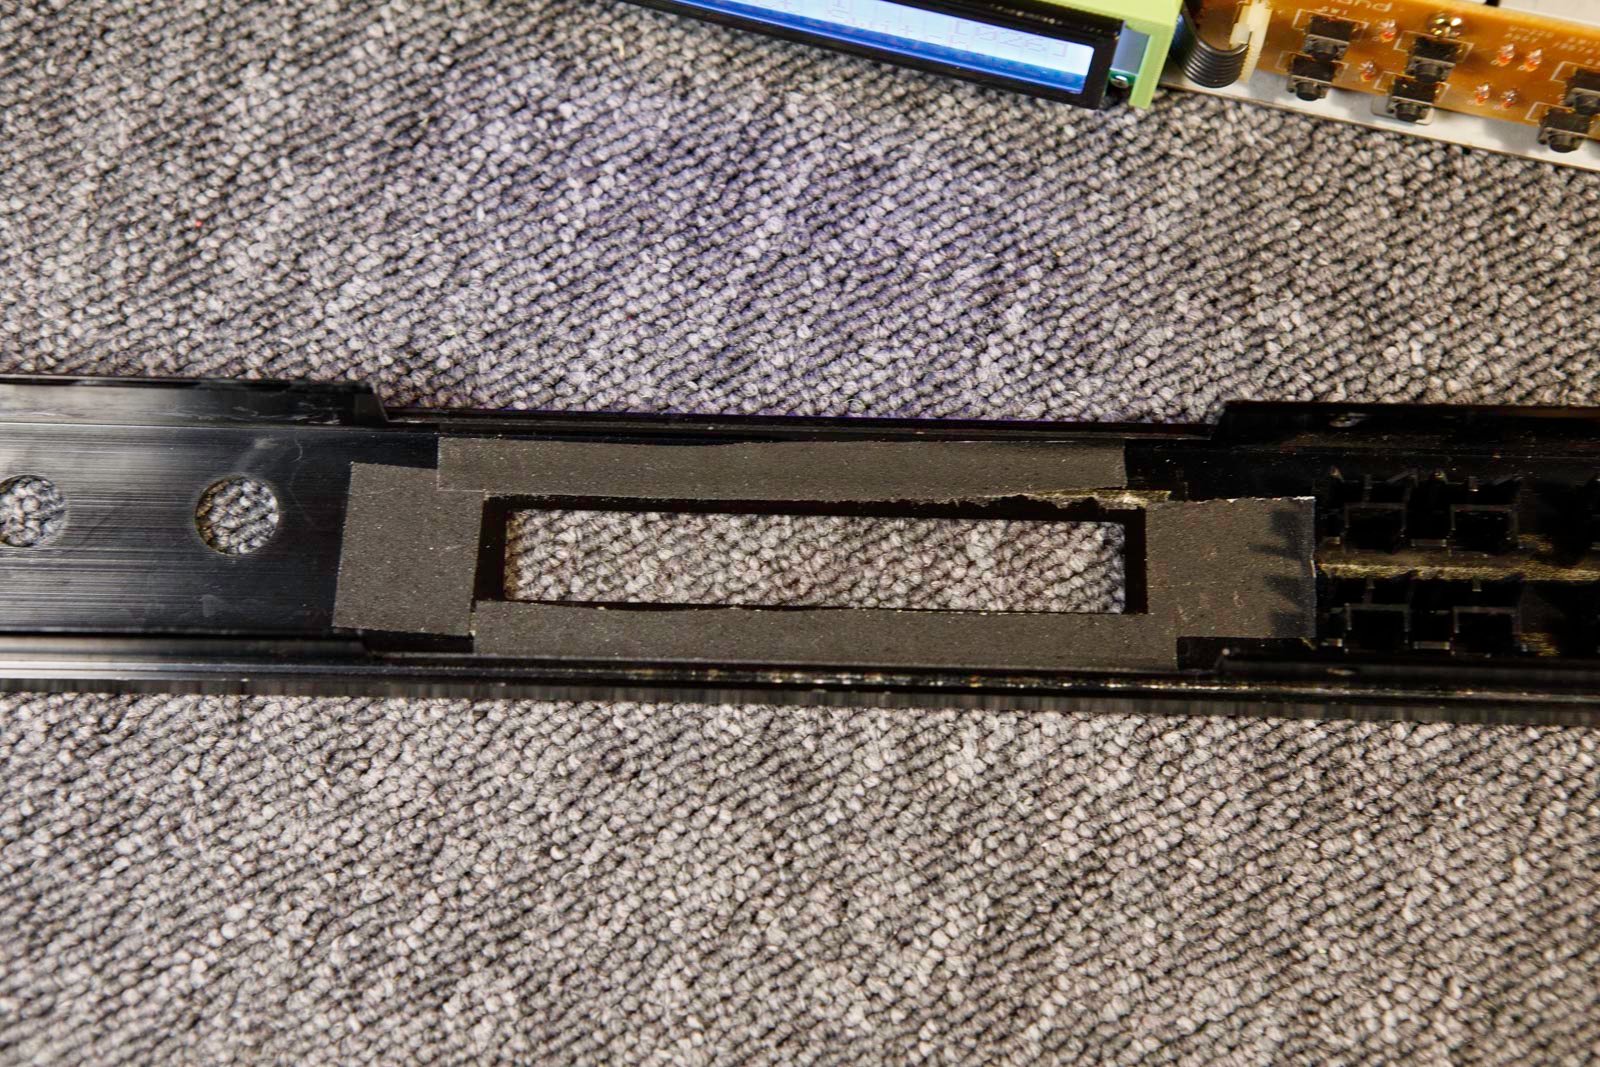
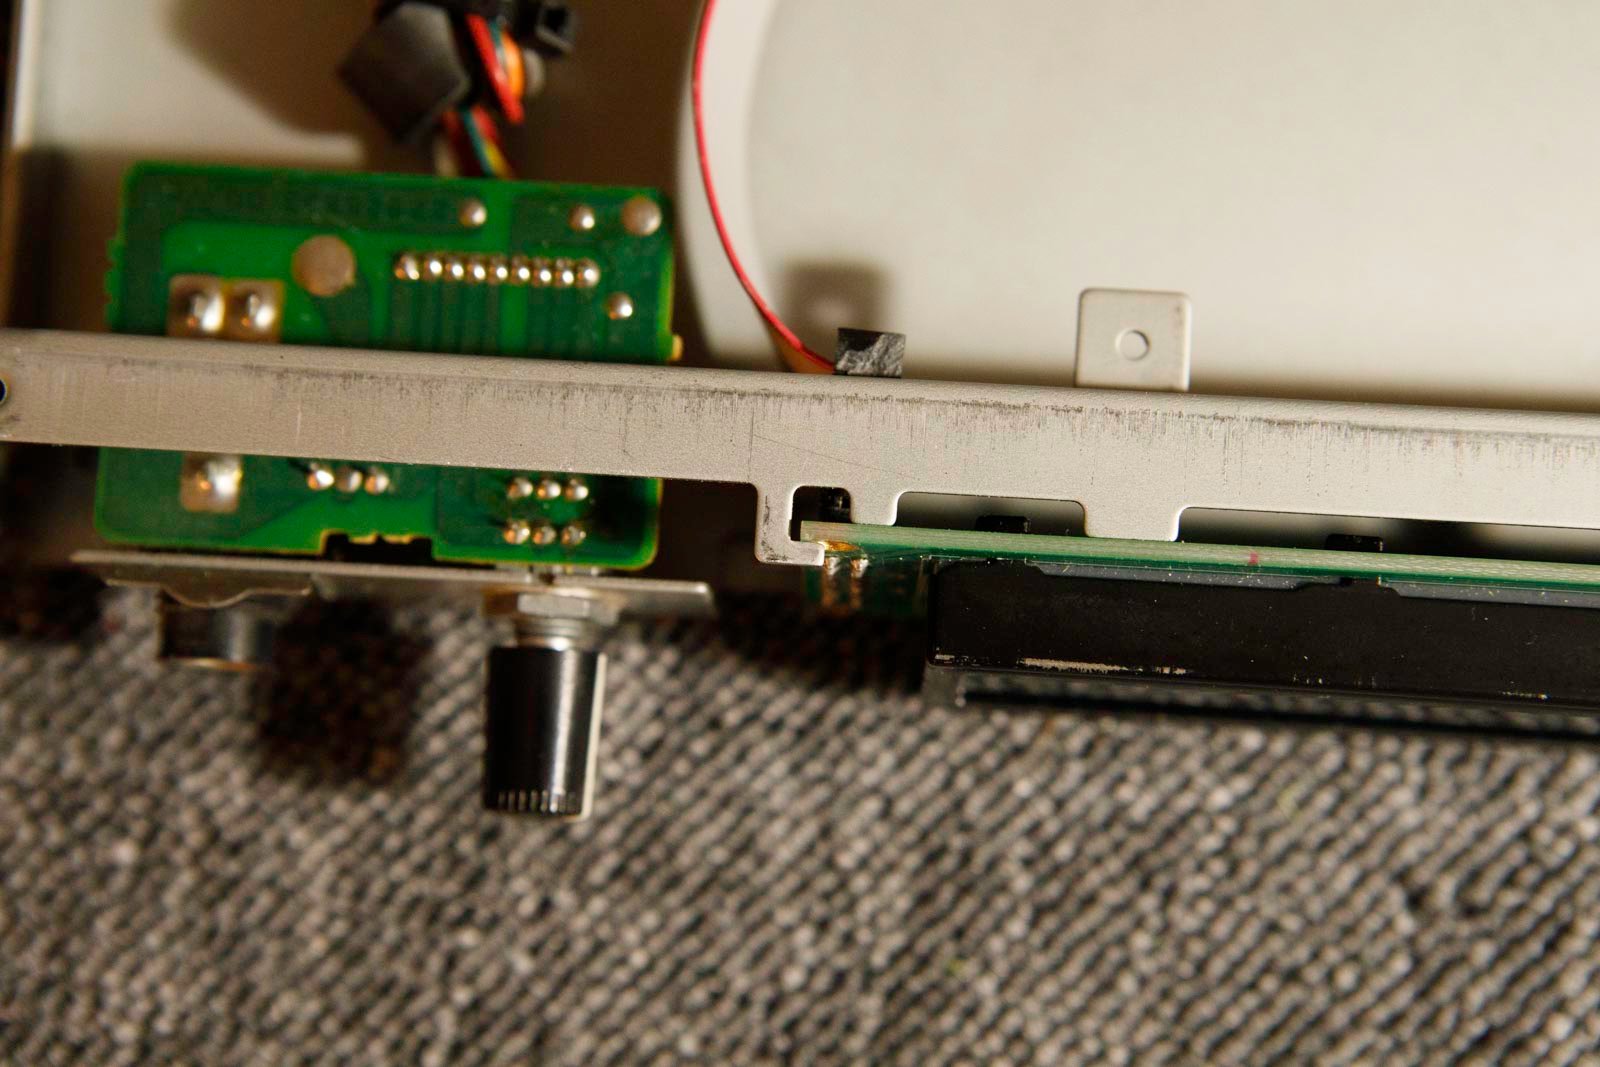
5) The new screens are not the same size, and the U220 doesn’t offer much space to install them. Here’s the solution : insert the new screen as shown in the photos.
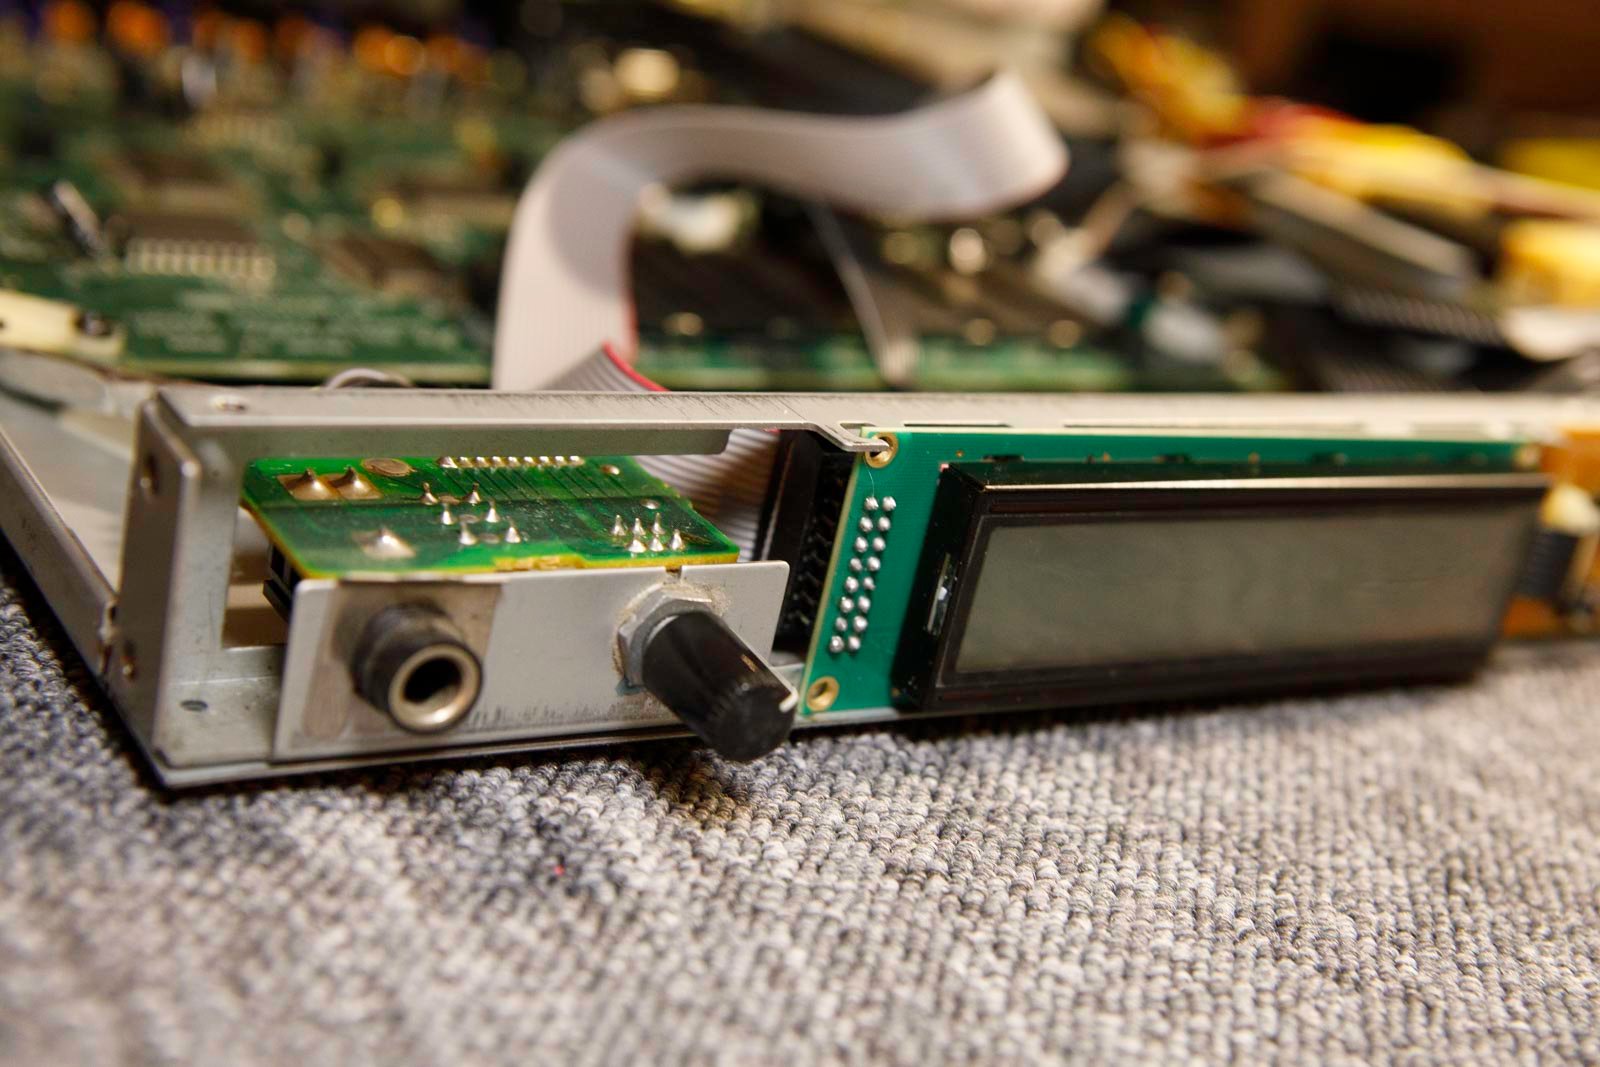
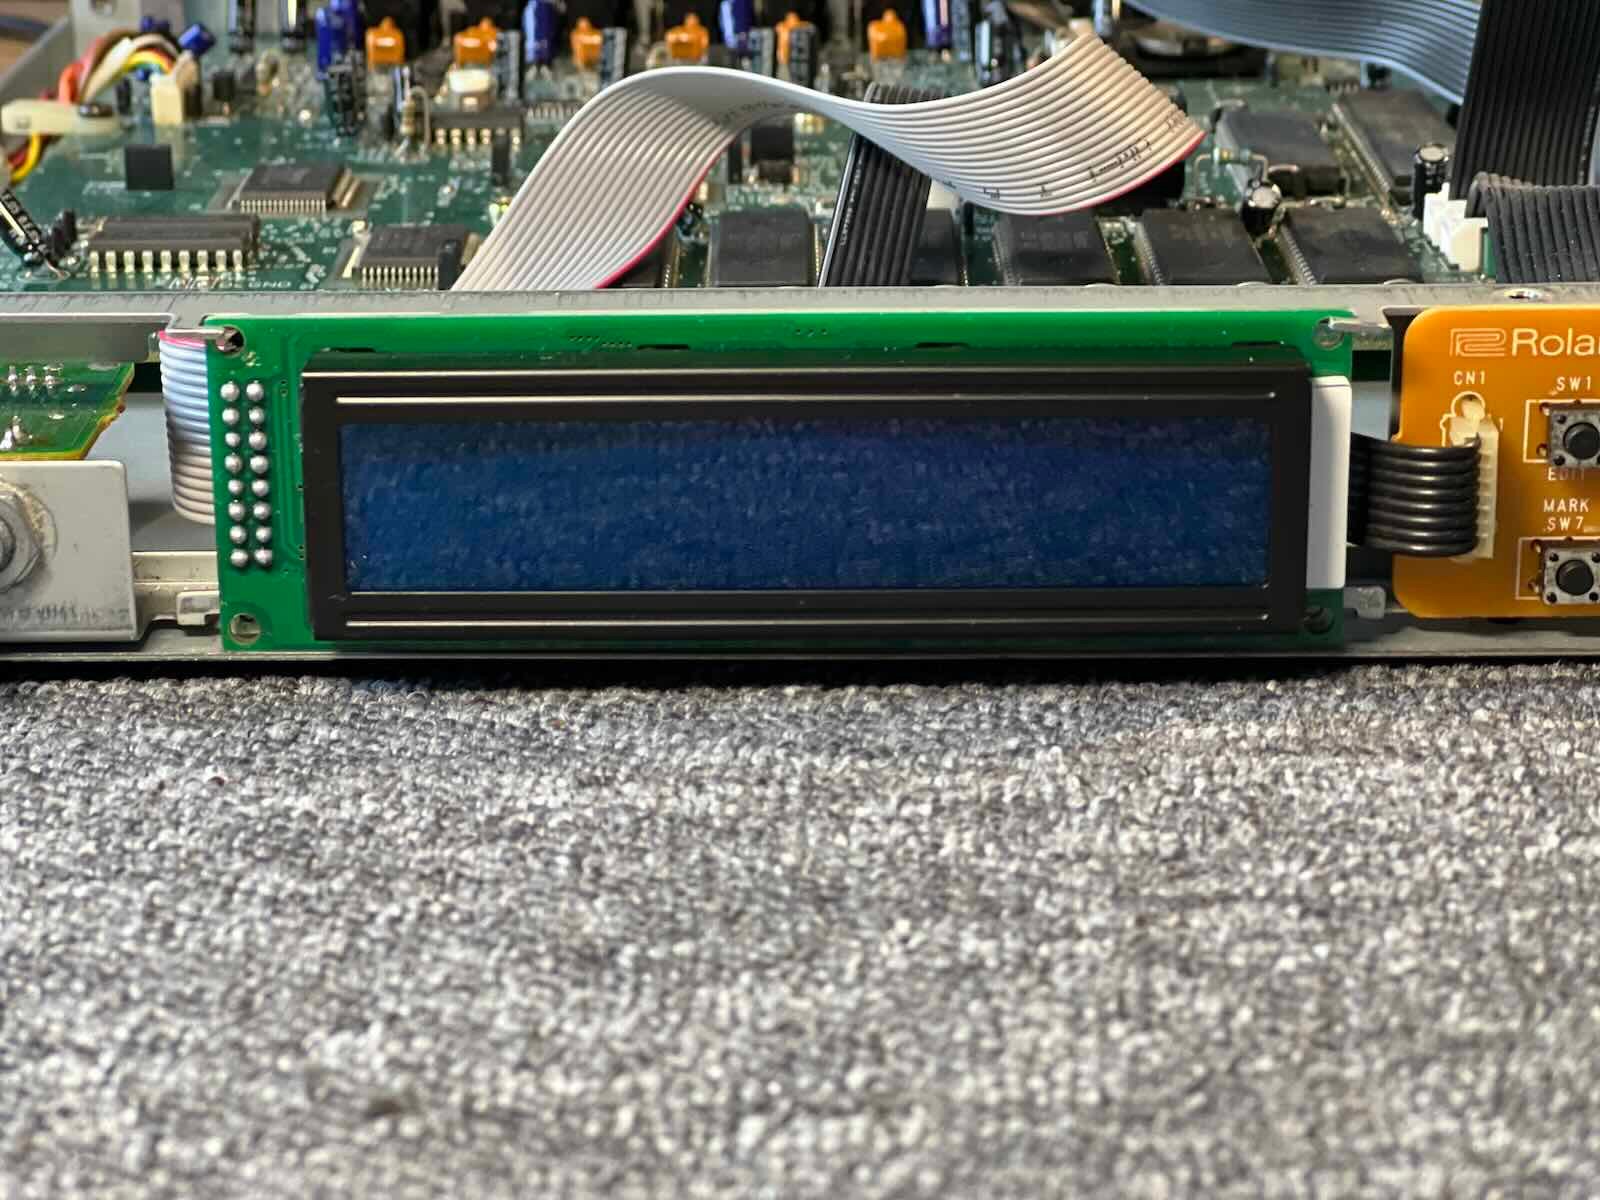
6) Respect the direction of connection.
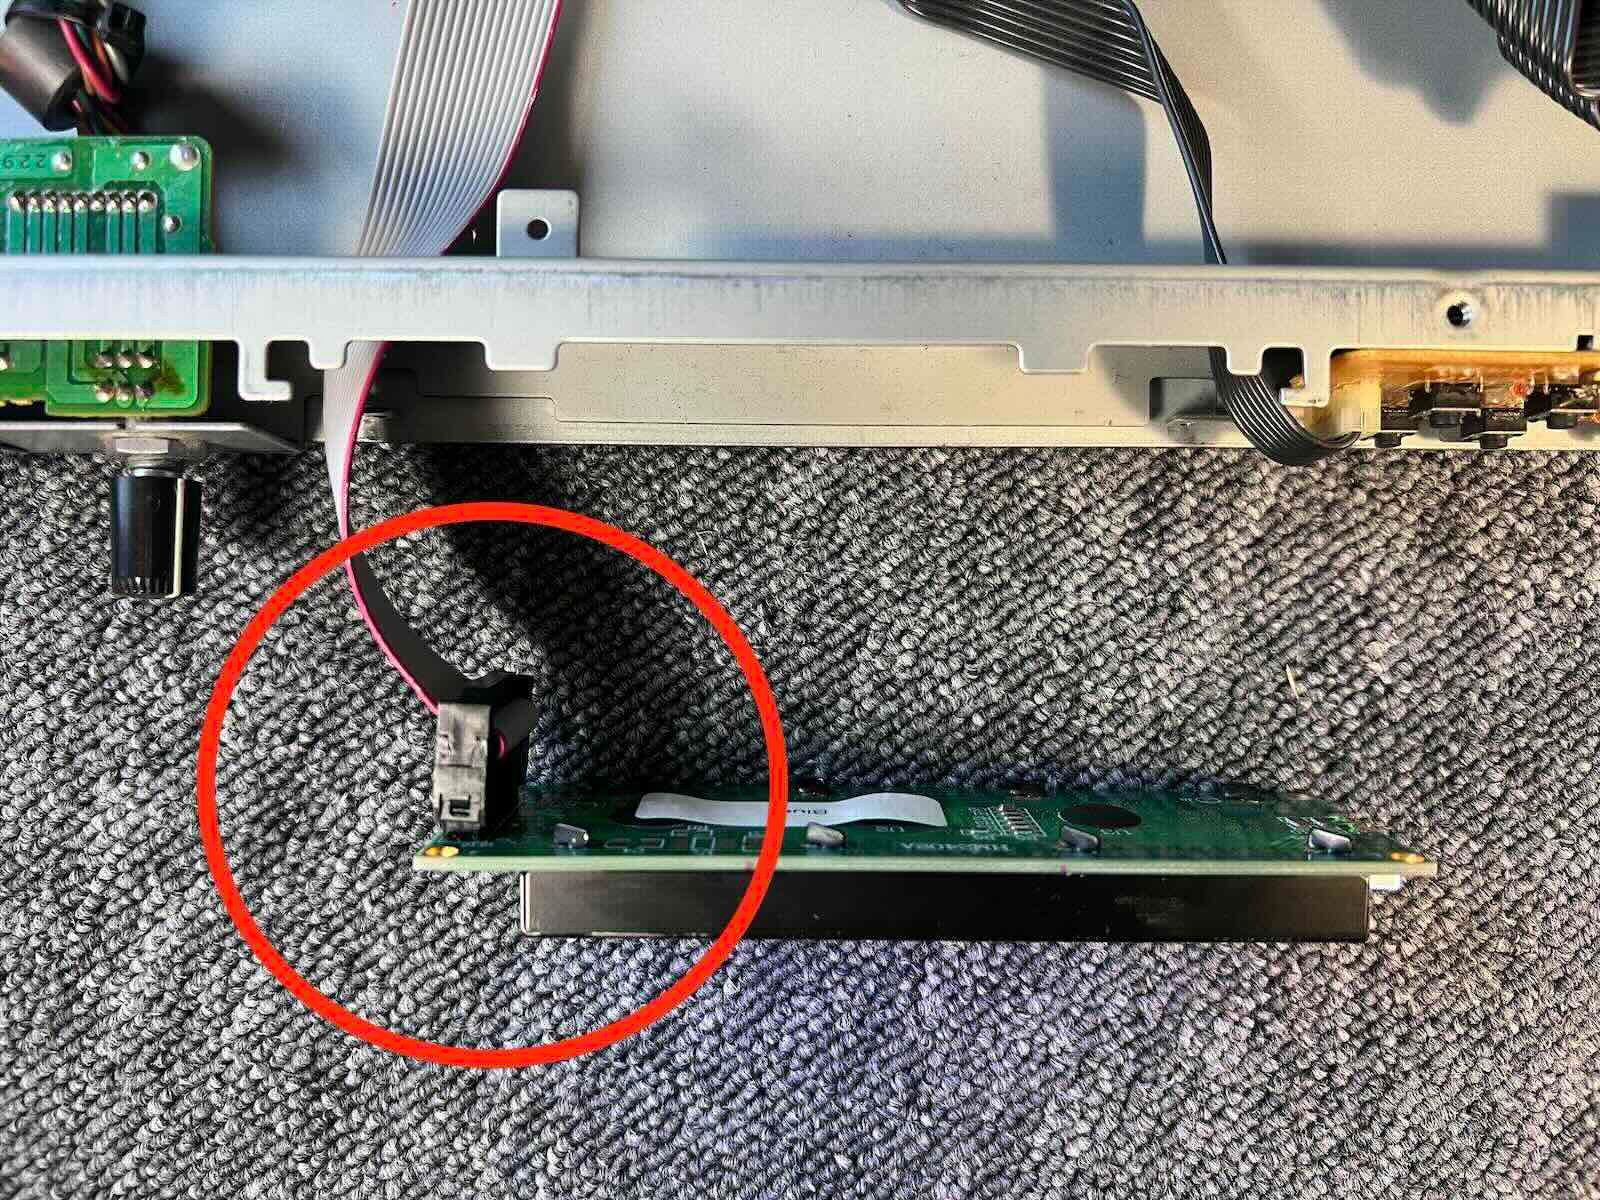
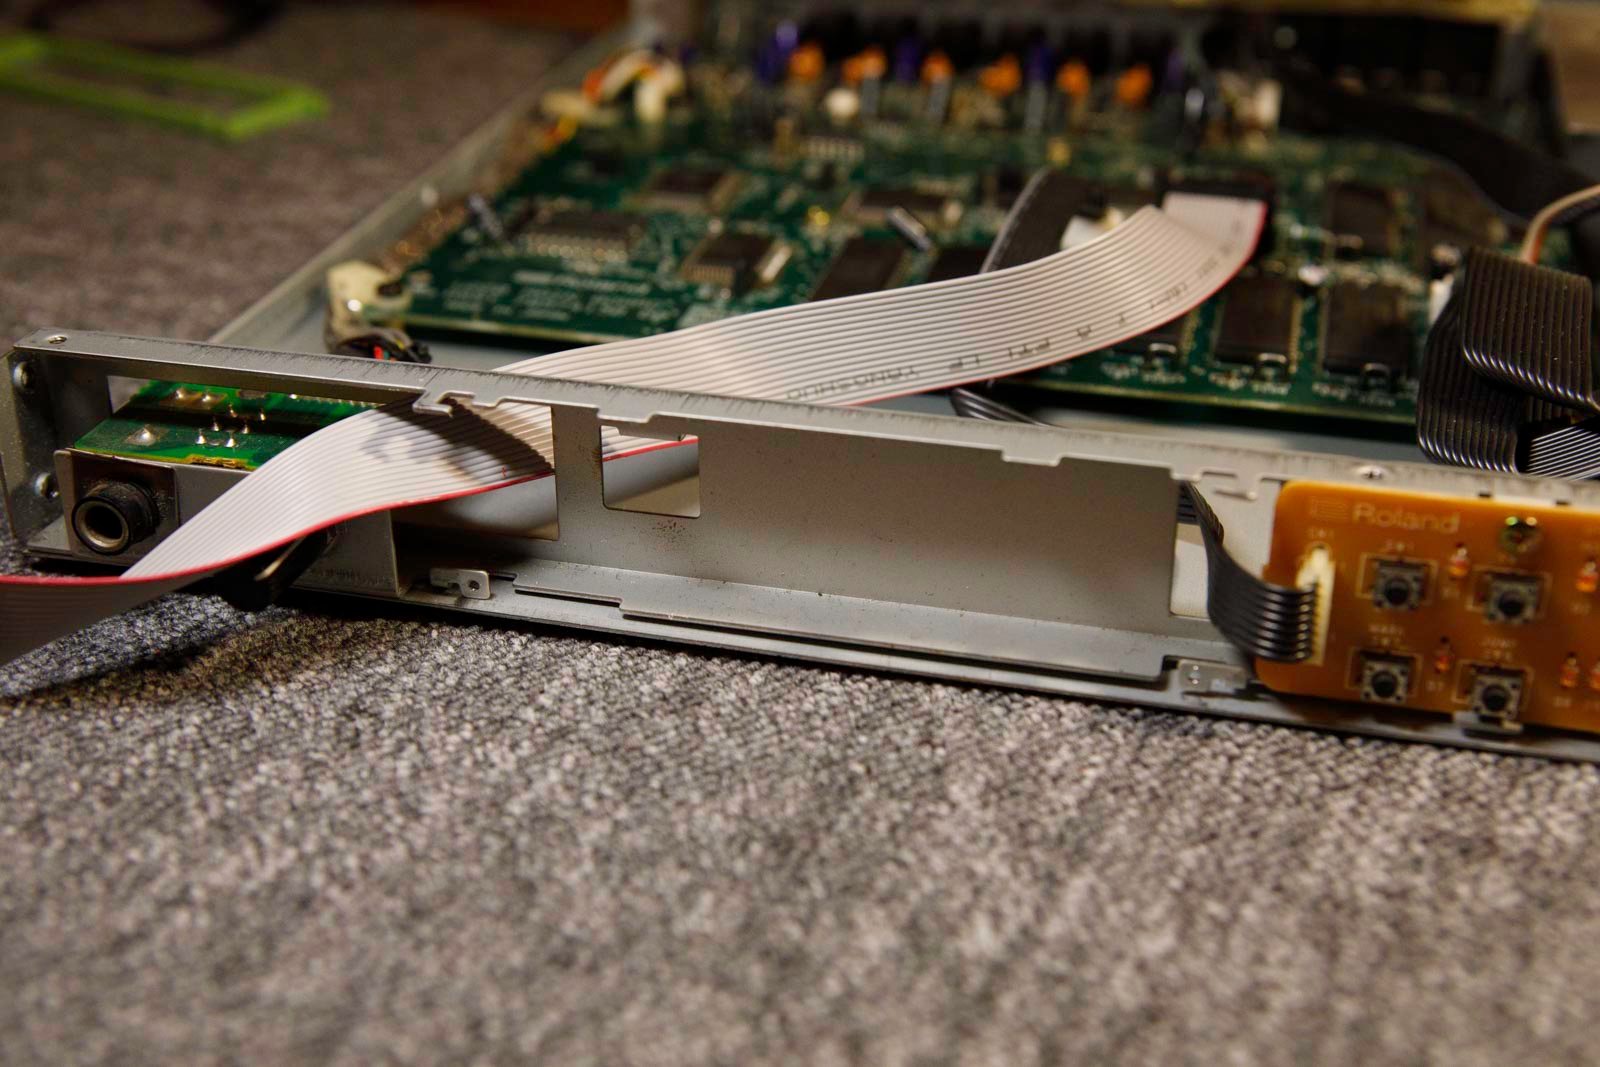
7) Depending on version, you can connect the flat cable either before positioning it or once it is positioned (from the back).
8) Position the guide bracket. (2 screws)
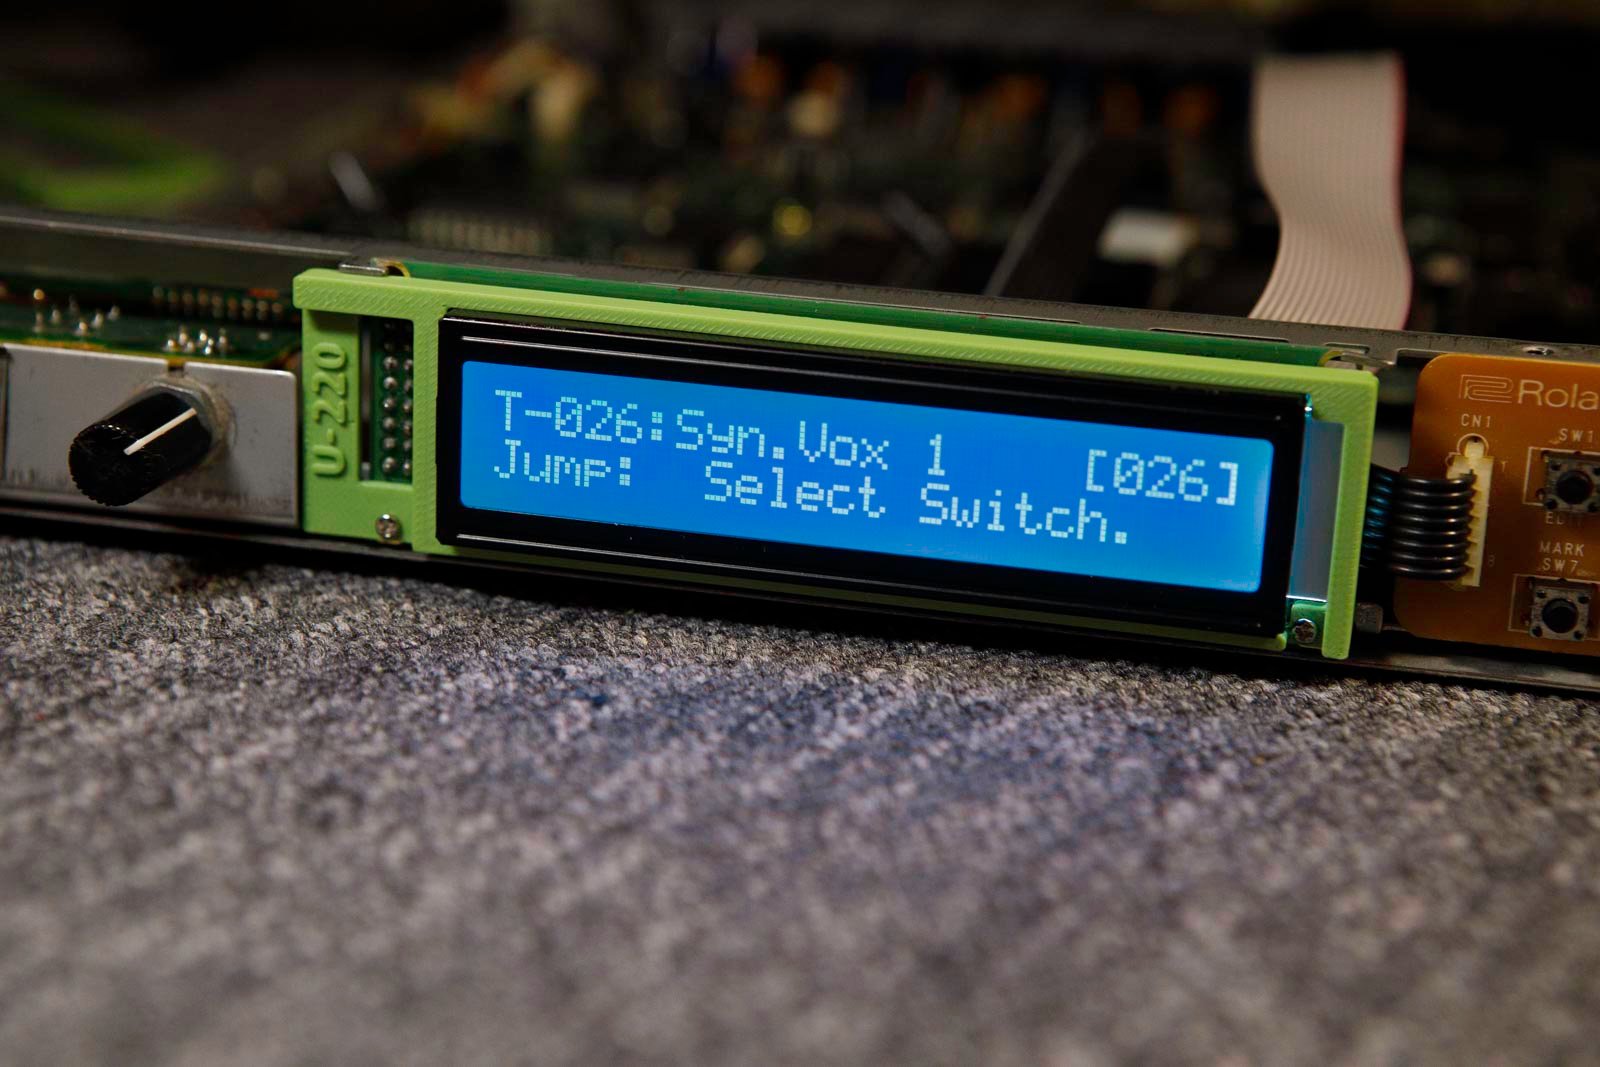
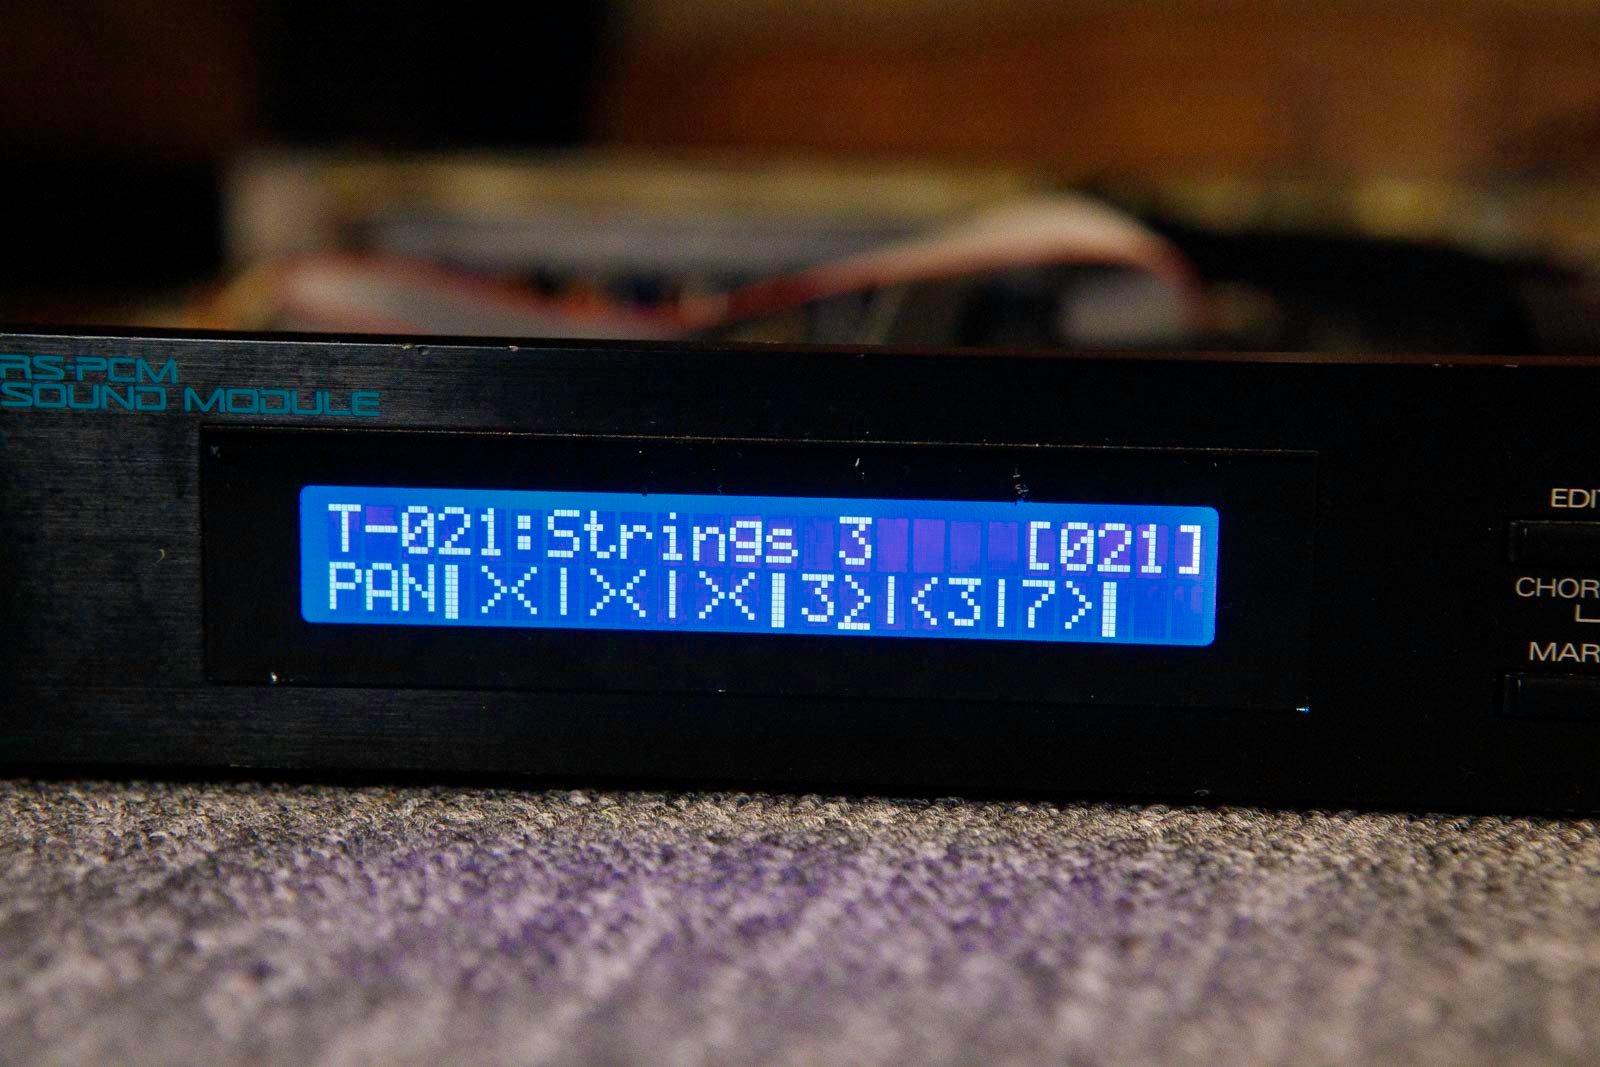
9) You may need to adjust the contrast setting :
EDIT >> LEFT CURSOR x3 >> ENTER >> LEFT CURSOR x4 >> ENTER >> RIGHT CURSOR x2 >> ENTER >> VALUE UP >> ENTER
10) Go back up.