


DX7 mk1 display kit installation
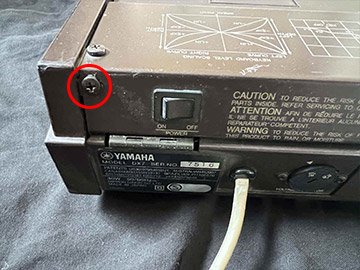
1) Unplug the DX7 from the mains. Remove the 5 fixing screws.
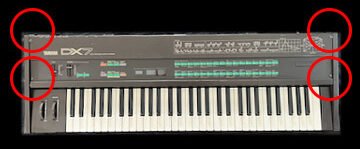
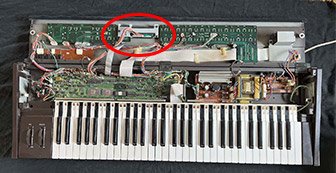
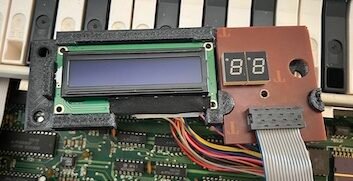
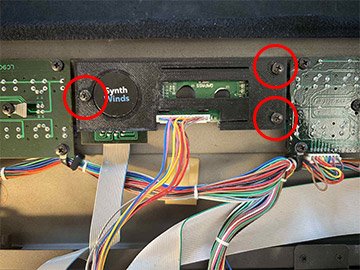
2) Flip the front panel open. The screen is located in the circled area.
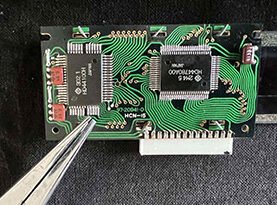
Remove the three screws securing the aluminum screen bracket. Disconnect the screen connector at the screen. You can leave the 7-segment display connected, or you can disconnect it from the main board for convenience.
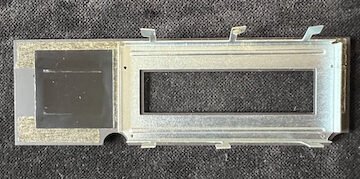
3) Detach the original aluminum brackets by removing the screws. Set the aluminum brackets aside; they will no longer be needed, but it’s always good to keep parts from a vintage instrument. Remove the two screws securing the original screen to detach it.
4) Retrieve the transparent protective frame. Use pliers to straighten the mounting tabs that hold it in place. Proceed carefully, as it is lightly glued.
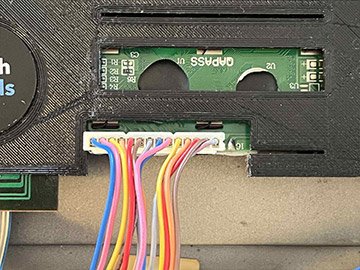
5) Slightly spread the mounting tabs of the glass protective frame to insert them into the slots of the new bracket. Place the 7-segment display into its new bracket.
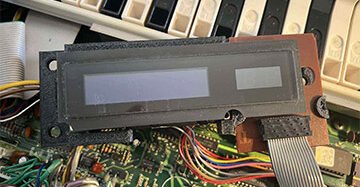
6) Reconnect the connector to the new screen. If you disconnected the 7-segment display connector, reconnect it to the main board.
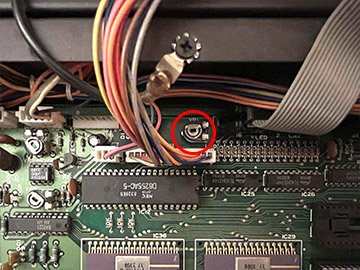
7) Before closing, adjust the screen contrast on the VR1 trimpot of the main board using a small screwdriver. (Reconnect the DX7 and proceed with caution, as there is high voltage in the PSU section).
8) Fine-tune the screen alignment with the window before tightening the 3 fixing screws of the new bracket (reuse the 3 original screws).
9) Close the panel, replace the 5 fixing screws.